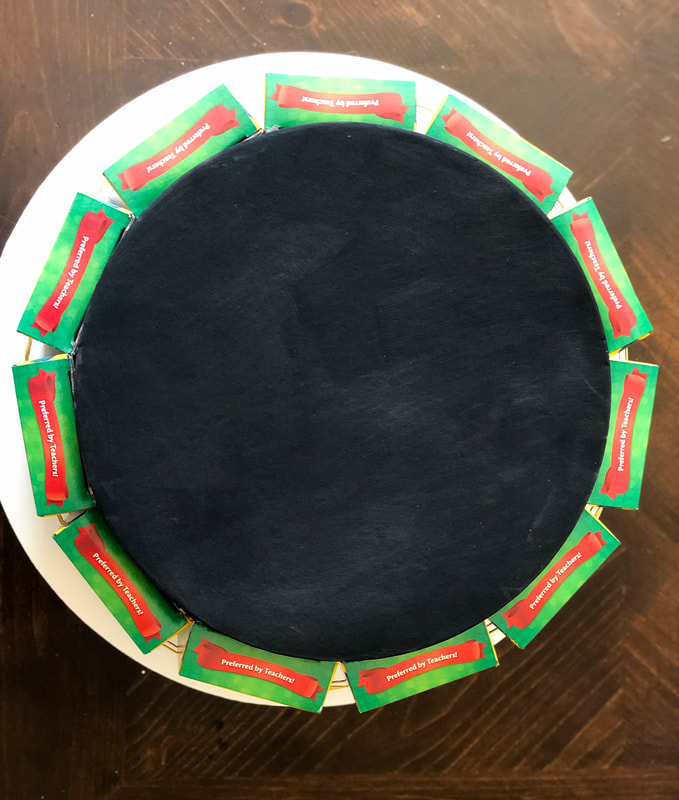
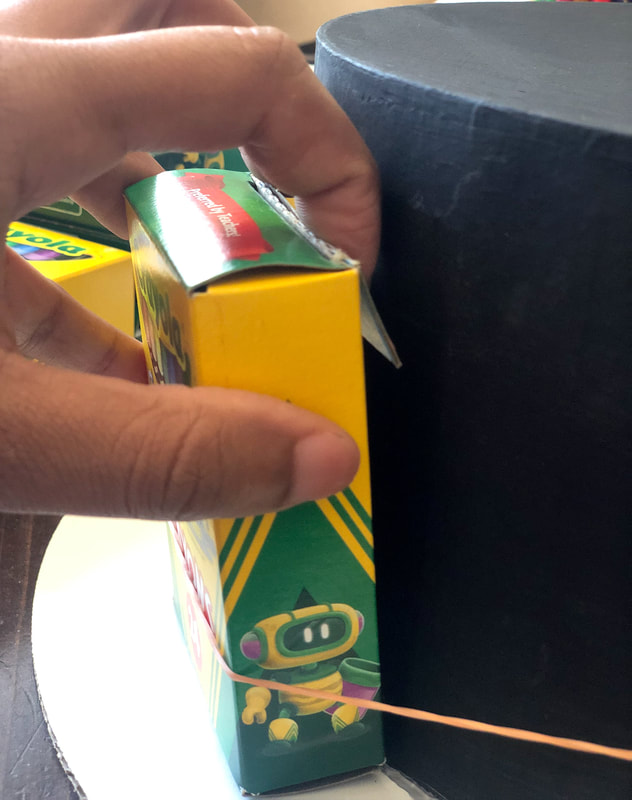
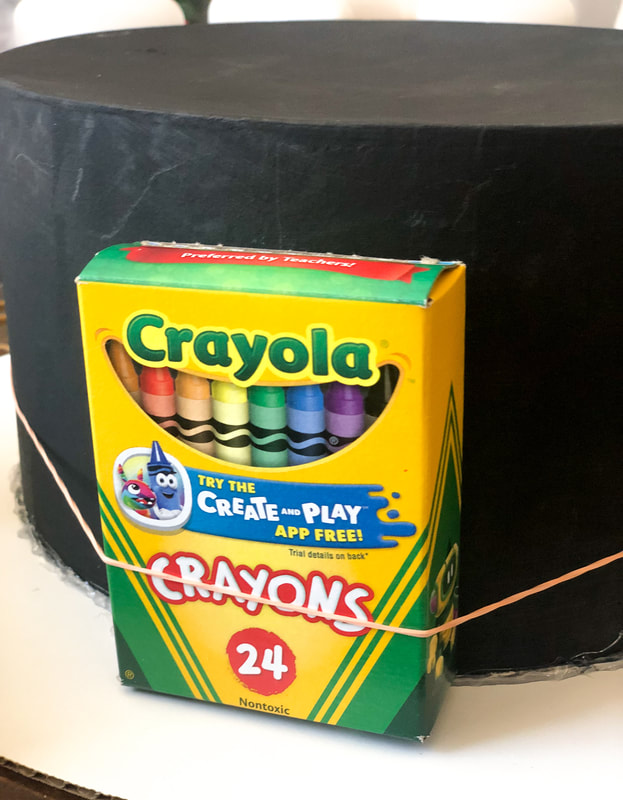
DIY School Supply "CAKE"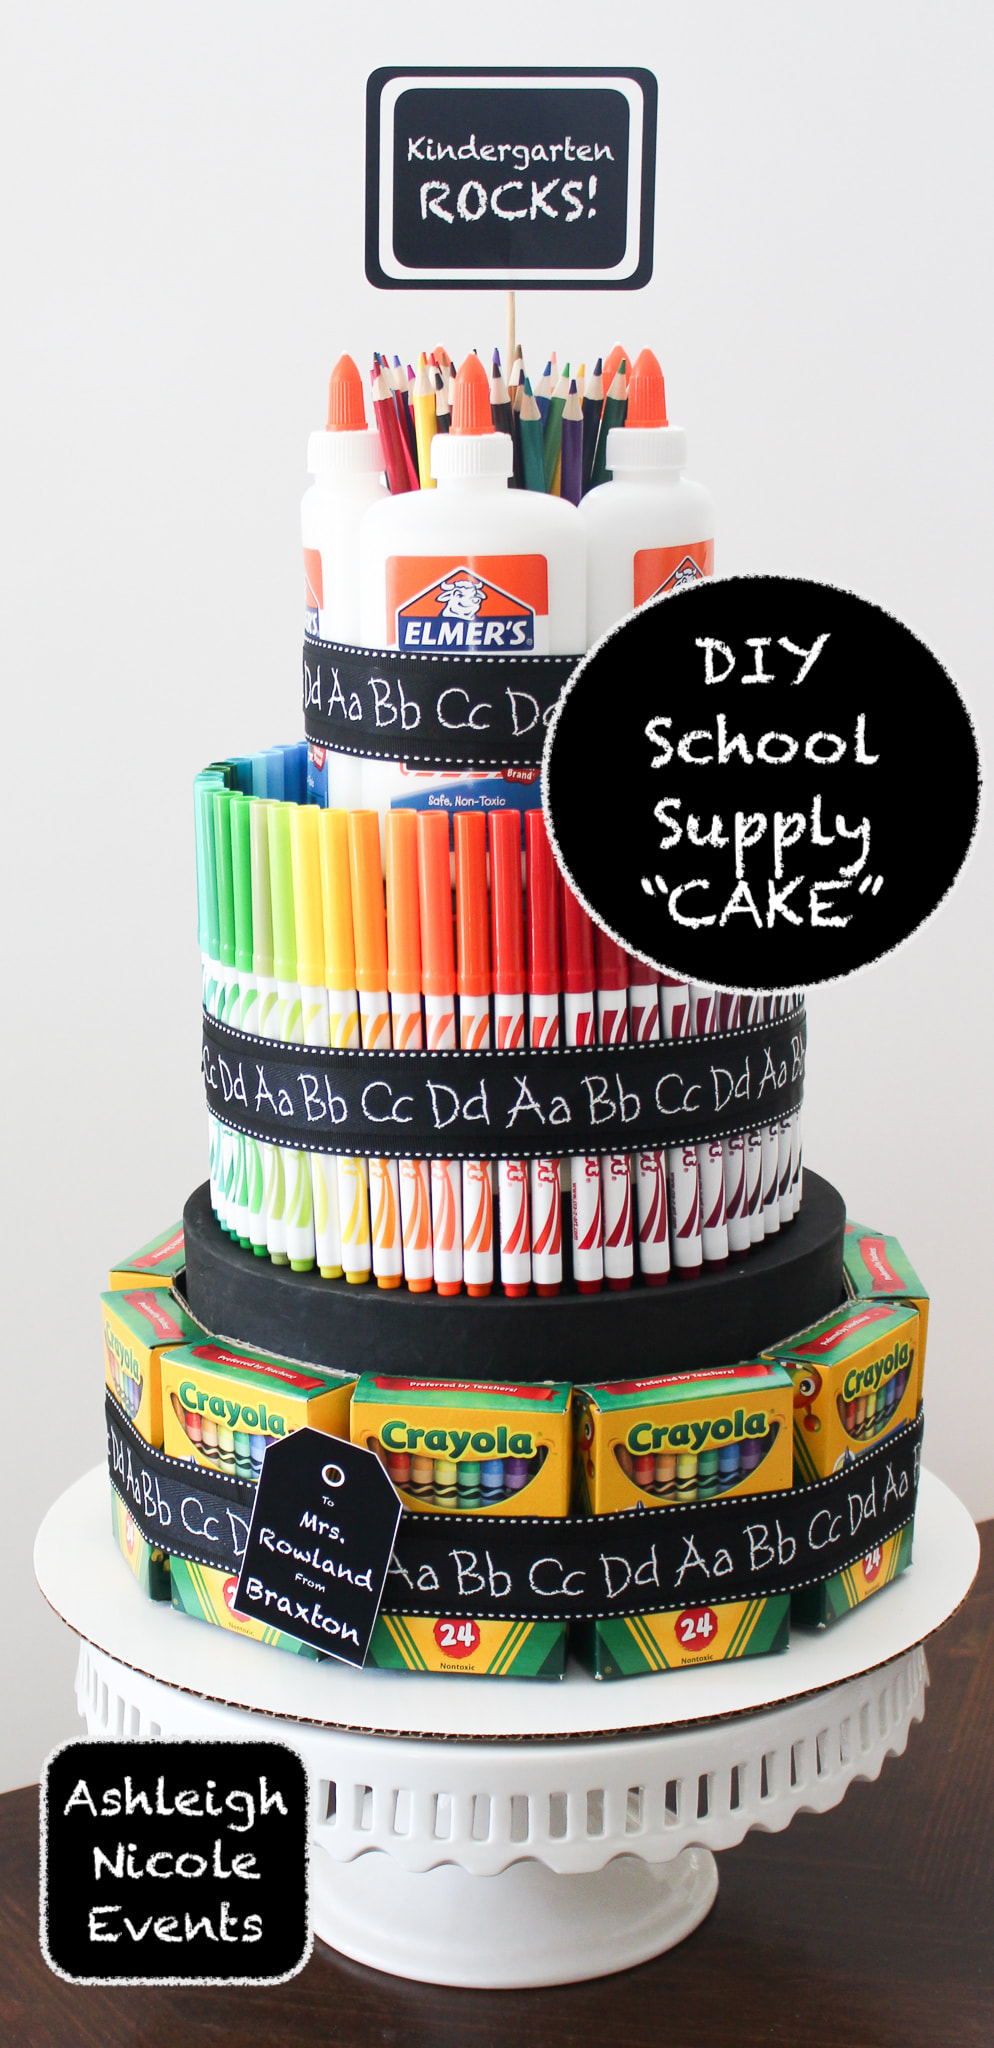 It’s that time of year again!!! BACK TO SCHOOL!!! This year I wanted to make each of my sons teachers something special. I decided to make my sons Kinder teacher a DIY school supply “cake” The classroom can always use extra supplies, right!?  Materials •Craft rounds 10” and 6” (purchased from Michaels HERE. It comes in a pack of 3 but we will only be using 2) •14” cake board •Black paint and brush •Black ABC ribbon (purchased from Michaels HERE) •6 Rubber bands •1 paper cup •Hot glue gun •Double sided foam tape •11 boxes of Crayola crayons •55 fine tip markers •5- 7.6oz Elmer’s school glue •36 colored pencils 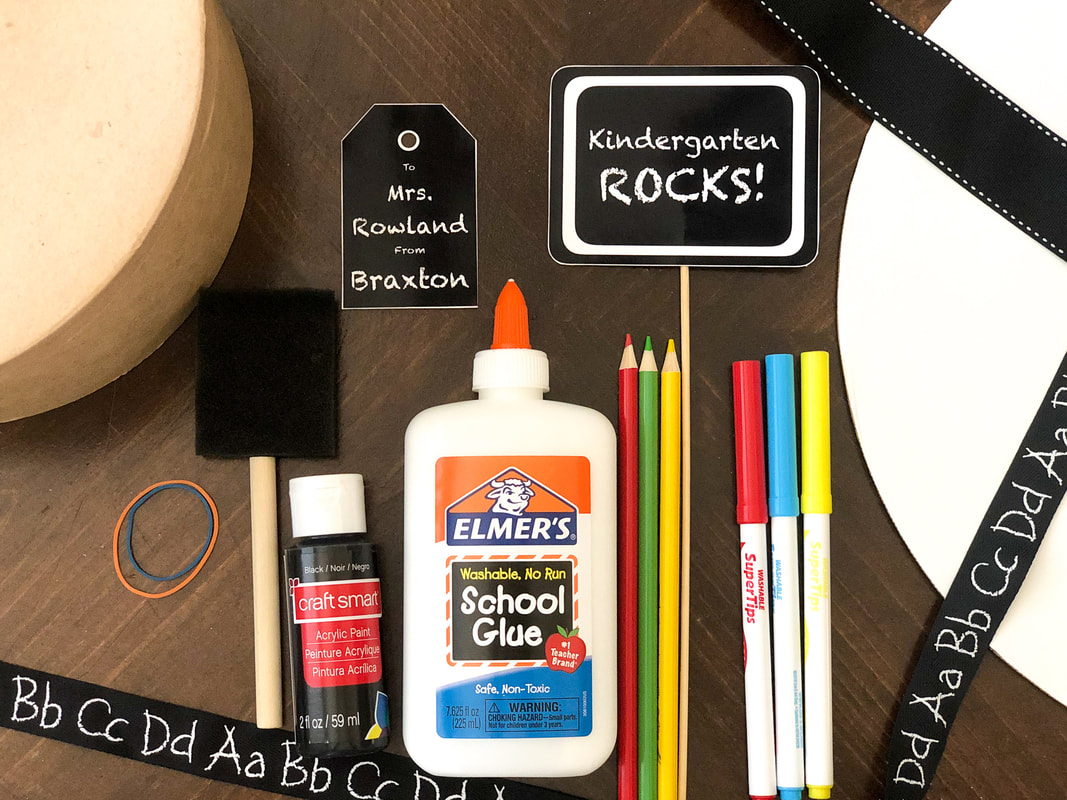 Step 1 Paint your 10" and 6" craft rounds black. Let dry. Attach the largest craft round, button up, to the cake board using hot glue. Place in the center of the cake board. * I did not use the lids.  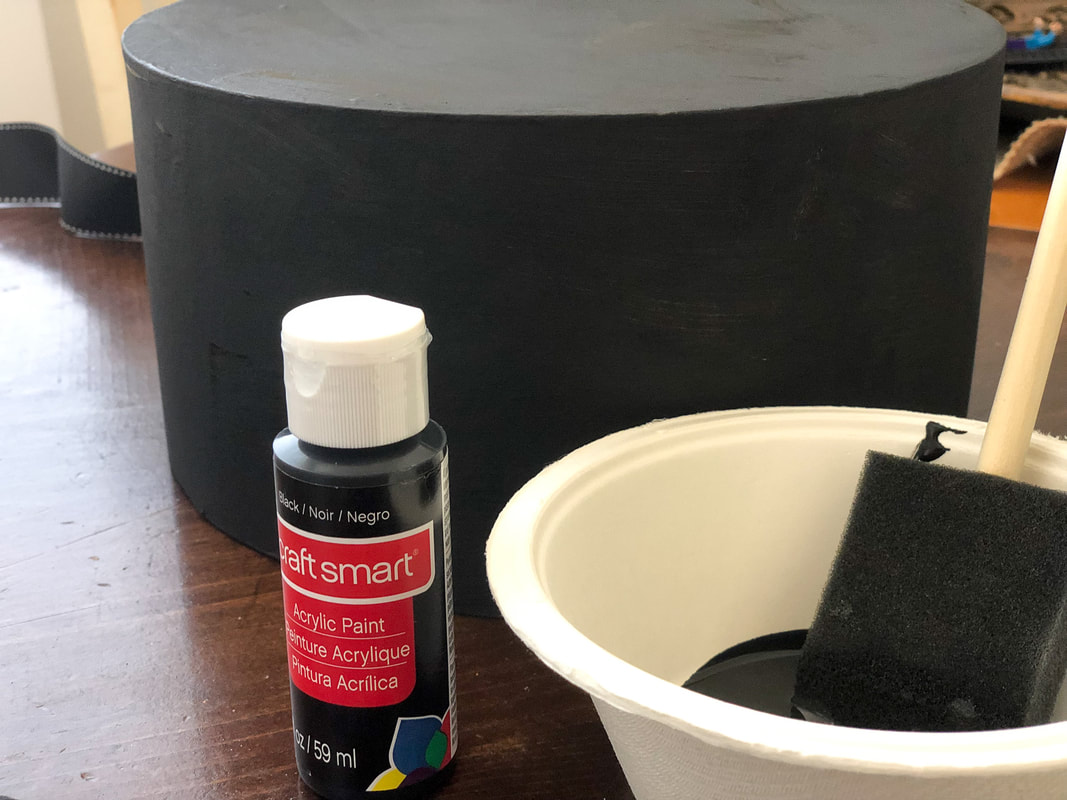 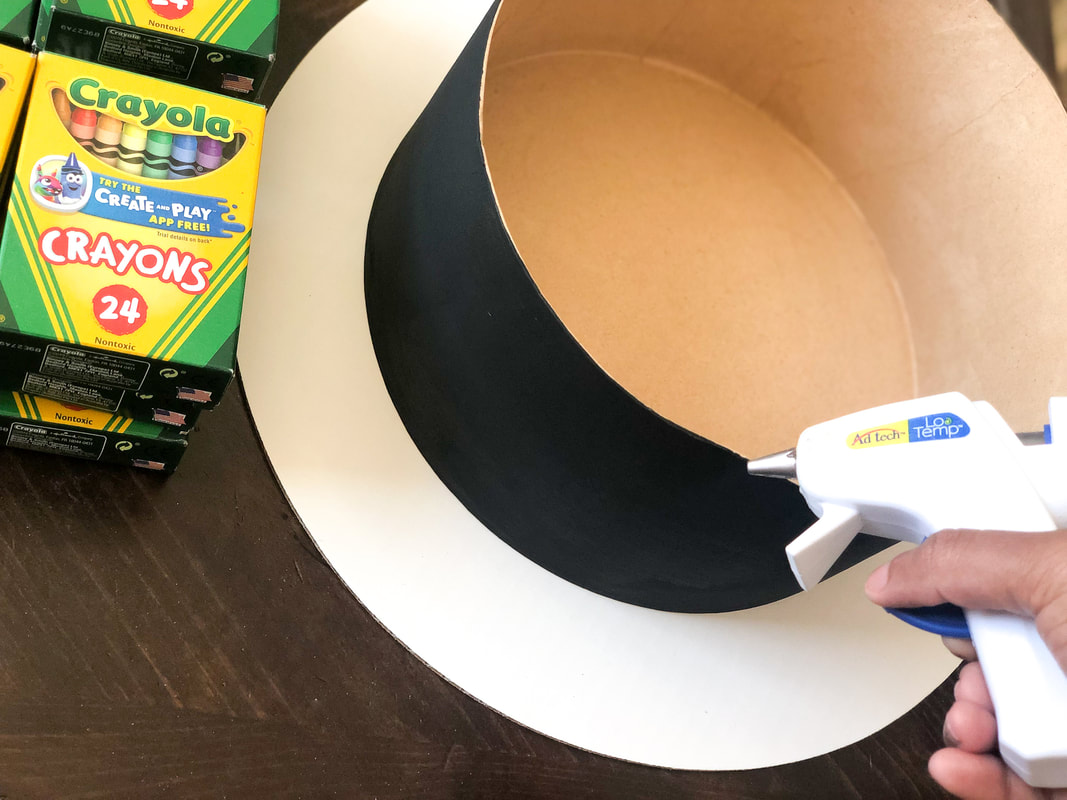 Next place two rubber bands around the craft round. Carefully add the crayon boxes by securing them with the rubber bands. Tuck the upper flap on each crayon box behind itself. Doing so makes it look a little neater. Repeat until all 11 boxes have filled the bottom layer. 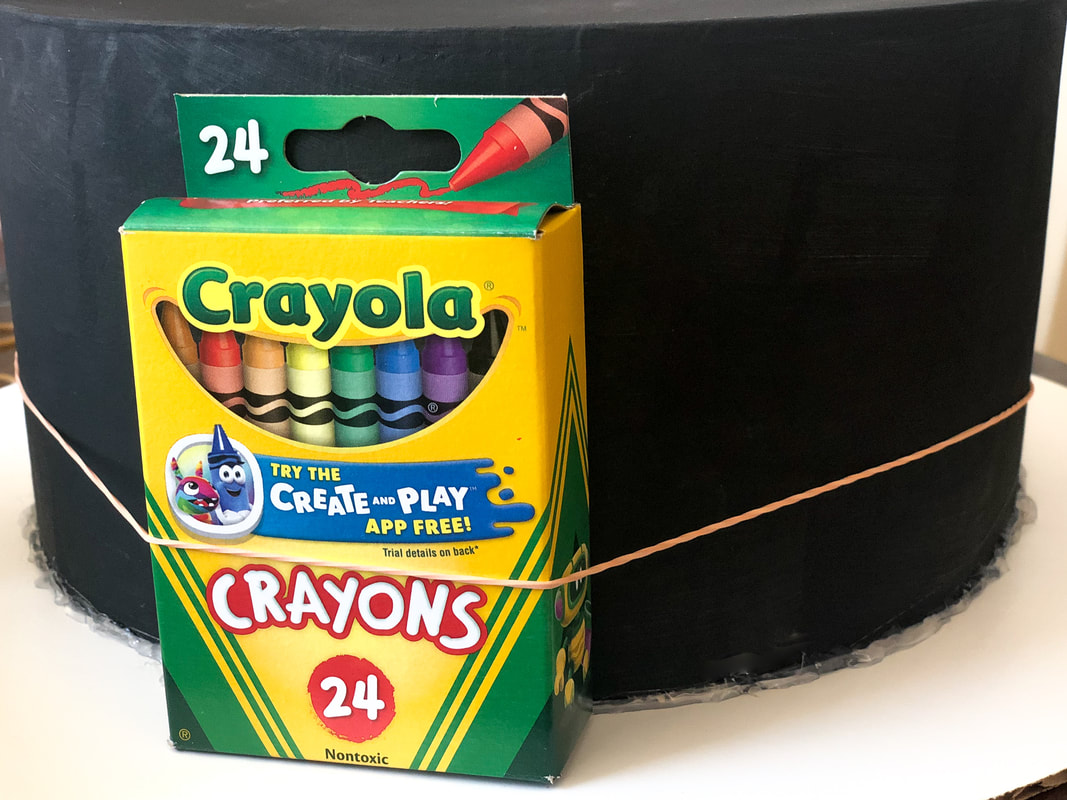
 Step 2 Take your smaller craft round and secure it to the center of the bottom layer. Again, bottom up! Secure with hot glue.  Next place one rubber band around the smaller craft round. Add a strip of double sided foam tape around the center of the craft round. This will help prevent the markers from shifting. Add another rubber band above the foam tape. 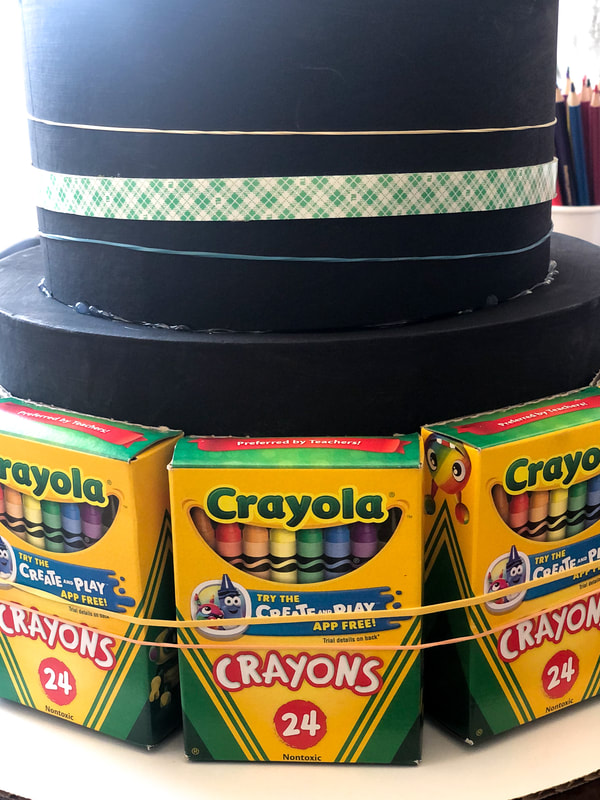 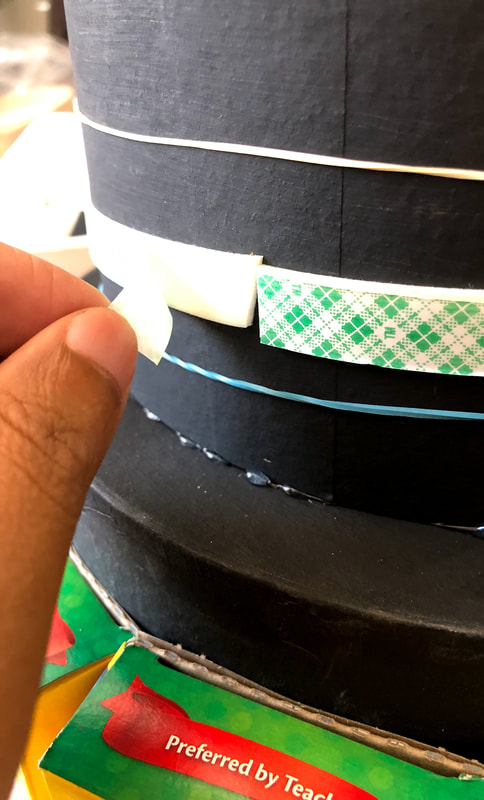 Arrange the markers in rainbow order (or any order you prefer)  Attach each marker to the craft round by sliding it under the rubber band and sticking it to the foam tape. Continue until entire craft round is covered. 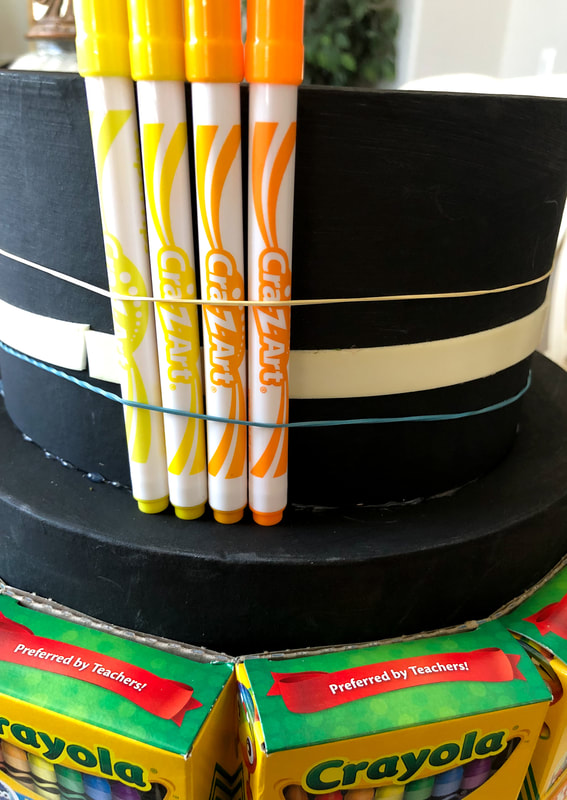 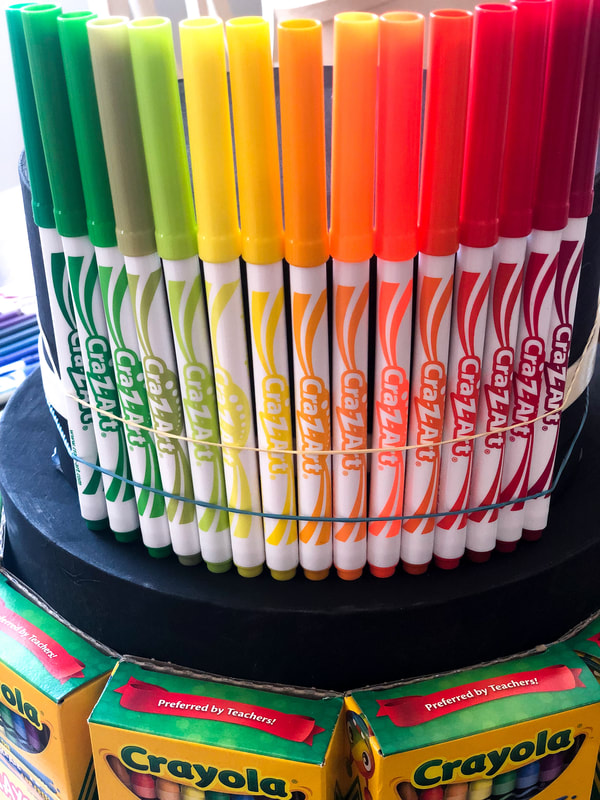 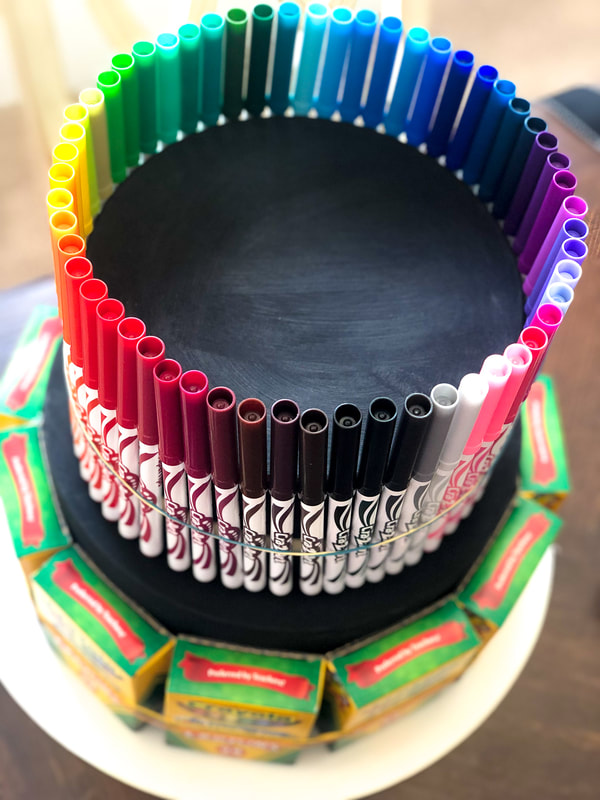 Step 3 Attach the paper cup to the top layer using hot glue. Add colored pencils to the cup. 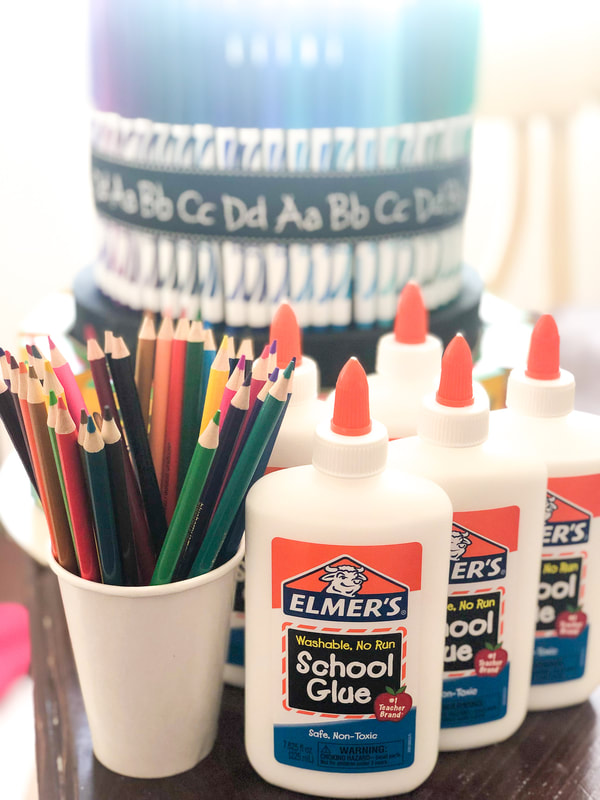 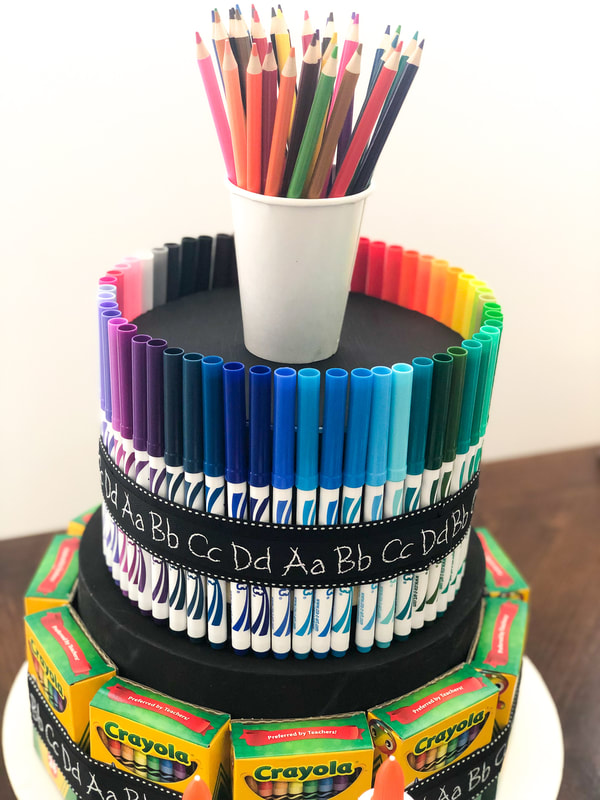 Place the 5 - 7.6oz school glues around the cup. Secure with 2 rubber bands. *you can also secure the bottom of each glue bottle with a dab of hot glue. 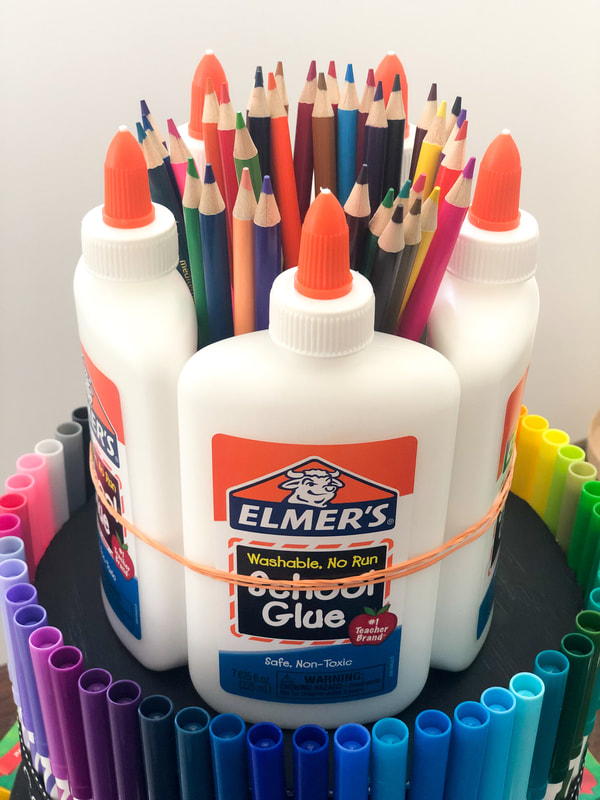 Step 4 Add ribbon round each layer. This hides the rubber bands and foam tape. I used two layers of ribbon. A thicker black ribbon and a thinner ABC ribbon. 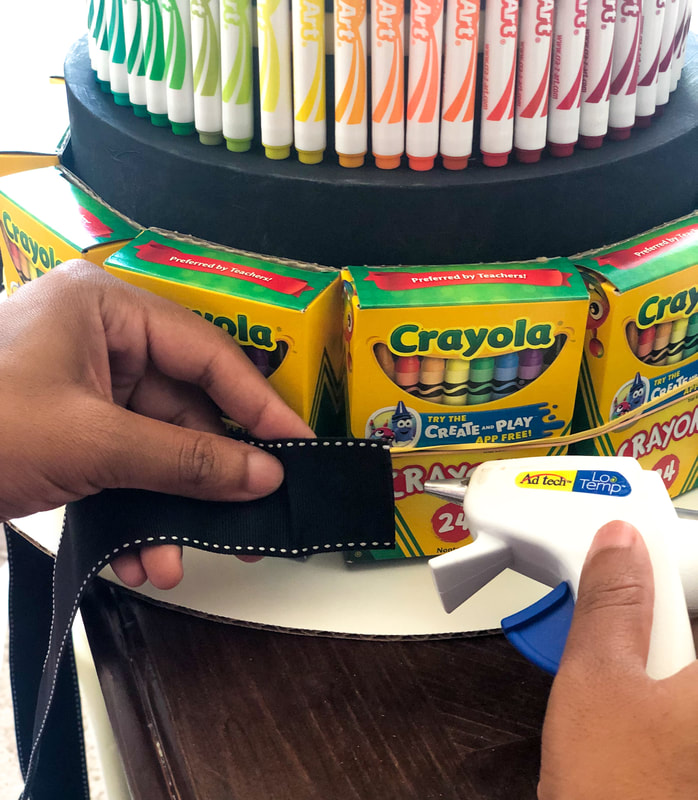 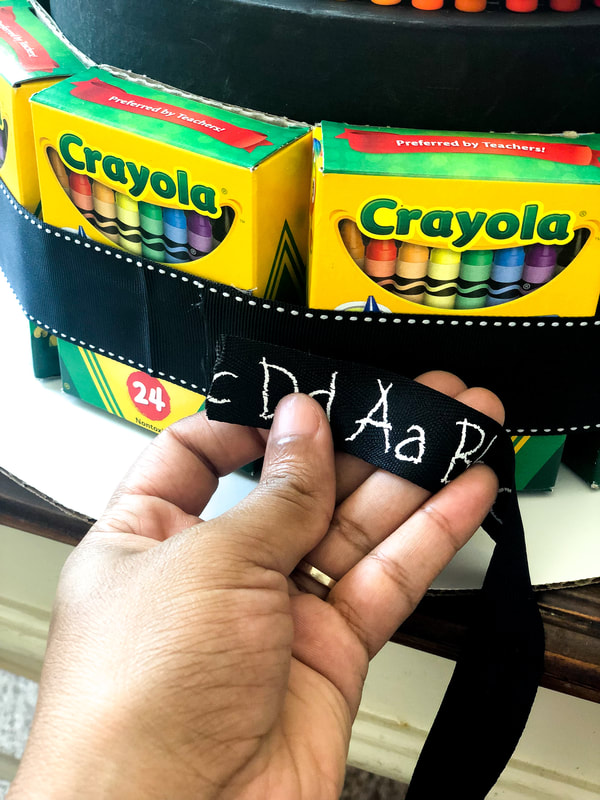 I created the "Kindergarten Rocks" topper and tag using Pages and downloaded the chalkboard font from dafont.com. 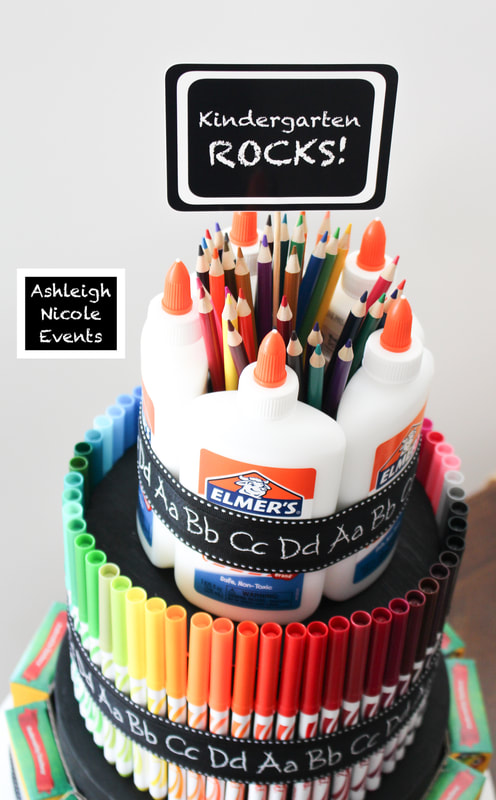 That’s it!!! Any teacher would love to receive this! Wishing all of your kiddos an awesome school year!  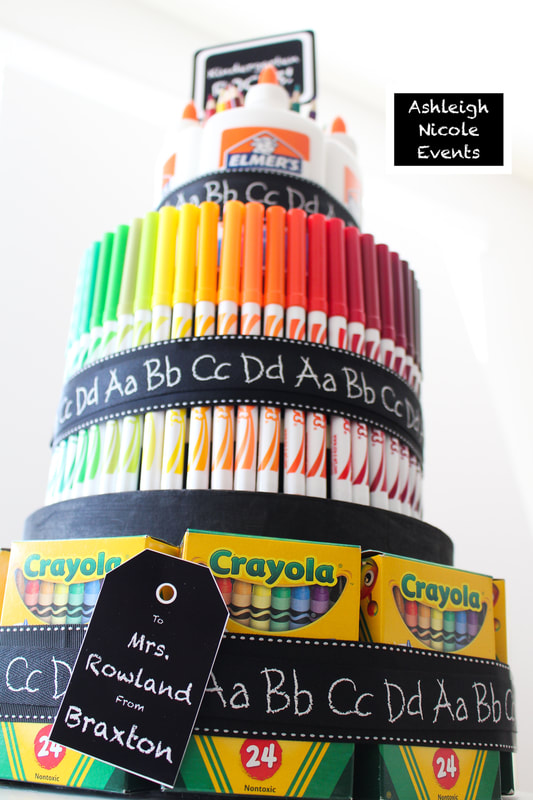 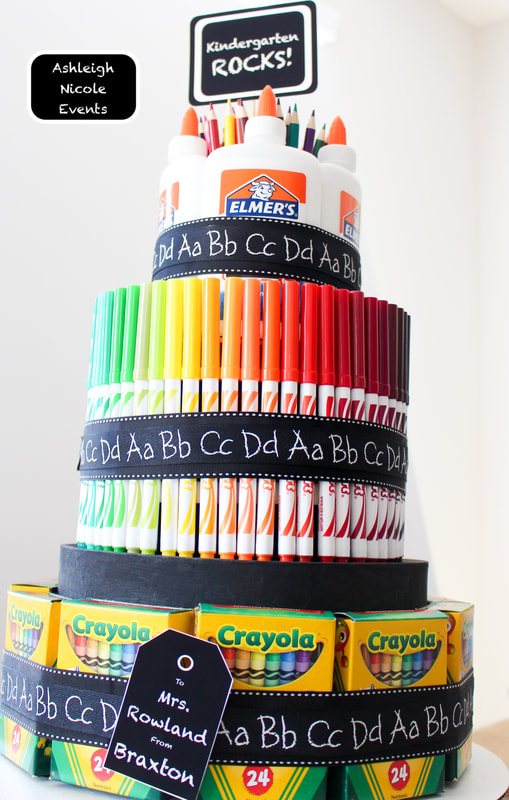 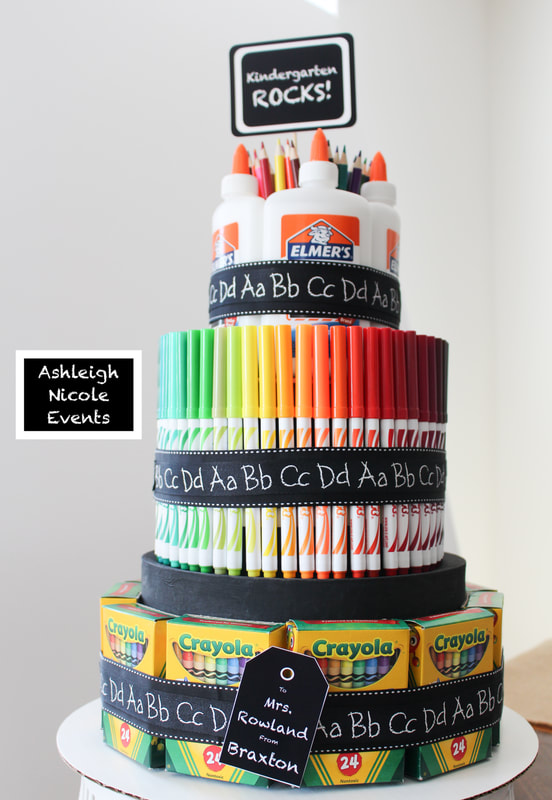 
4 Comments
Candice
8/19/2019 05:59:08 pm
My little man is starting soon and this is a great idea for Back to School night!
Rosemary
1/15/2023 03:57:51 pm
Hi Ashleigh, this is soo nice and thoughtful! I was wondering, did you print the tags on black cardstock with white ink? Or how did you do that? Thank you so much! Leave a Reply. |
The Ashleigh Nicole Blog!
DIY - Events - Motherhood - Home Decor - Lifestyle Archives
October 2019
Categories
All
 
  
|
 RSS Feed