|
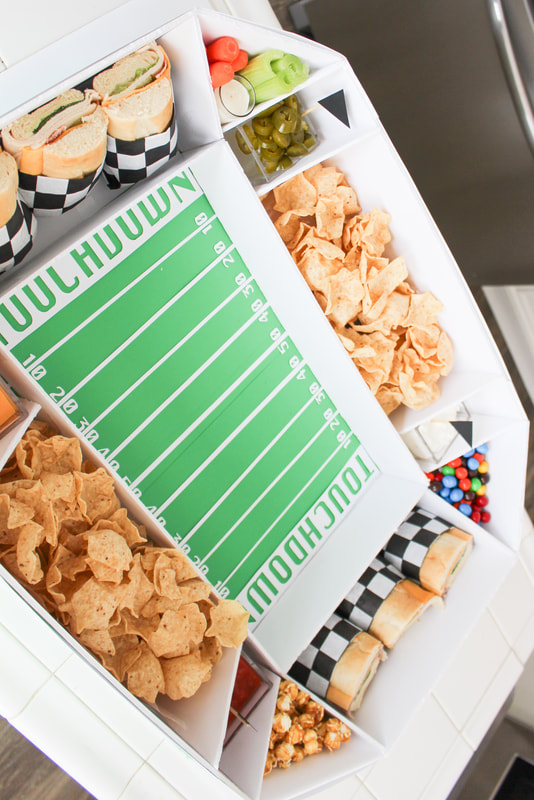
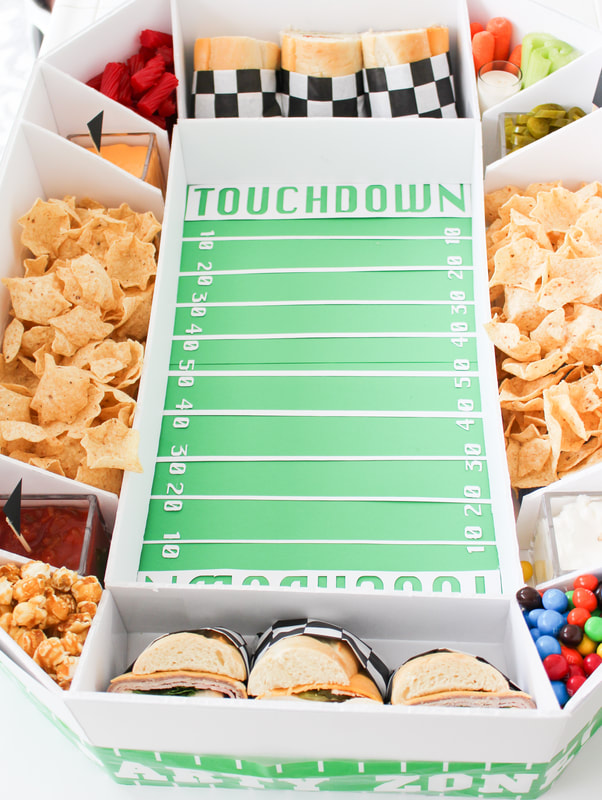
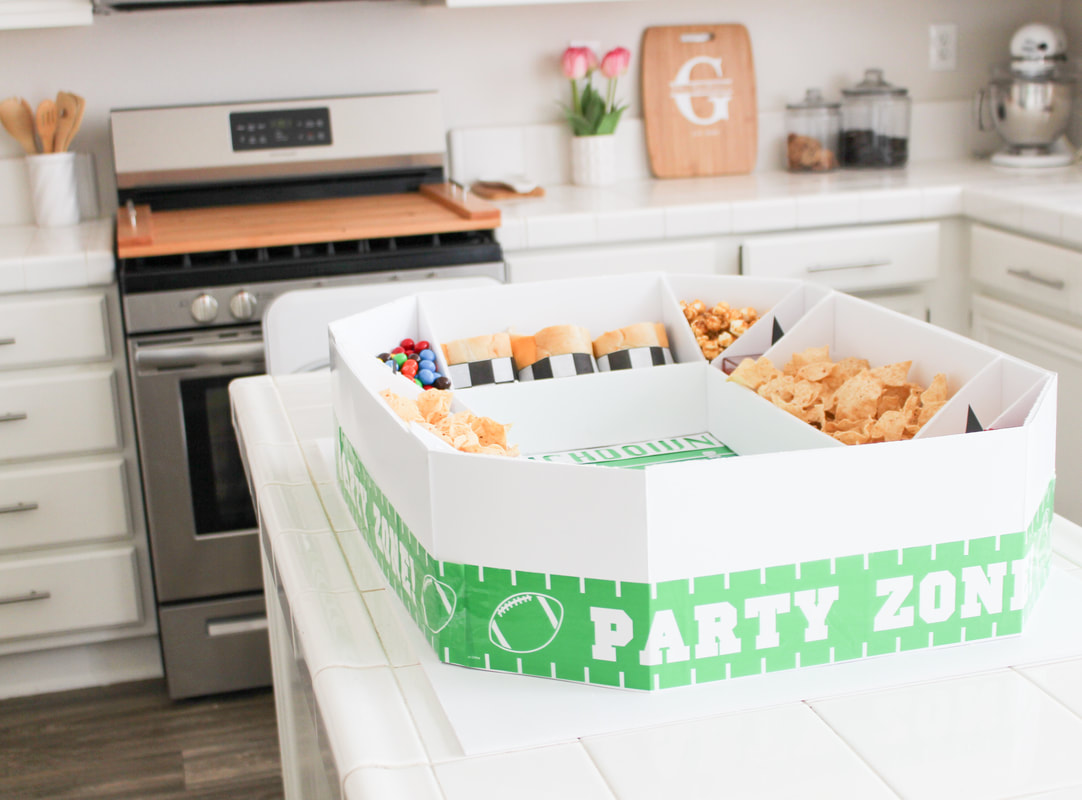
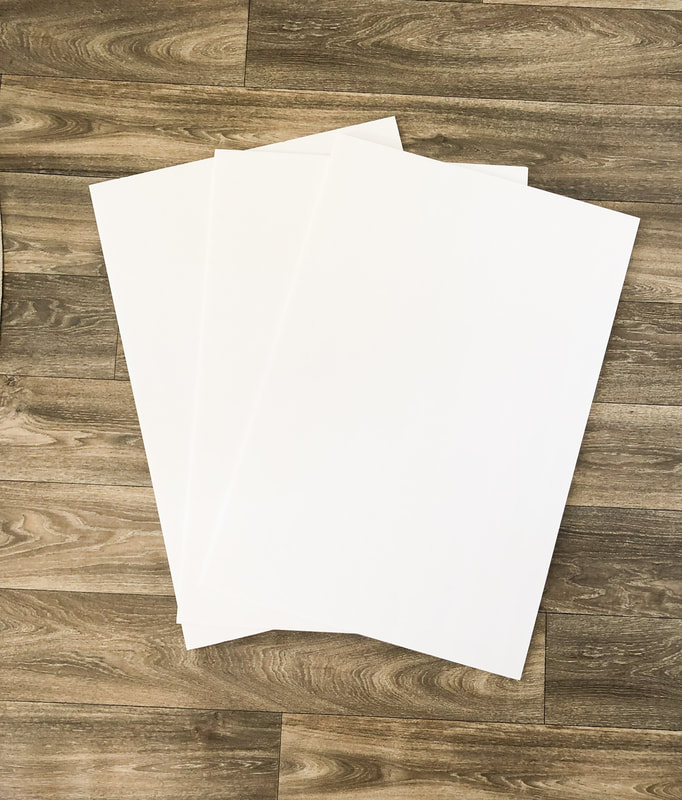
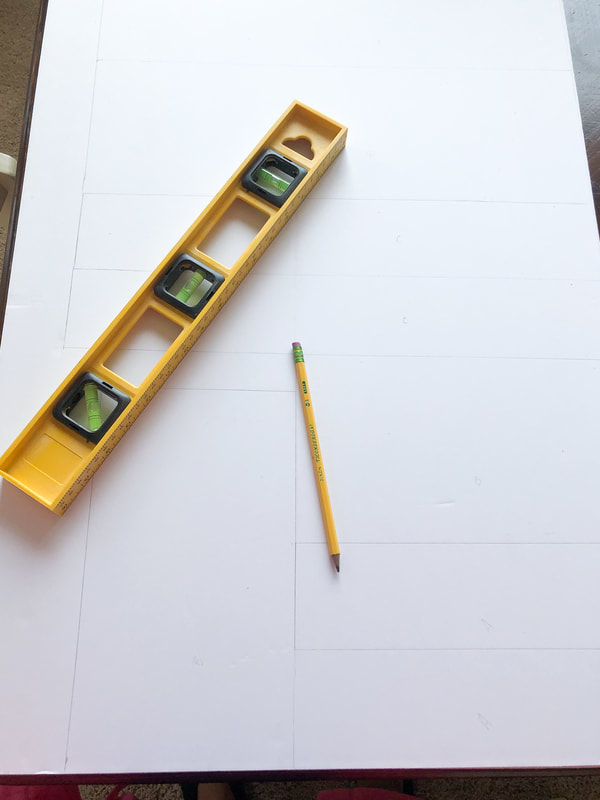
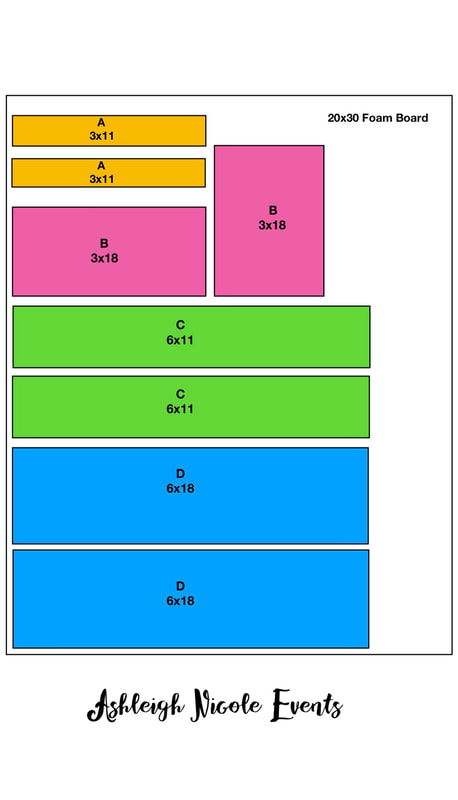
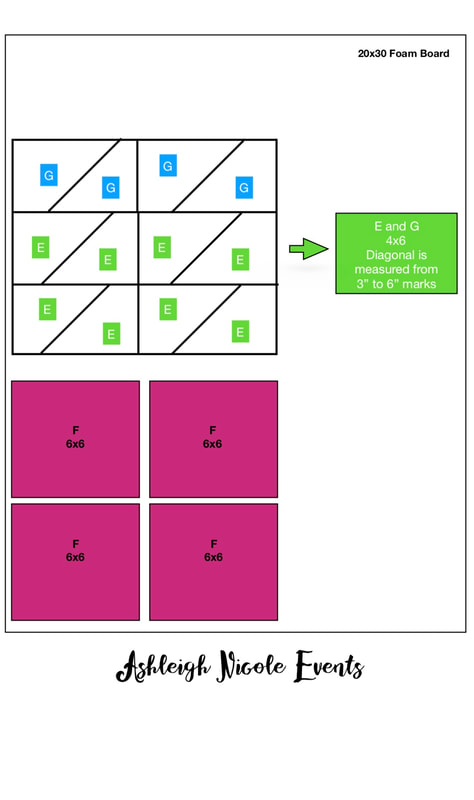
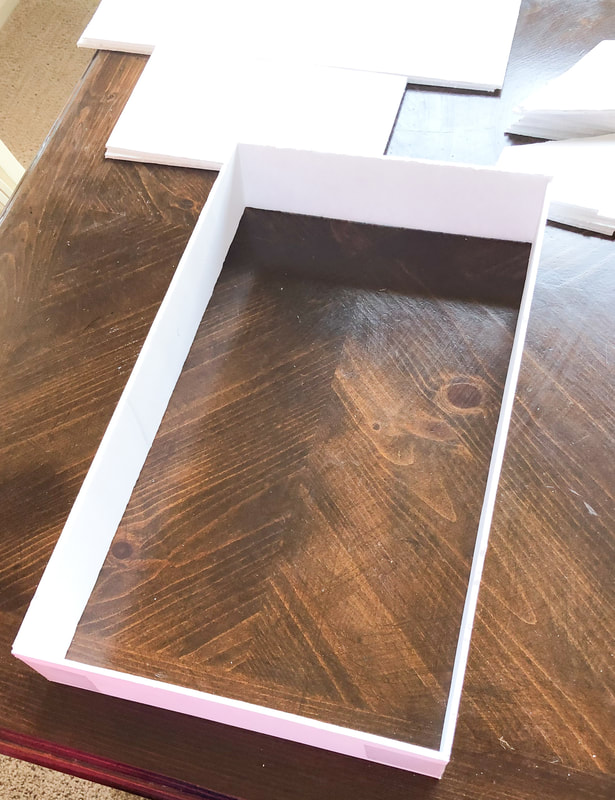
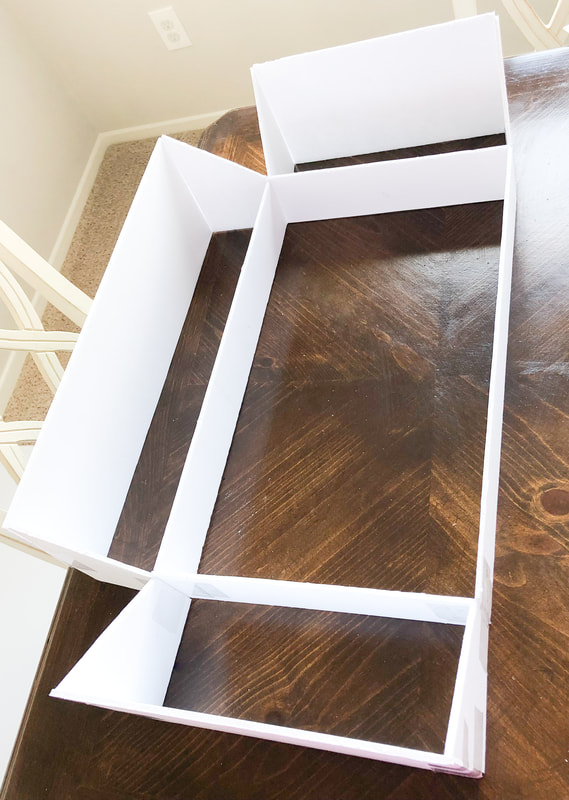
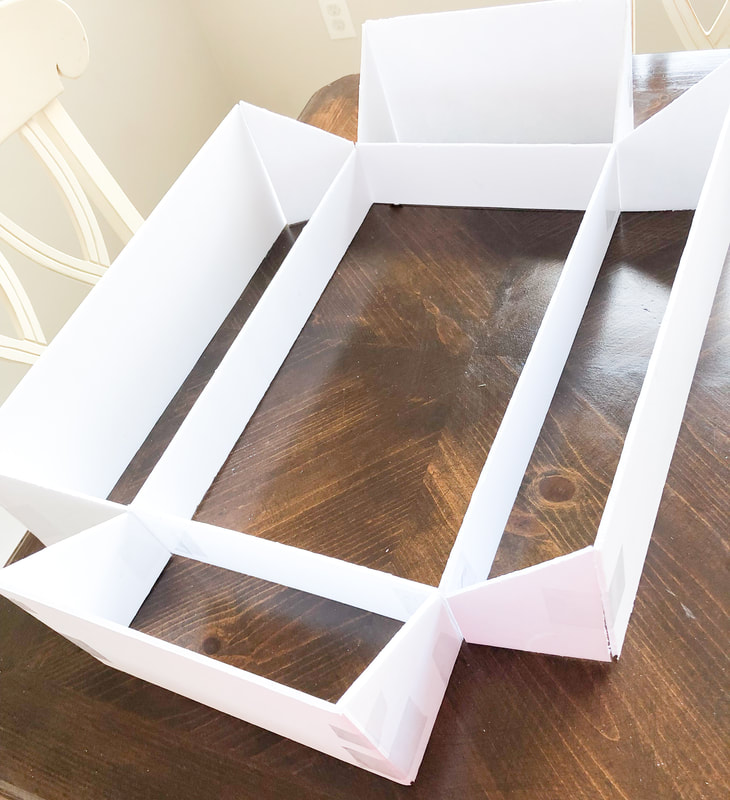
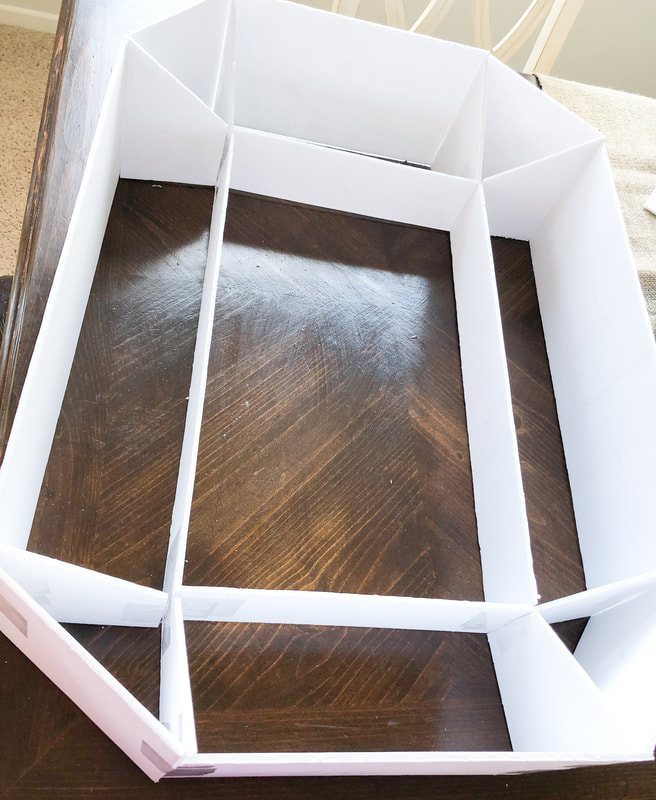
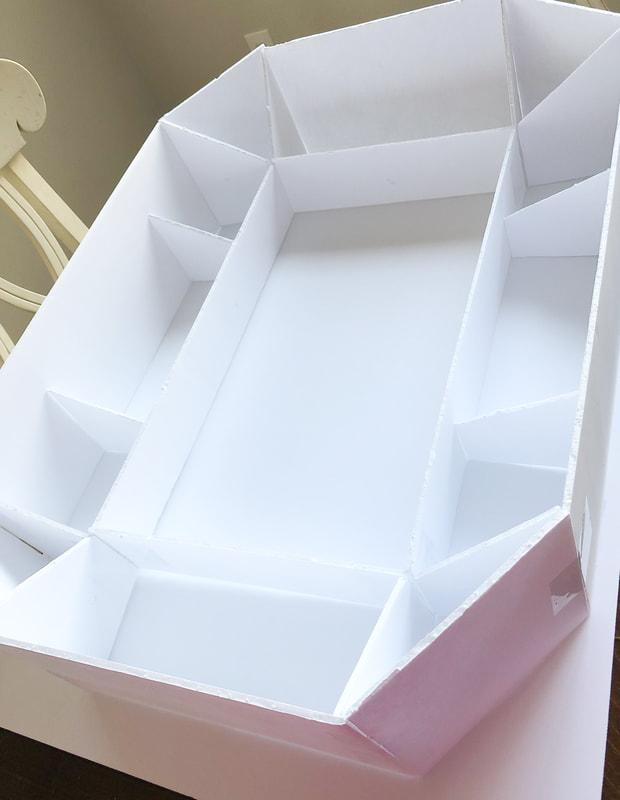
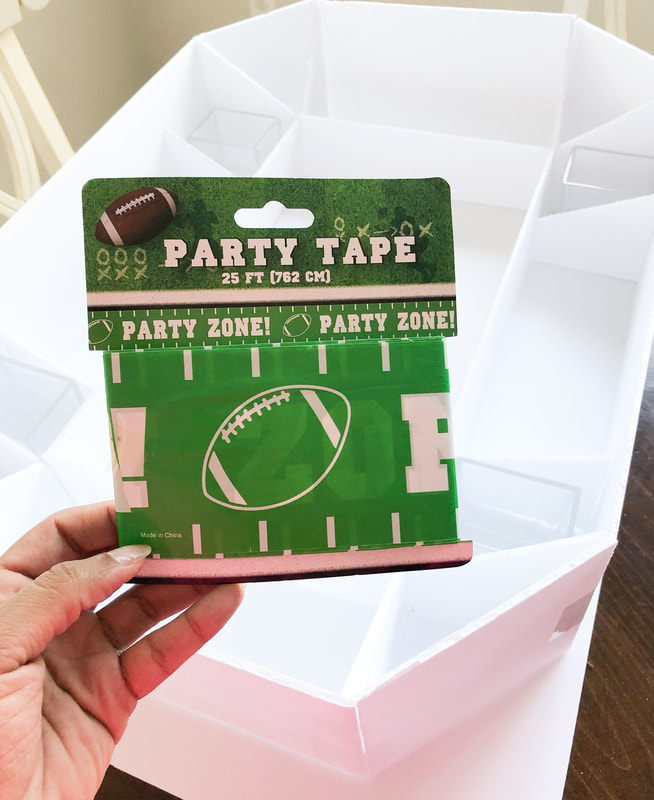
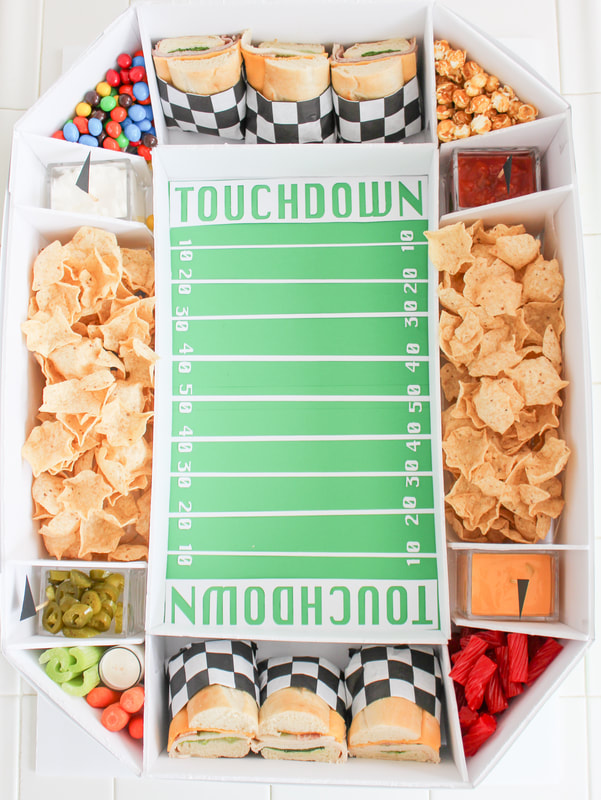
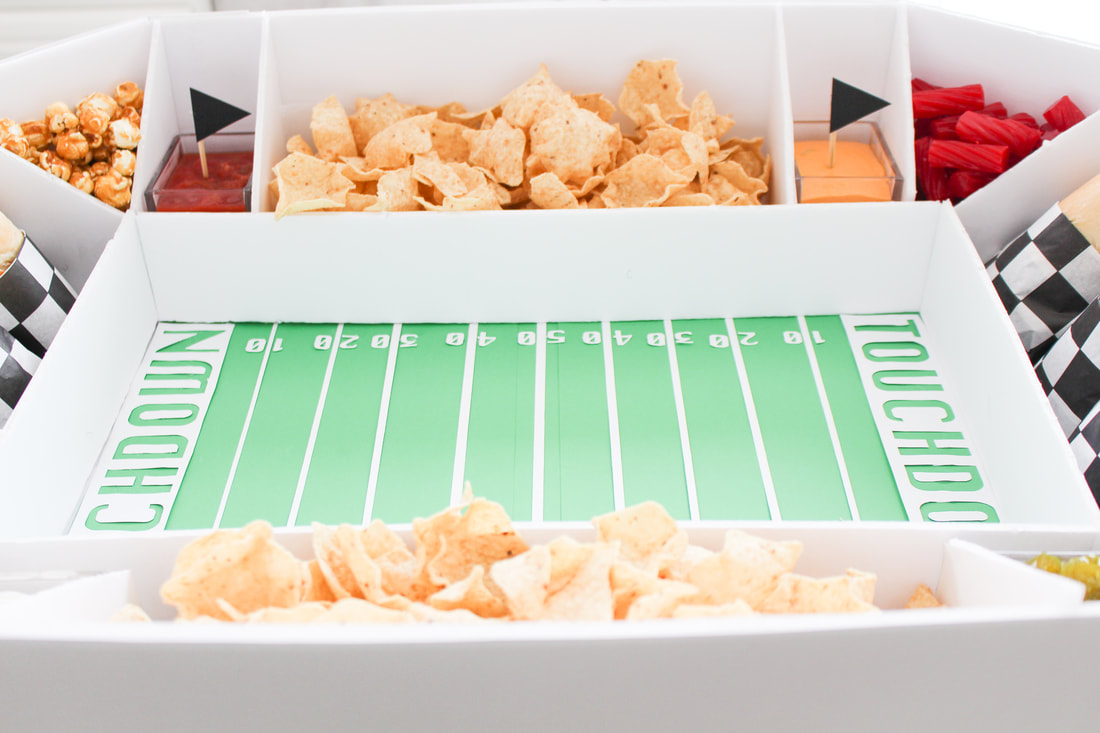
Stadium Snack Display! Was it easy to make? Nope. I like to craft kinda freestyle. Ya know, create as you go. I’m not a fan of exact measurements and when making this you have to be EXACT! I think I only cursed a few times and walked away from it twice. Not too bad. Materials (All purchased from the Dollar Tree, except Exacto Knife) 3 - 20x30 foam boards 2 - poster boards Clear packing tape “Party Zone” tape Ruler Exacto knife PATIENCE :) First, make your measurements.
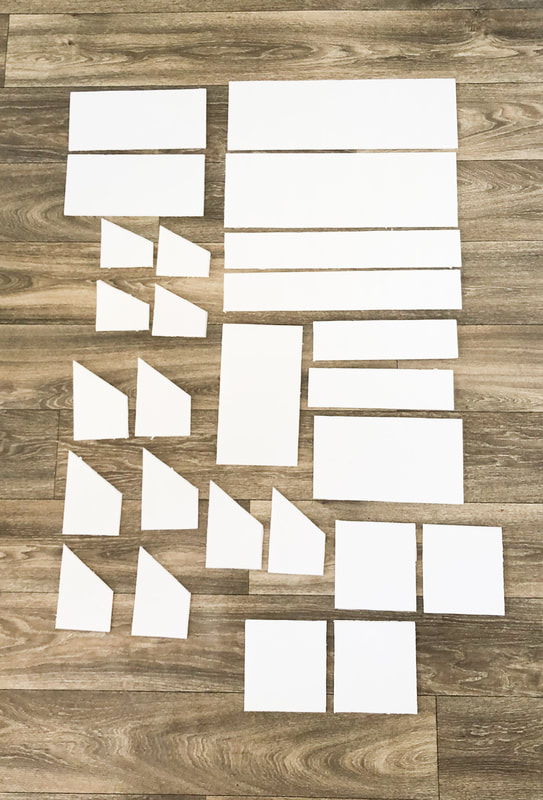
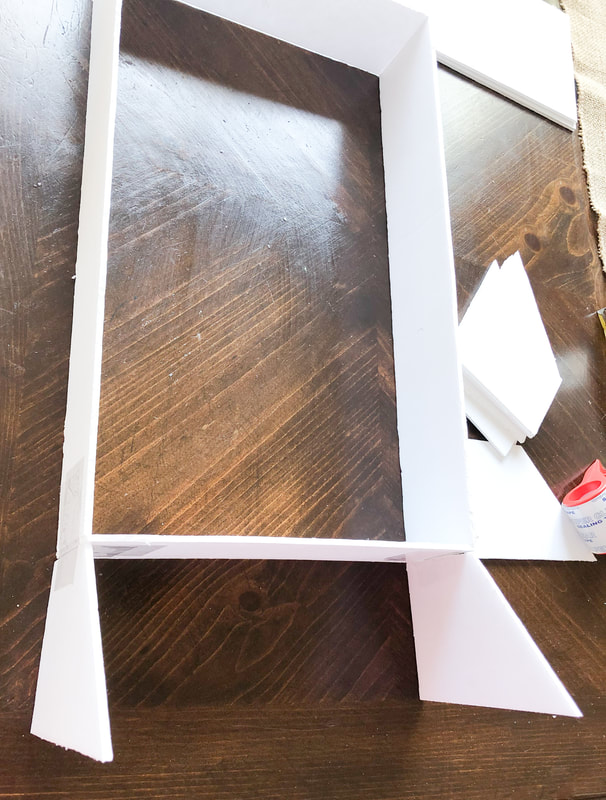
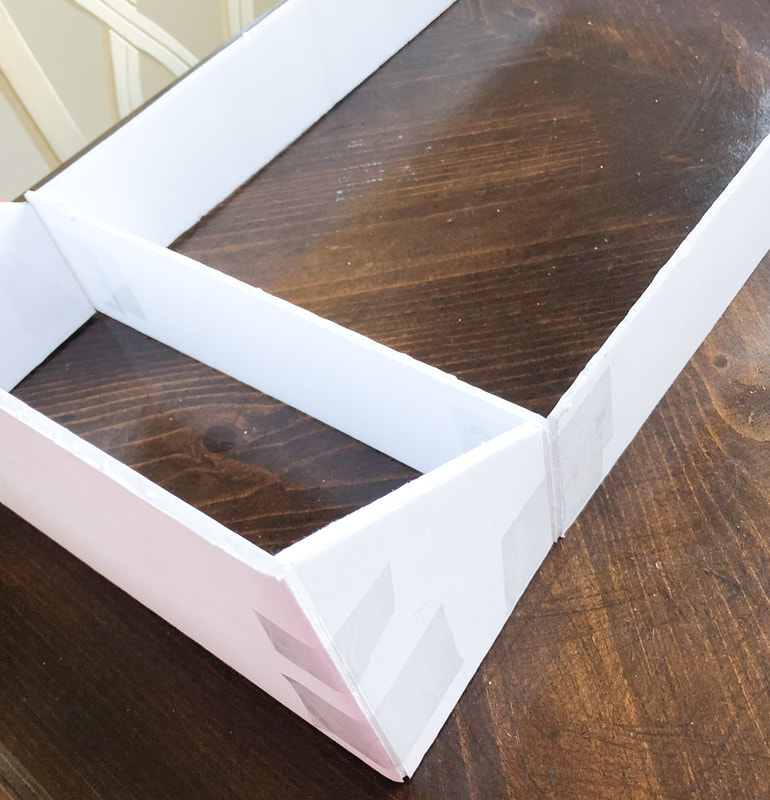
SEE DIAGRAM! (I made this diagram for a reason, it can be confusing. At least for me it was) 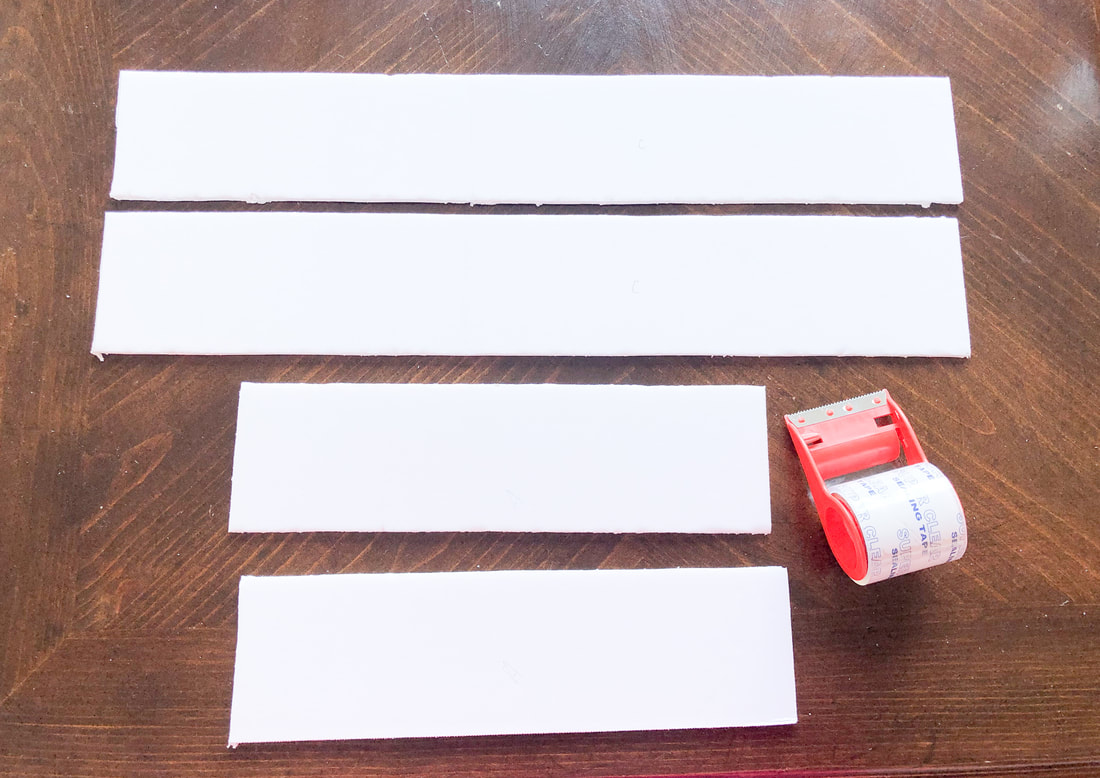 Now let’s cut and assemble!
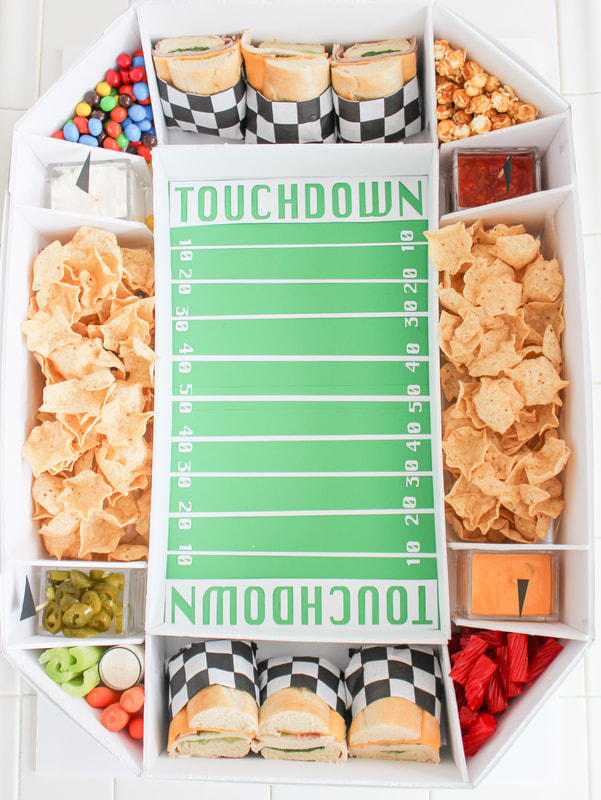
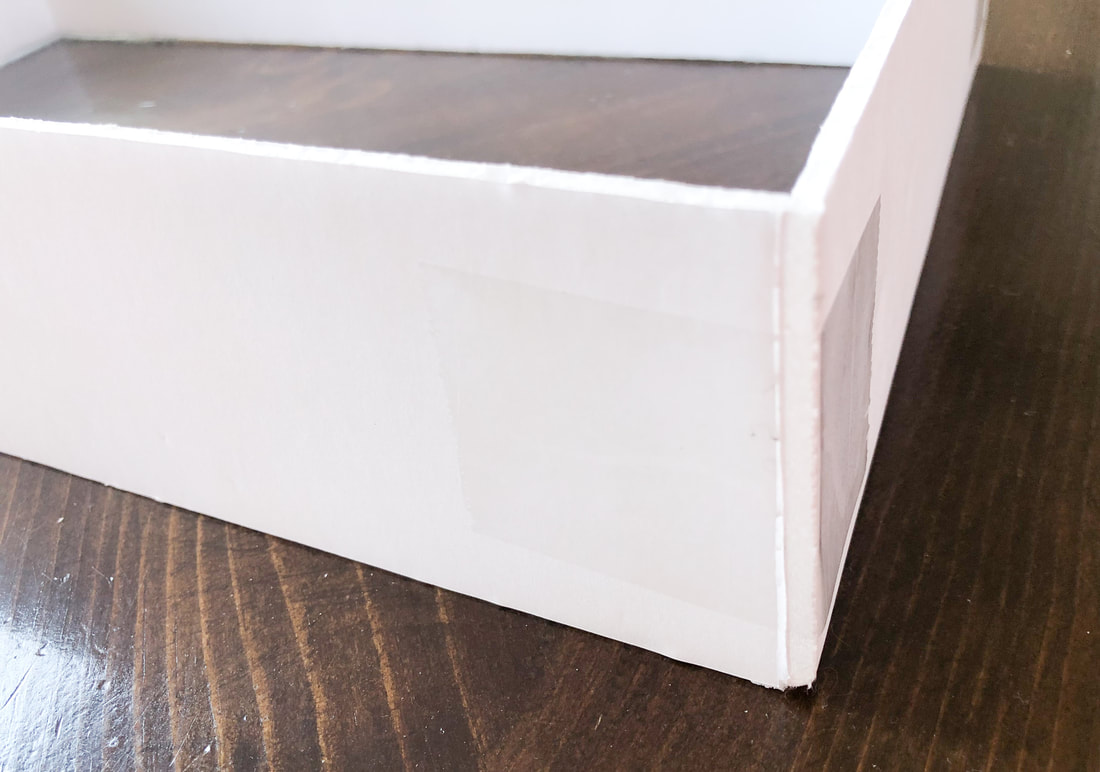
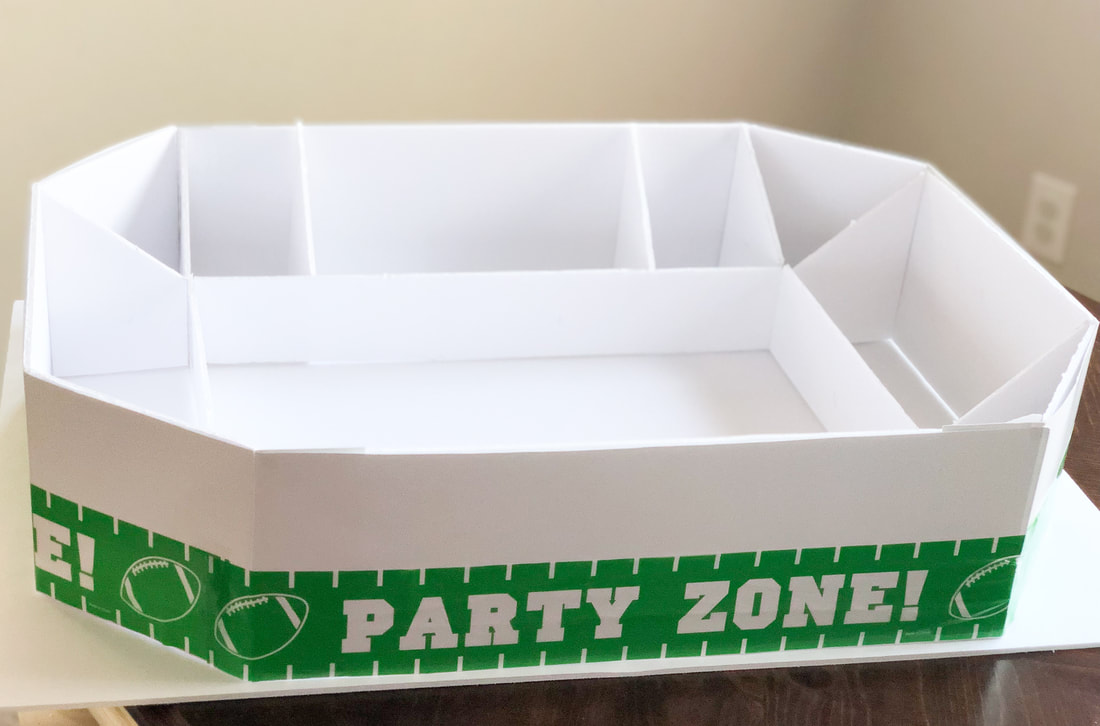
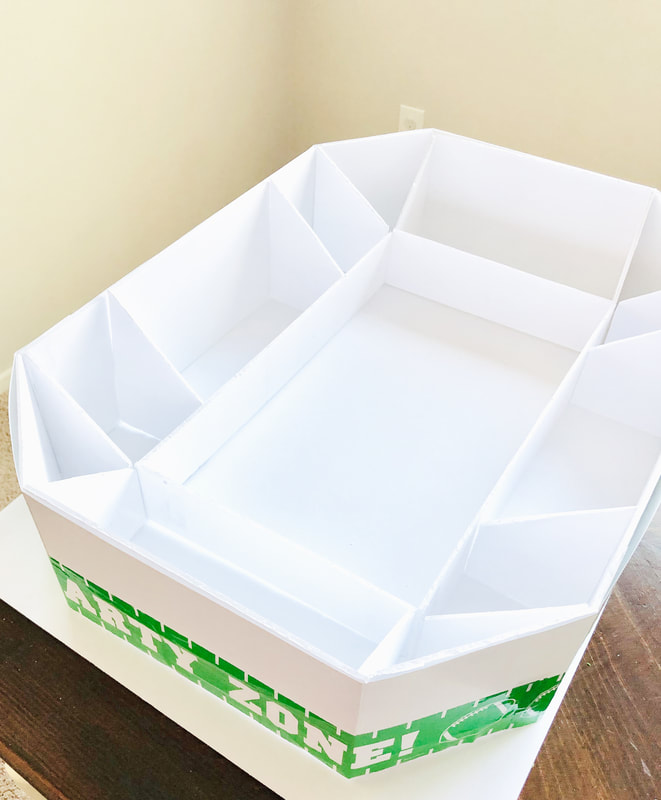
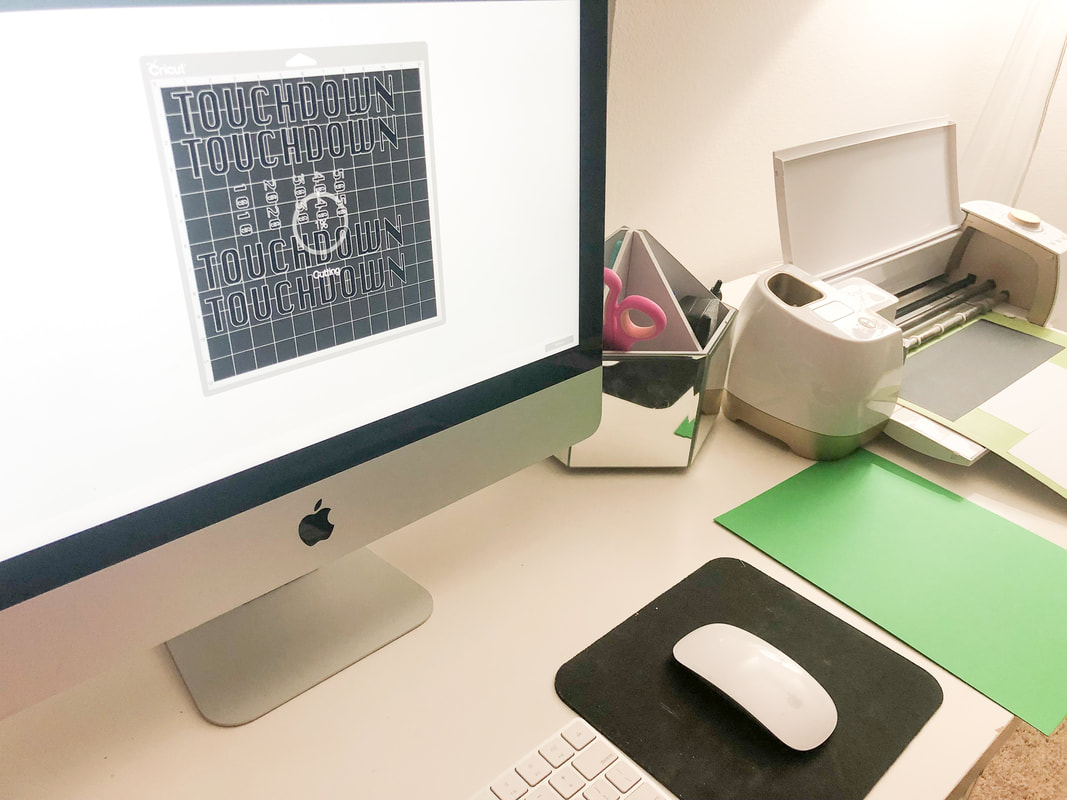
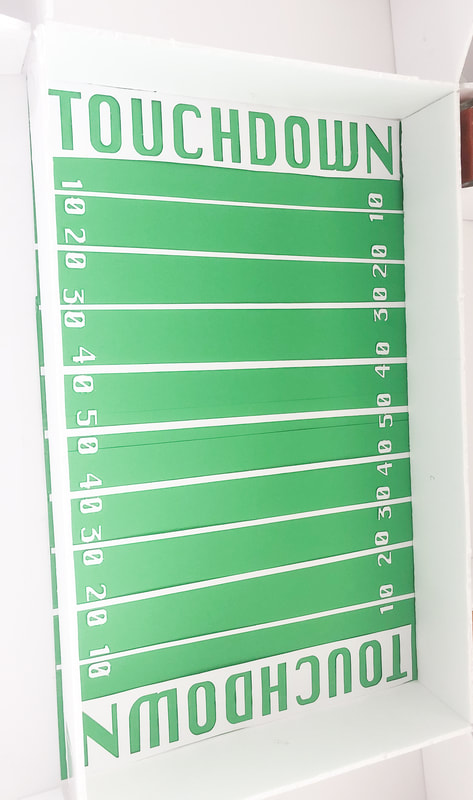
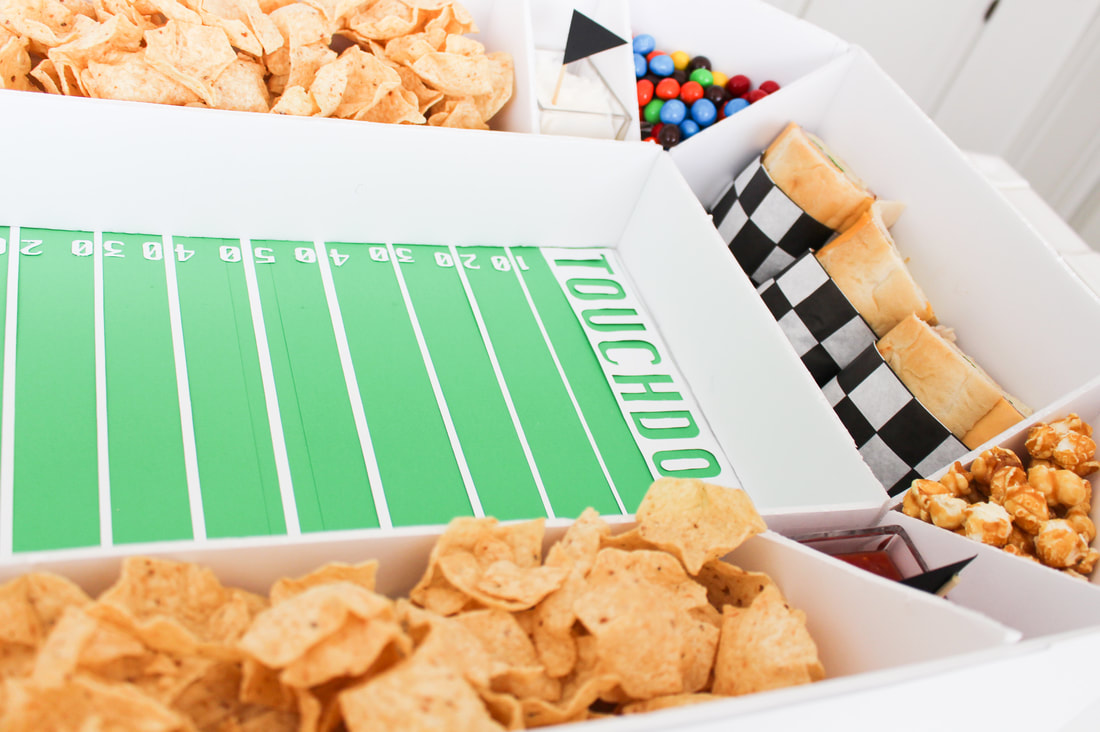
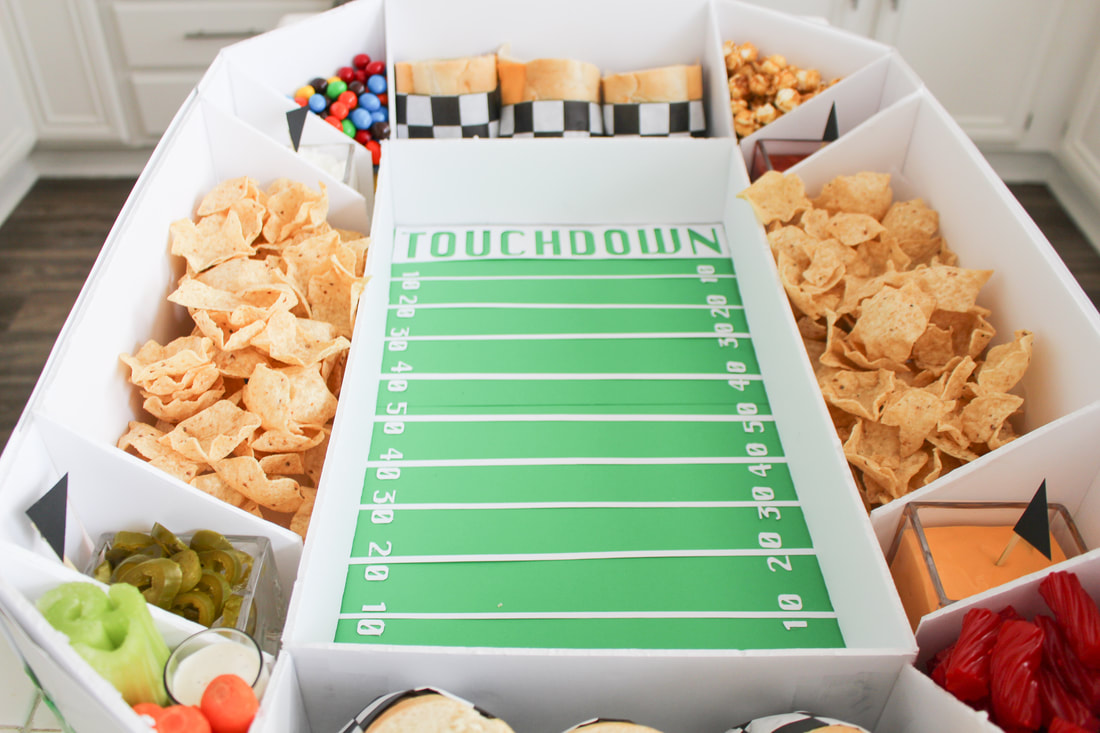
I personally did not like all the exposed tape and seams so I used the poster board to cover it all up! Cut the poster board in 6” strips length wise. (You’ll need 4 strips) Wrap it around the outside of your stadium while creasing at each corner. Tape to secure on the bottom. Add the “Party Zone” tape to decorate! So my printer is currently out of commission. I had to turn to my Cricut to make the field section. I sized and cut out the “Touchdown” sign and yard line numbers. I used a paper cutter for the actual yard lines. I centered and taped everything down to the base board. Now add your favorite party snacks! I added tortilla chips with salsa, jalapeños, sour cream and spicy cheese dip. I also added sub sandwiches wrapped in checkered wax paper. I threw in caramel popcorn, m&ms, twizzlers and carrots/celery w/ranch! Football stadium design was inspired by Diana Rambles.
0 Comments
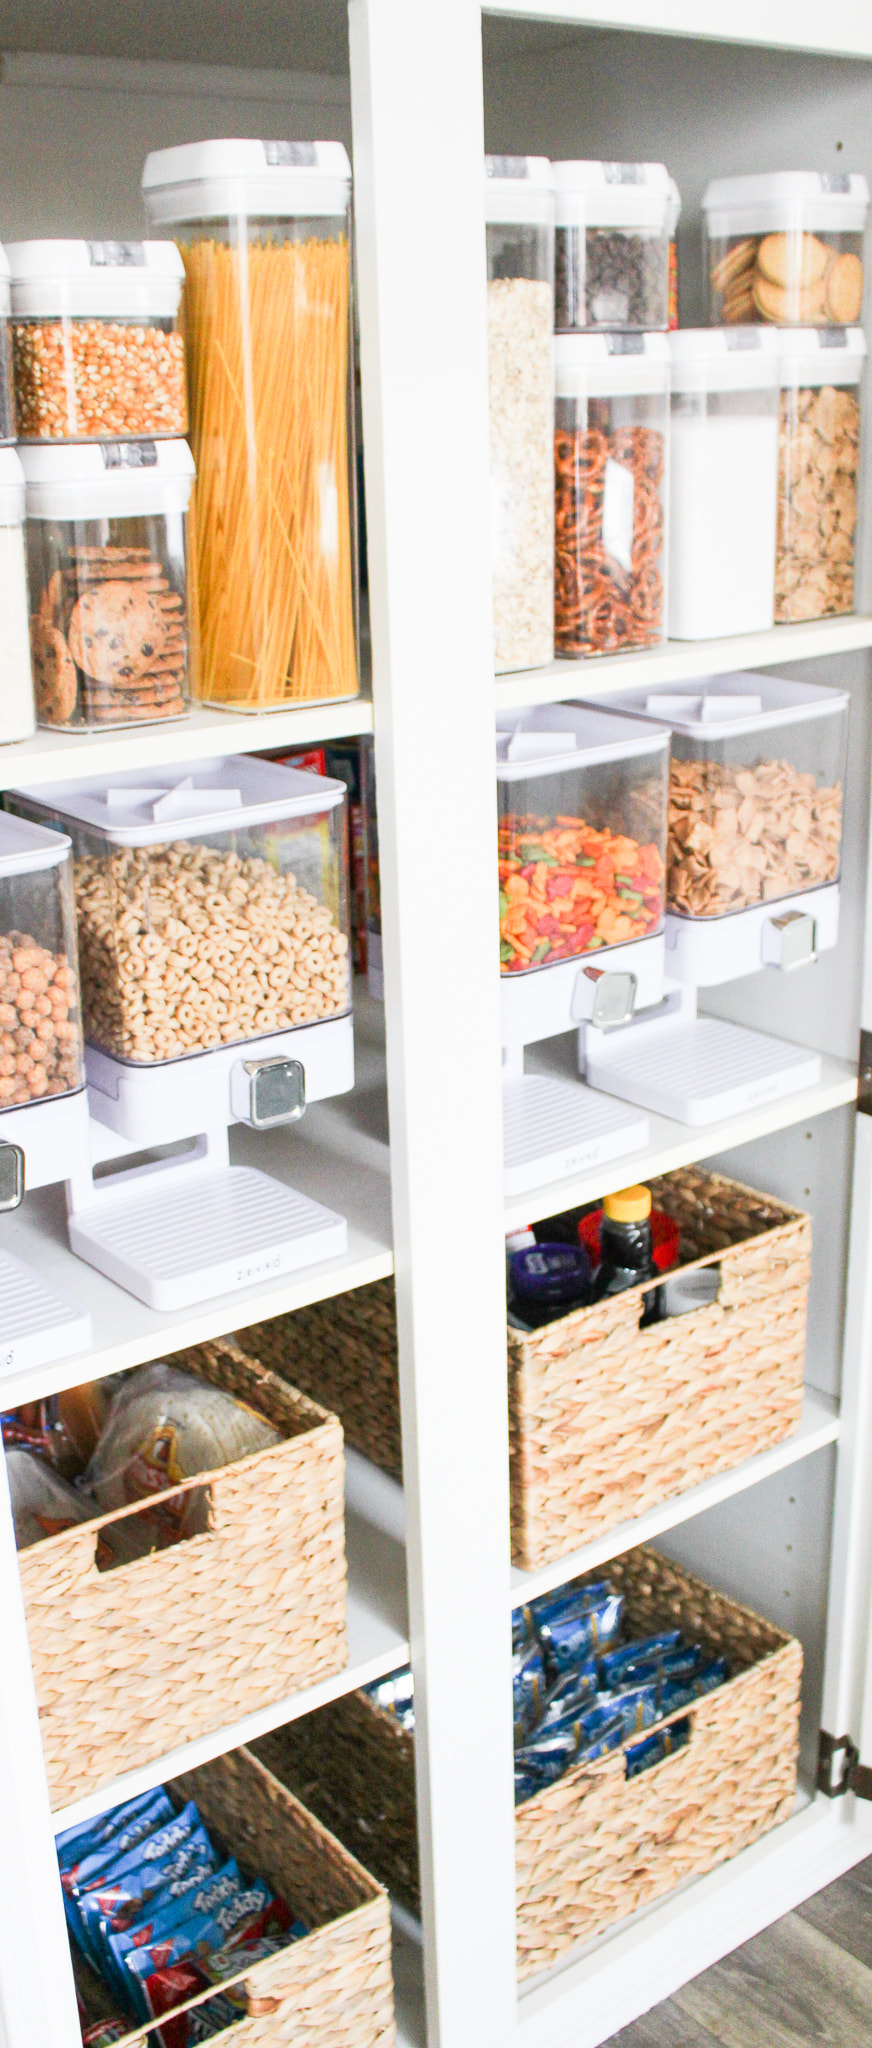
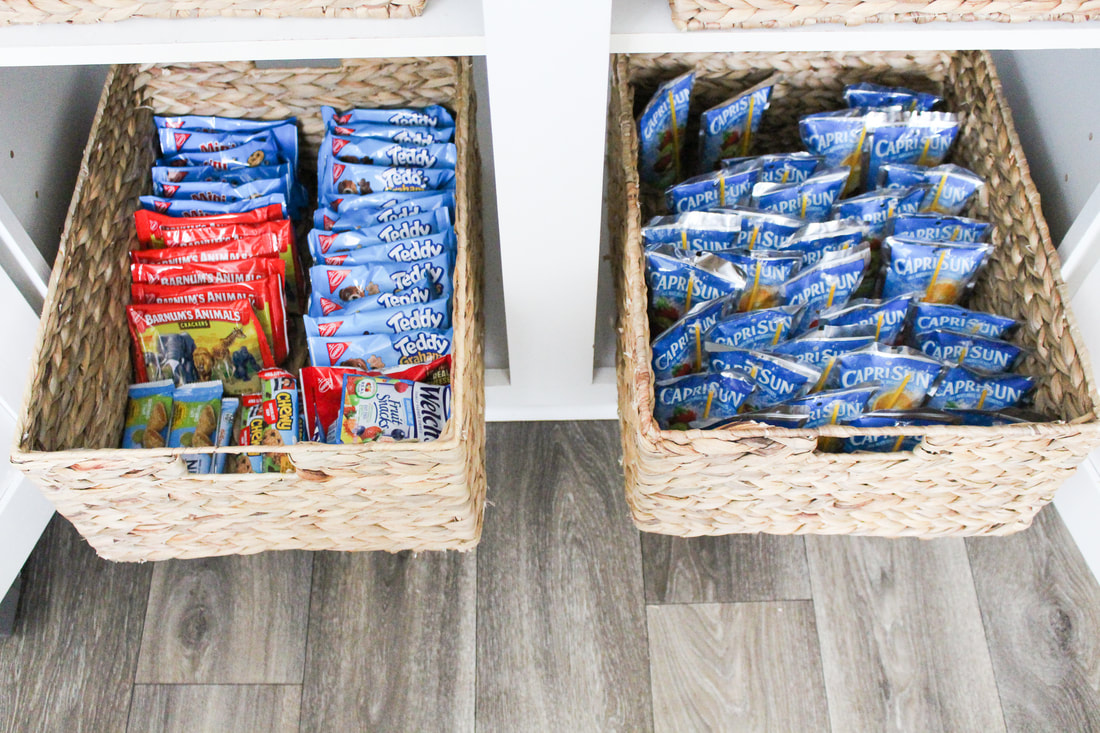
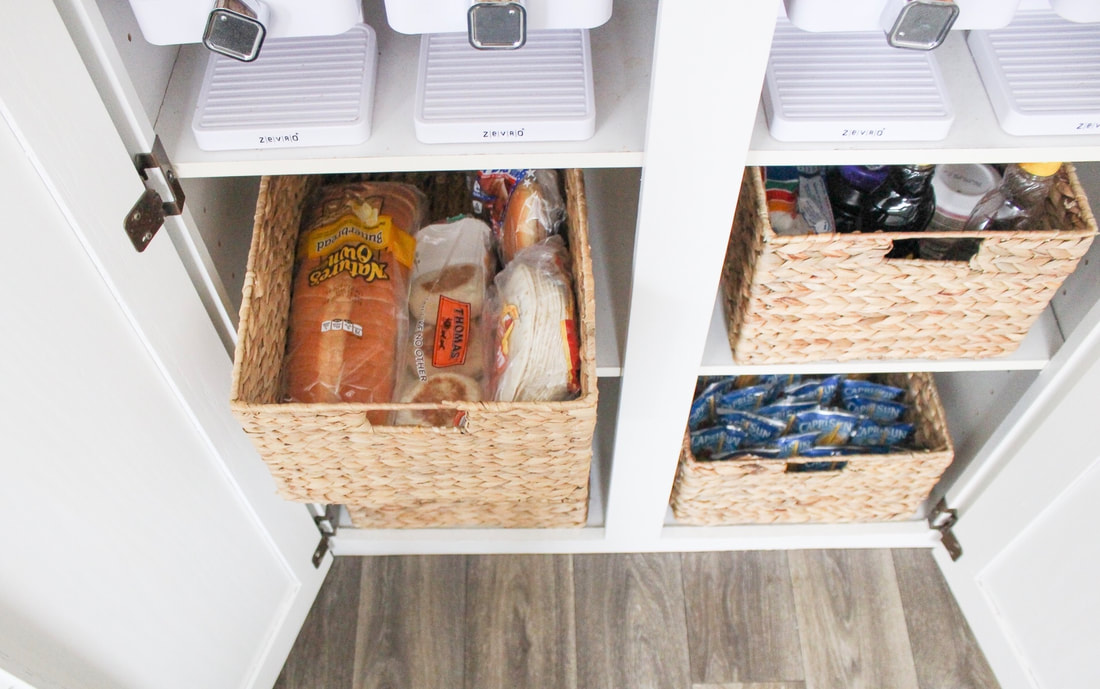
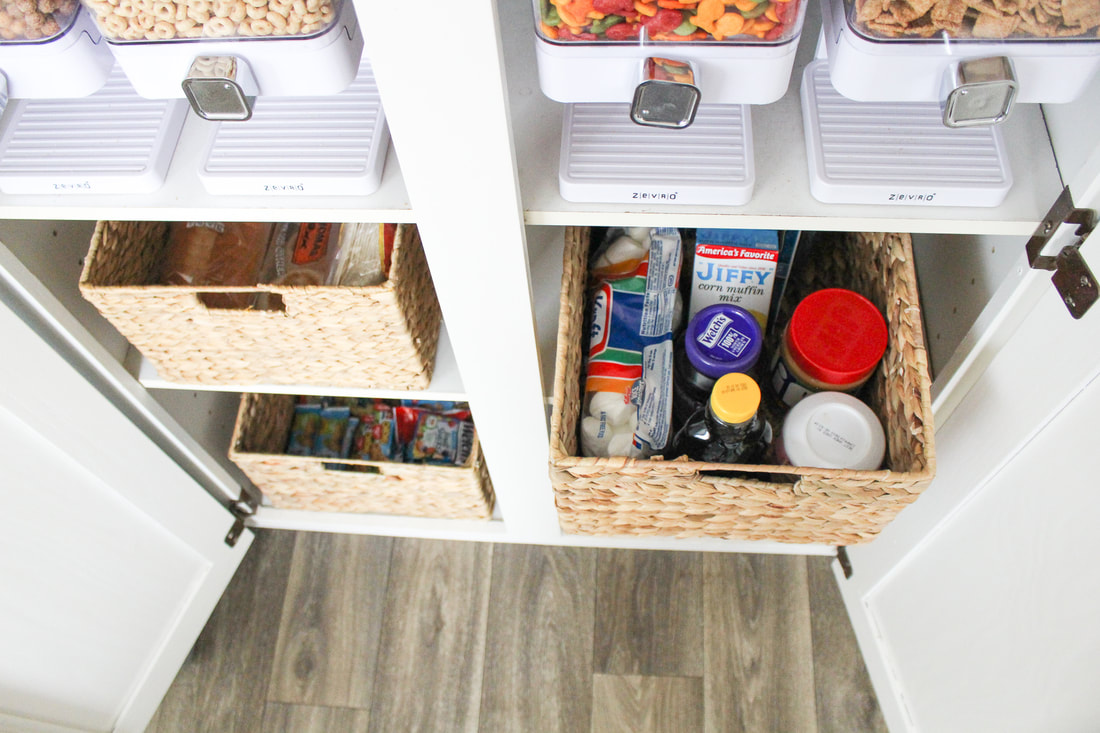
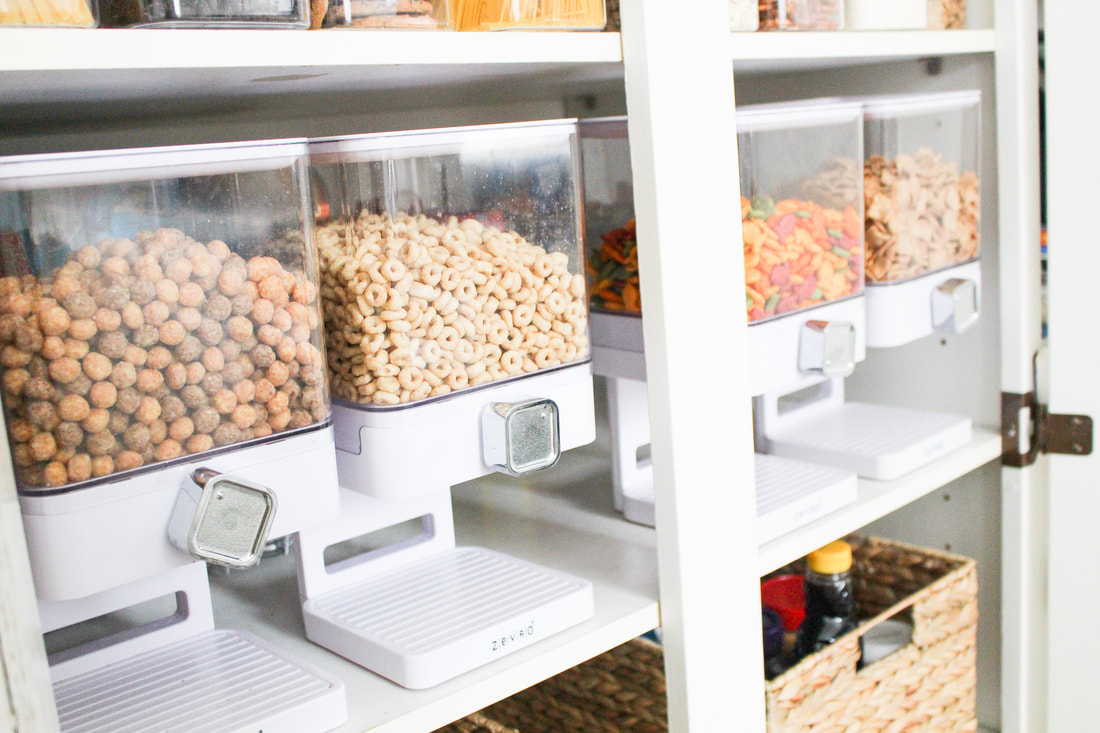
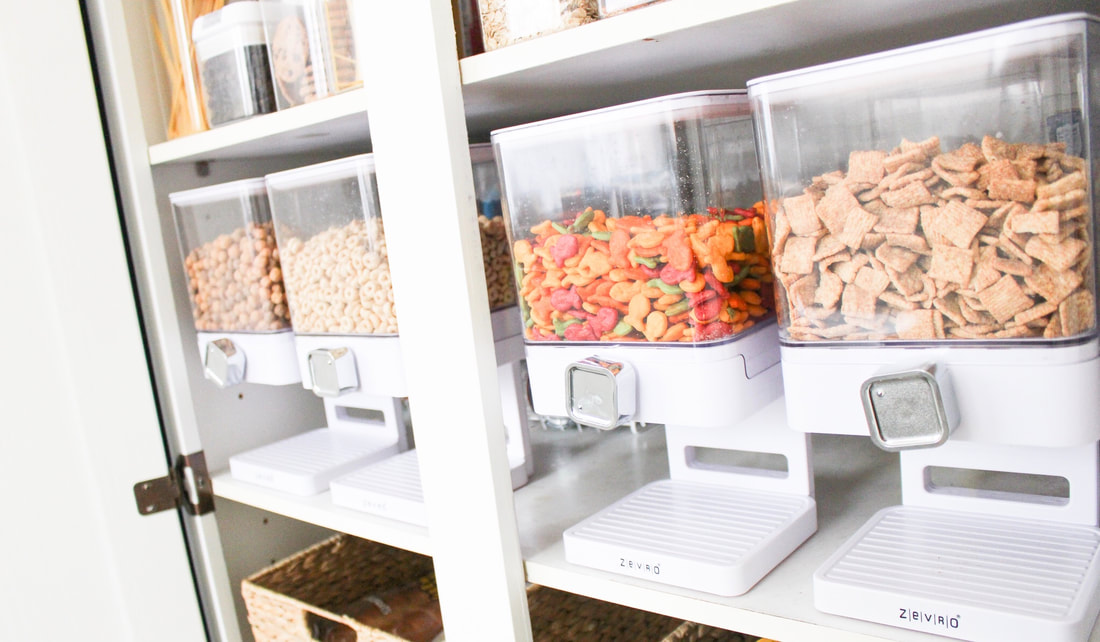
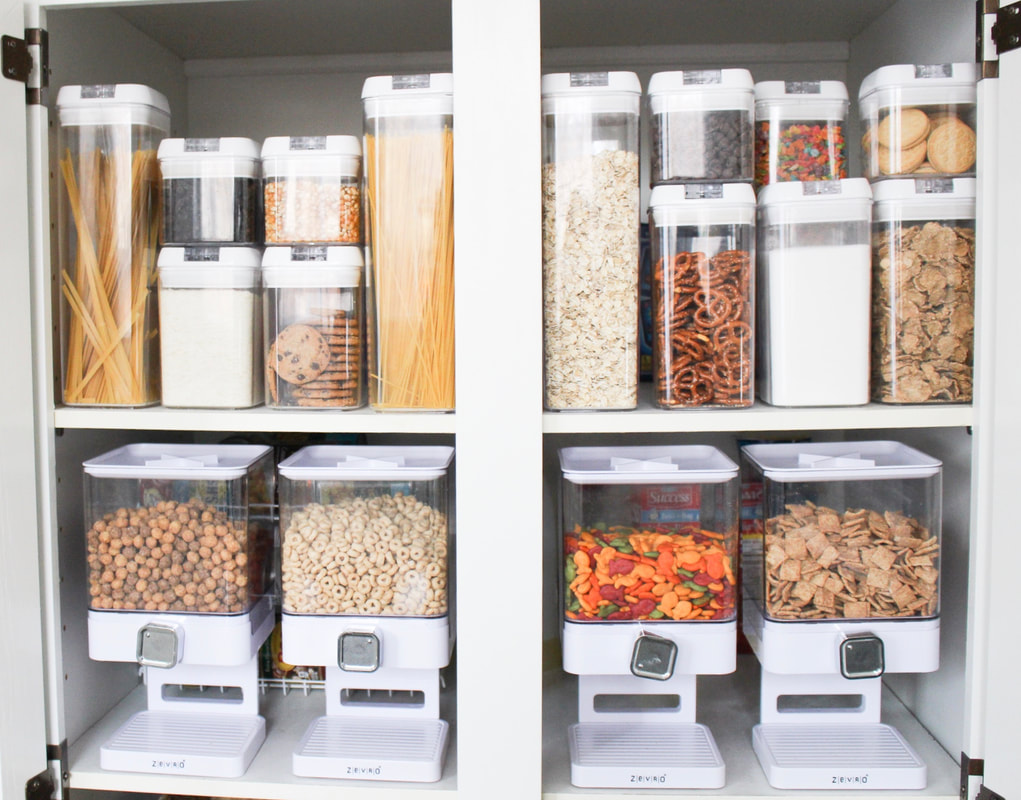
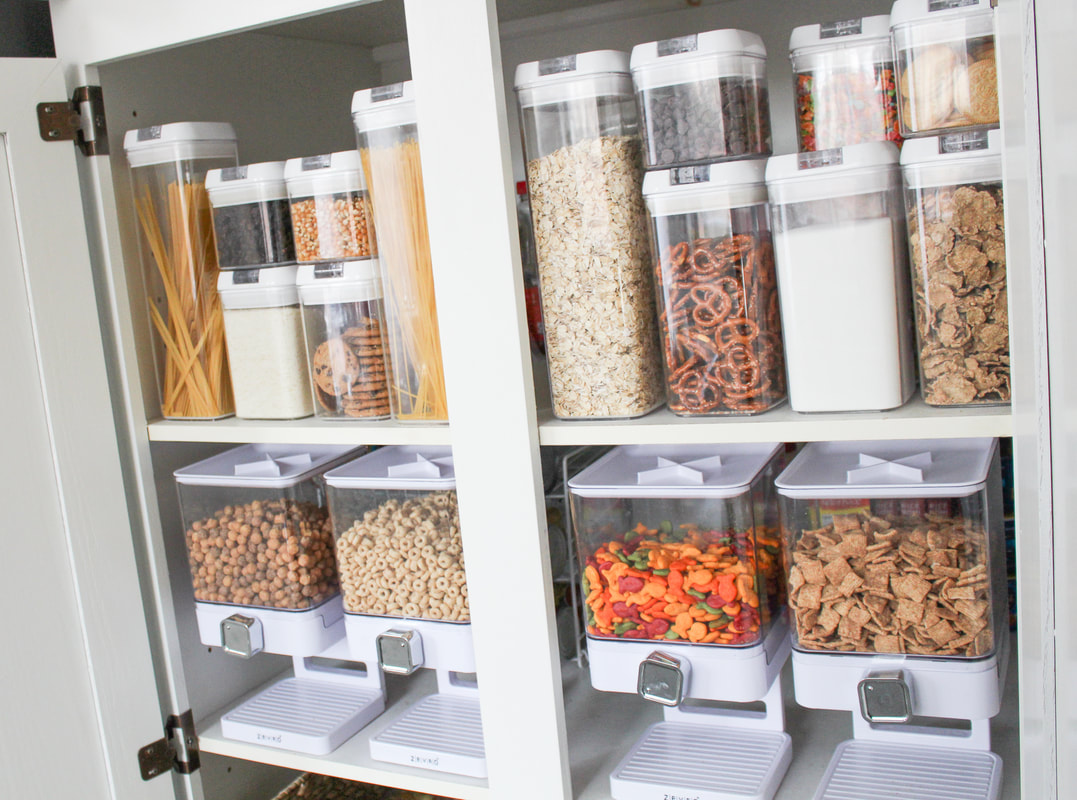
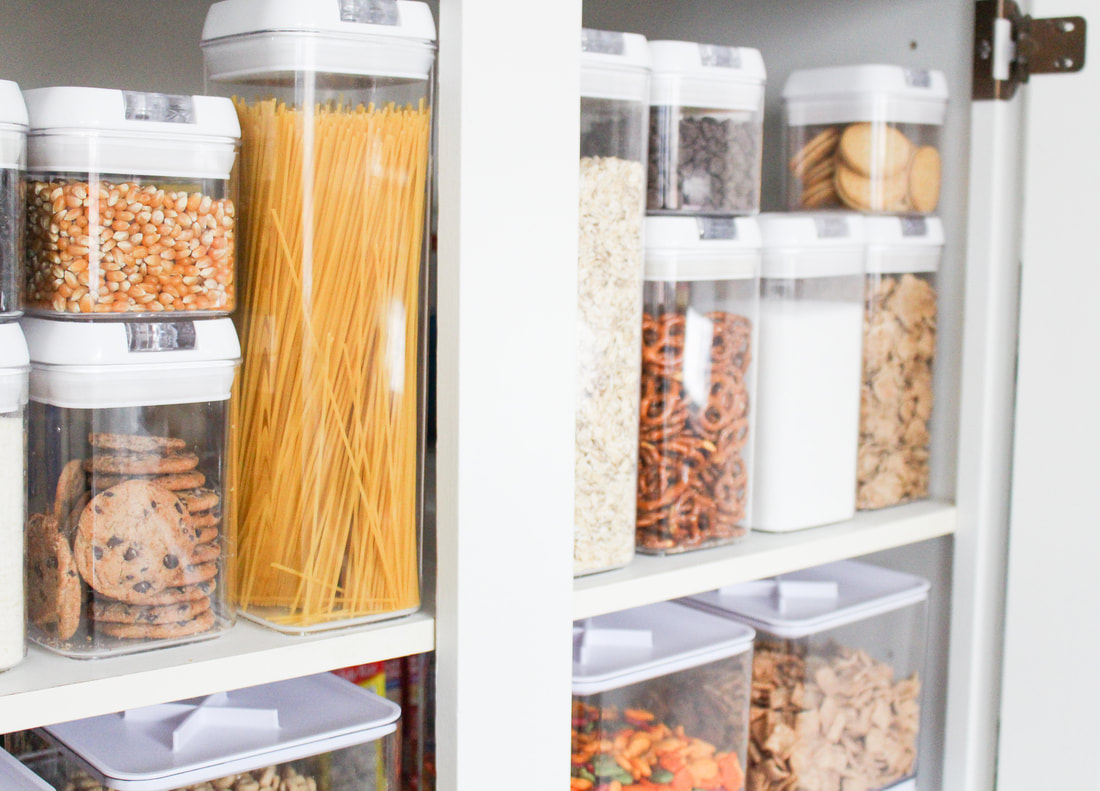
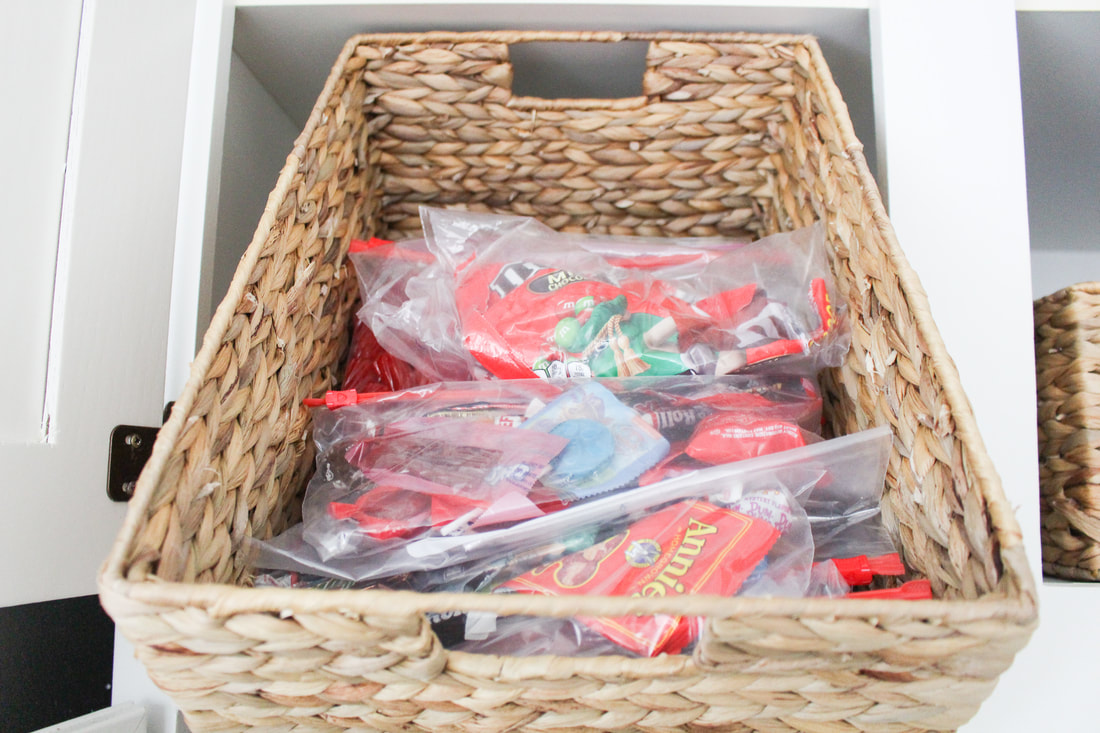
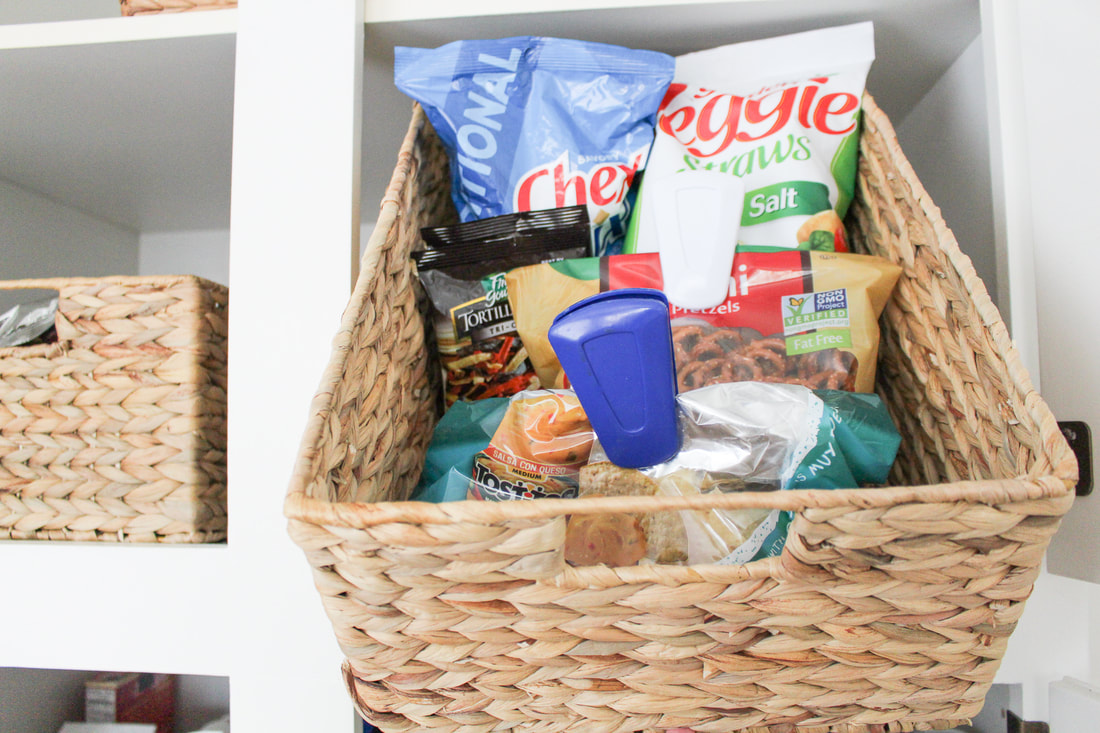
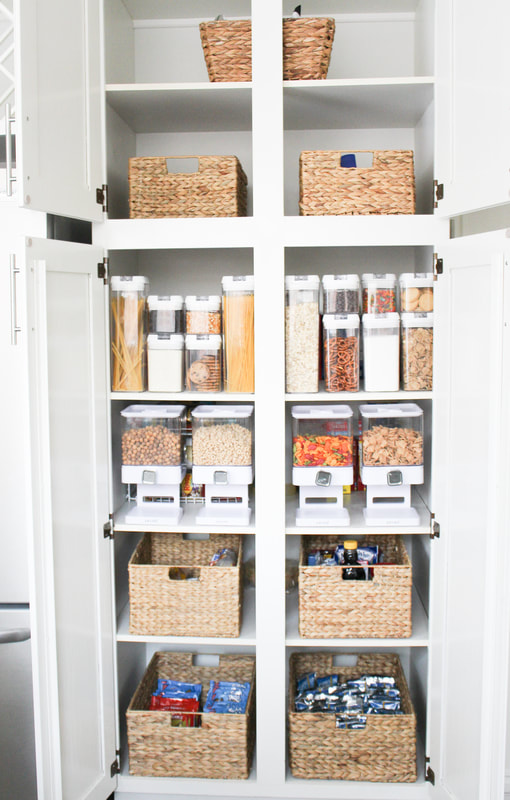
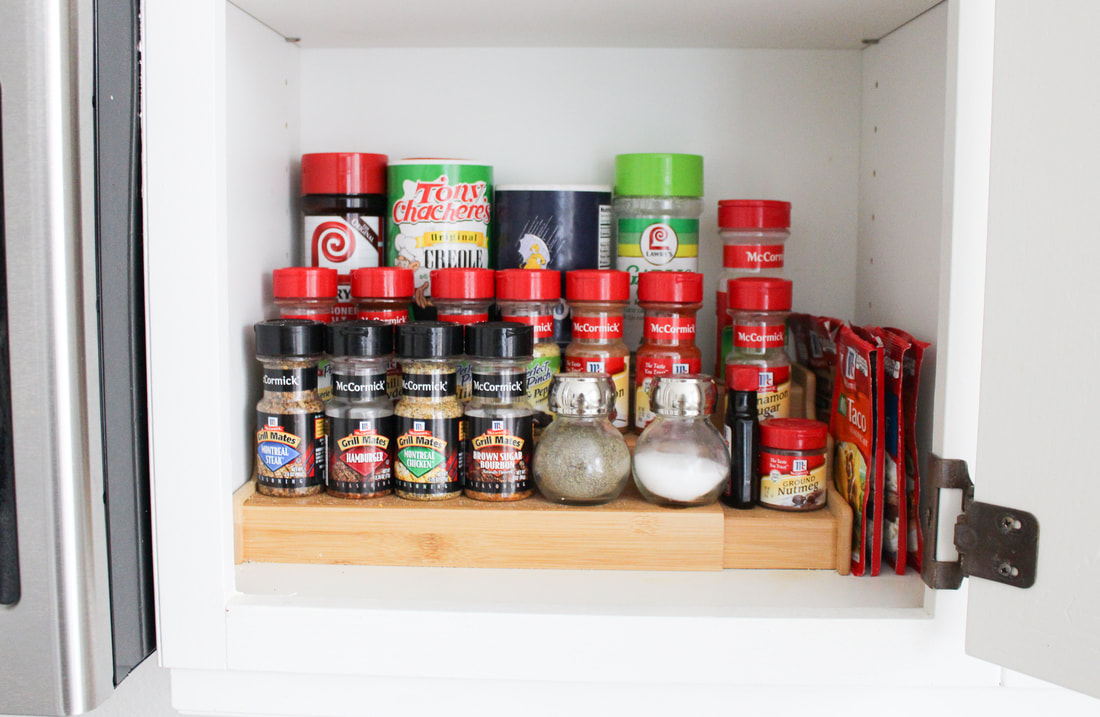
As promised, I'm going to show you guys whats in the pantry bins!!! Also, I've provided links to where I purchased everything. Enjoy! My kids were a huge priority when positioning the bins in the pantry. Kid snacks and drinks are always on the bottom. No more “mom can you please get me a snack?” Now they just ask for permission to get a snack and they can grab it themselves. Moving on to the next shelf of bins... But before we do I want to mention where I purchased the bins. It’s a mix between HomeGoods and The Container Store. The Container Store bins can be found HERE. I ordered the large size. Ok, moving on... for real this time. The bin on the left is for all bread items. We typically get english muffins, beagles or raisin bread, a regular loaf of bread and hotdog/hamburger buns. Oh and tortillas! Cause, you know... TACOS! 🌮 The other bin is kinda a catch all bin. It contains muffin and corn bread mixes, pancake syrup, marshmallows, pink lemonade mix, etc. There’s no particular rhyme or reason to this bin. It’s like the junk drawer of the pantry. The next shelf is my kids favorite section. (Besides the snack bin) The cereal row!!! I purchased the cereal dispensers from Wayfair HERE. My boys love the dry food dispensers. Easy for little hands to use. They can pick and easily reach their own cereal. When I was online shopping for these, I was torn between two styles. Then I looked at the dimensions and this is the only one that would fit in my cabinet space. Problem solved! (Other opinion found HERE) I get asked alot about if the dispensers keeps the cereal fresh... Answer - It has the same lifespan as a regular cereal box. The dispensers are just easier for my children to use independently. Each dispenser will fit 1 regular size box of cereal. The next row is alllll of the containers that hold our most used dry foods. Oatmeal, pretzels, cookies, sugar, pancake mix, raisins, popcorn, etc. 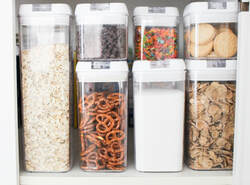 Love seeing everything all at once. Takes the guess work out of making grocery list. No more opening or shaking every box to check the quantity. Easy to see if something is running low and it looks sooooo pretty! Oh and it keeps the freshness longer, that’s important too! I found these containers on Amazon HERE. Unfortunately, I don’t recommend the containers that I’m currently using. Only because they are 8 months old and a couple lids have already broken. (And I’m fairly gentle with them) 😢 I’ll be using the rest of these containers until they go to container heaven then I’ll be replacing with a completely different style. #savage I have to say that they do keep the pantry food fresher longer. Plus for that. Oh and my kids notice and constantly remind me when we’re out of cookies. My little helpers ;) Above the containers are two additional bins. The left bin contains candy and other sweet treats. (Out of reach for the kids) The right bin keeps our chips and salty snacks. Lastly, there one more small bin at the very top. (I have to use a step stool to reach it) It contains all of my Wilton candy melts. I have about 11 bags so they definitely need their own bin. And that’s it guys! You’ve seen it all. Just kidding :) Here’s how I store the canned goods. I purchased the storage rack HERE. 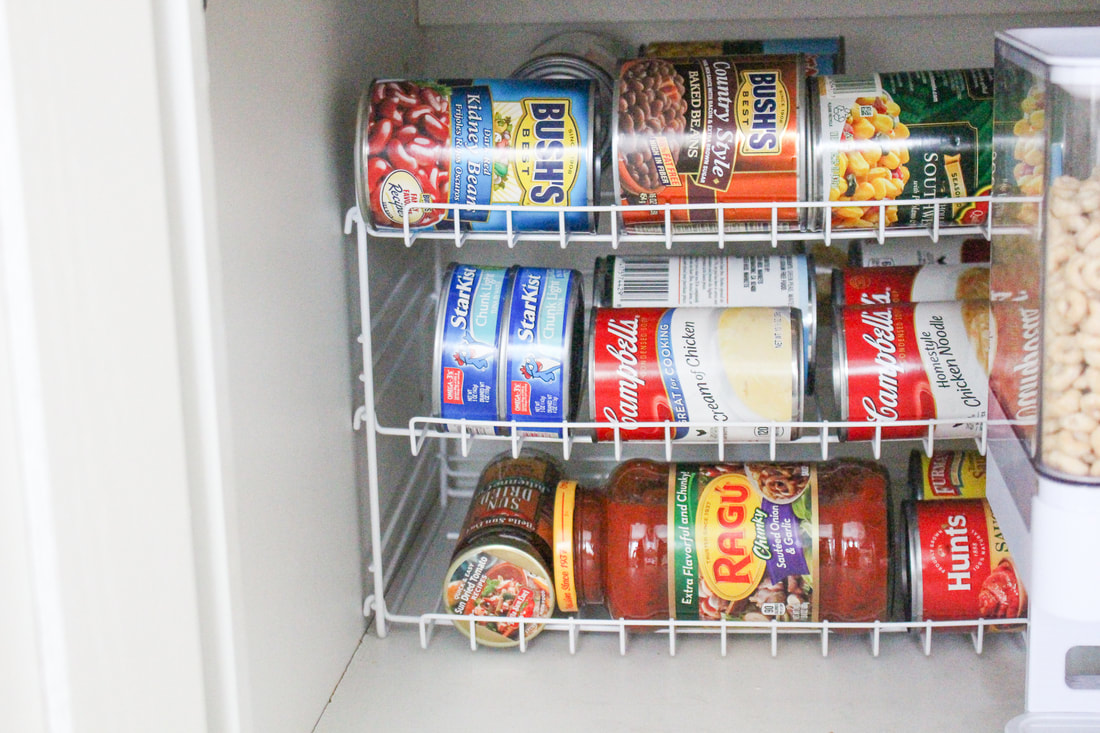 This is a portion of my spice storage area. It’s located in a upper cabinet next to the stove. I used a wooden stadium style extendable spice rack. I purchased it from Walmart HERE. I’ve also seen them on Amazon. No my pantry isn’t always organized and definitely not perfectly lined up all the time. Nope, not even most of the time.
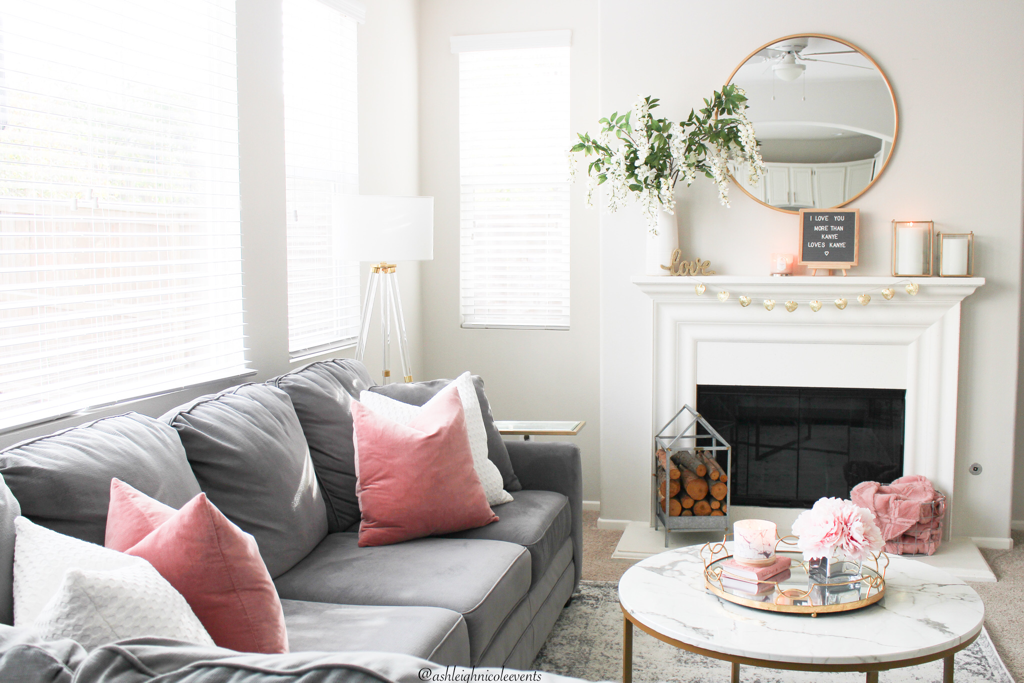
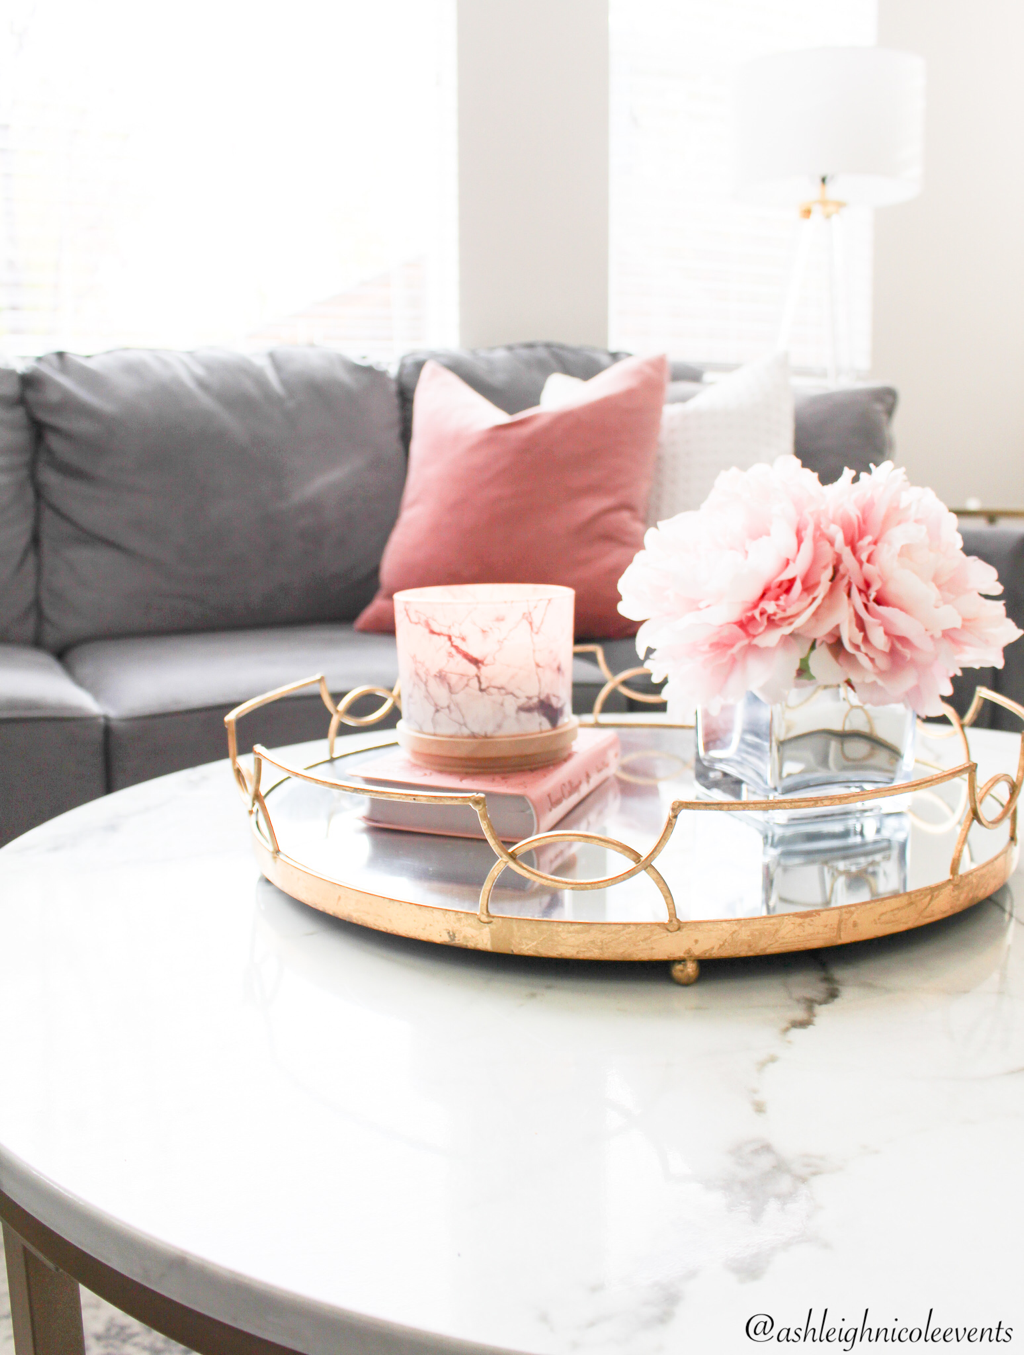
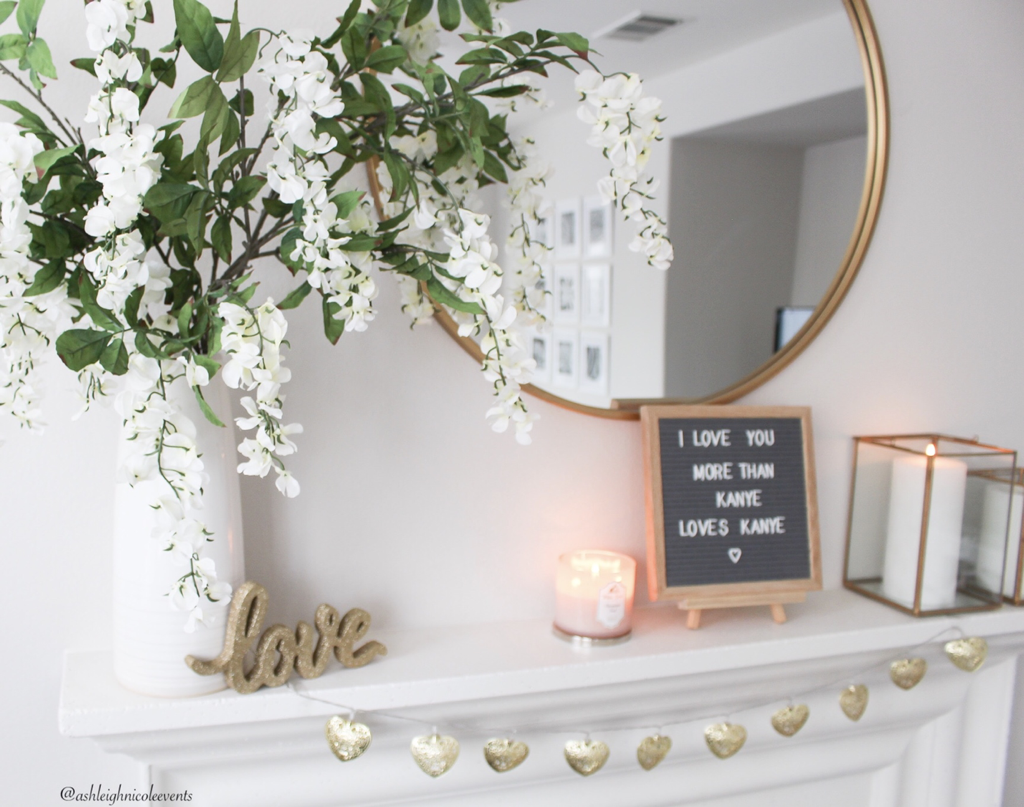
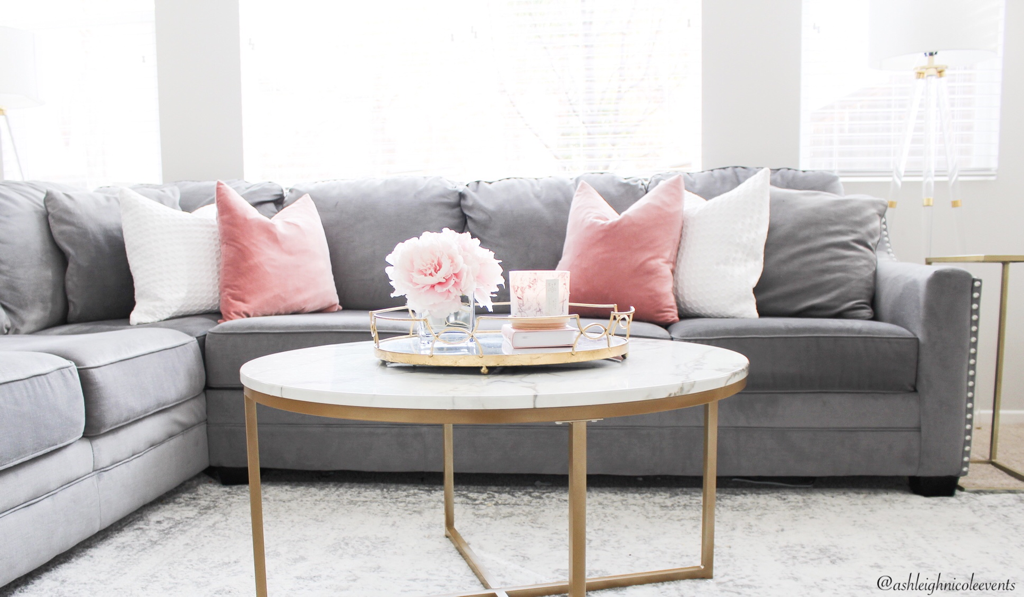
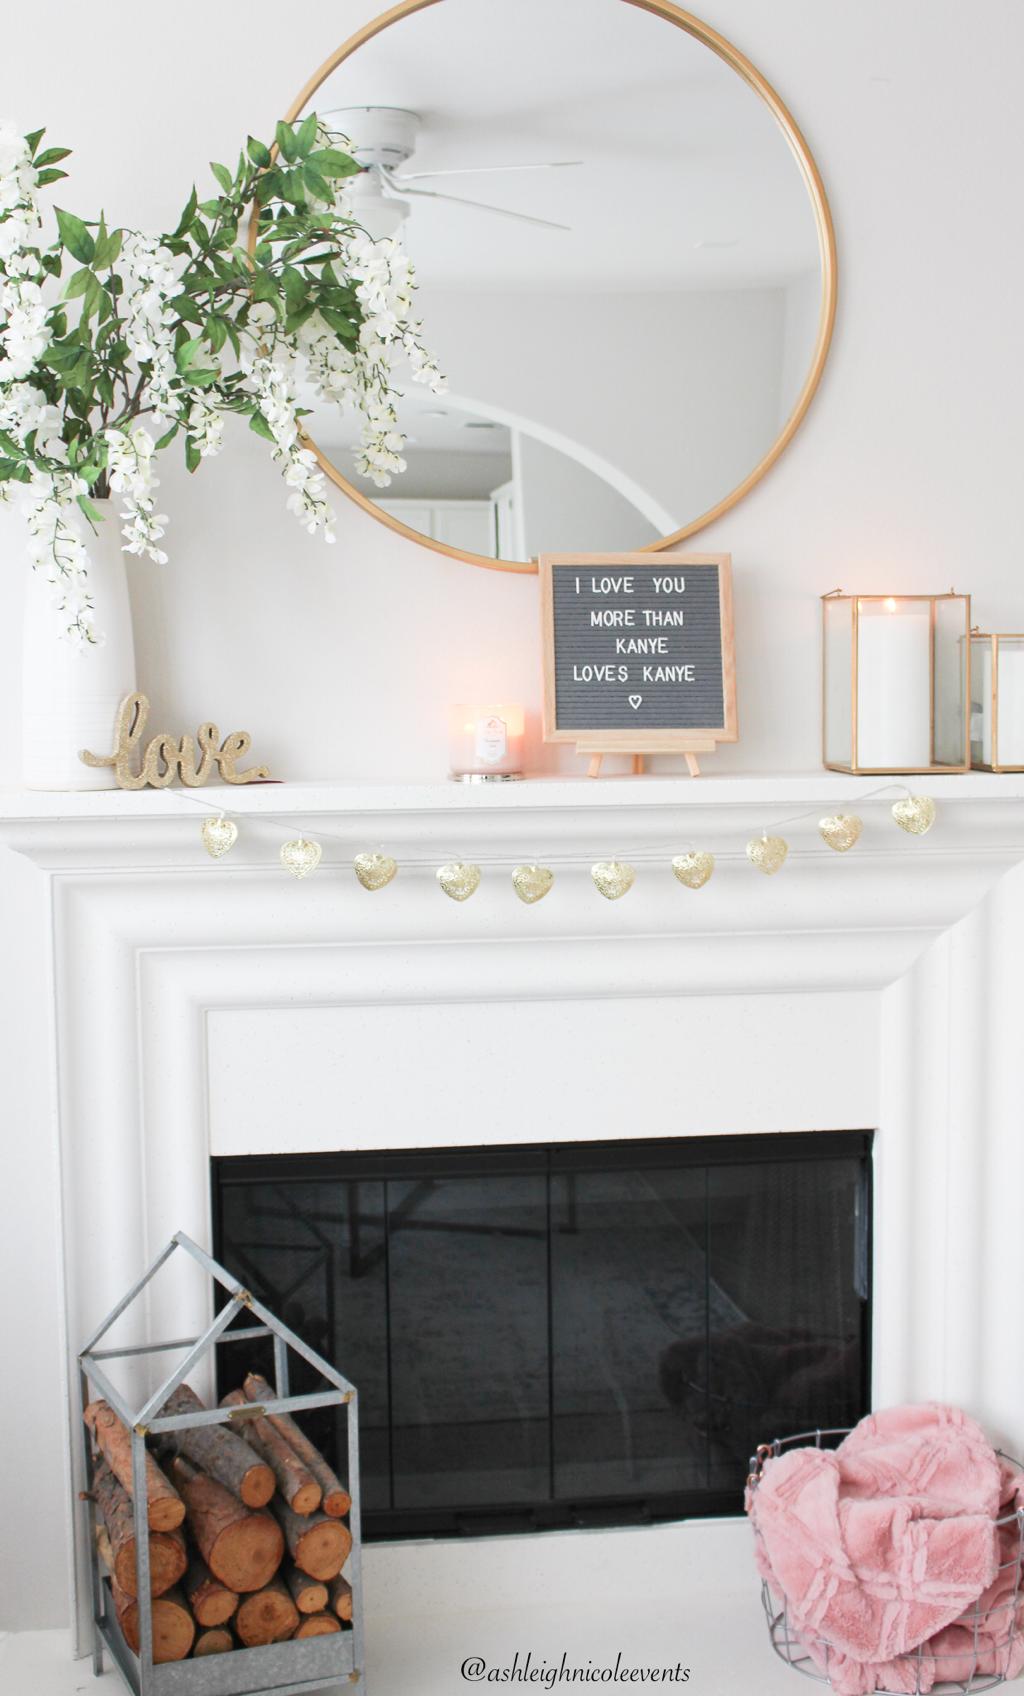
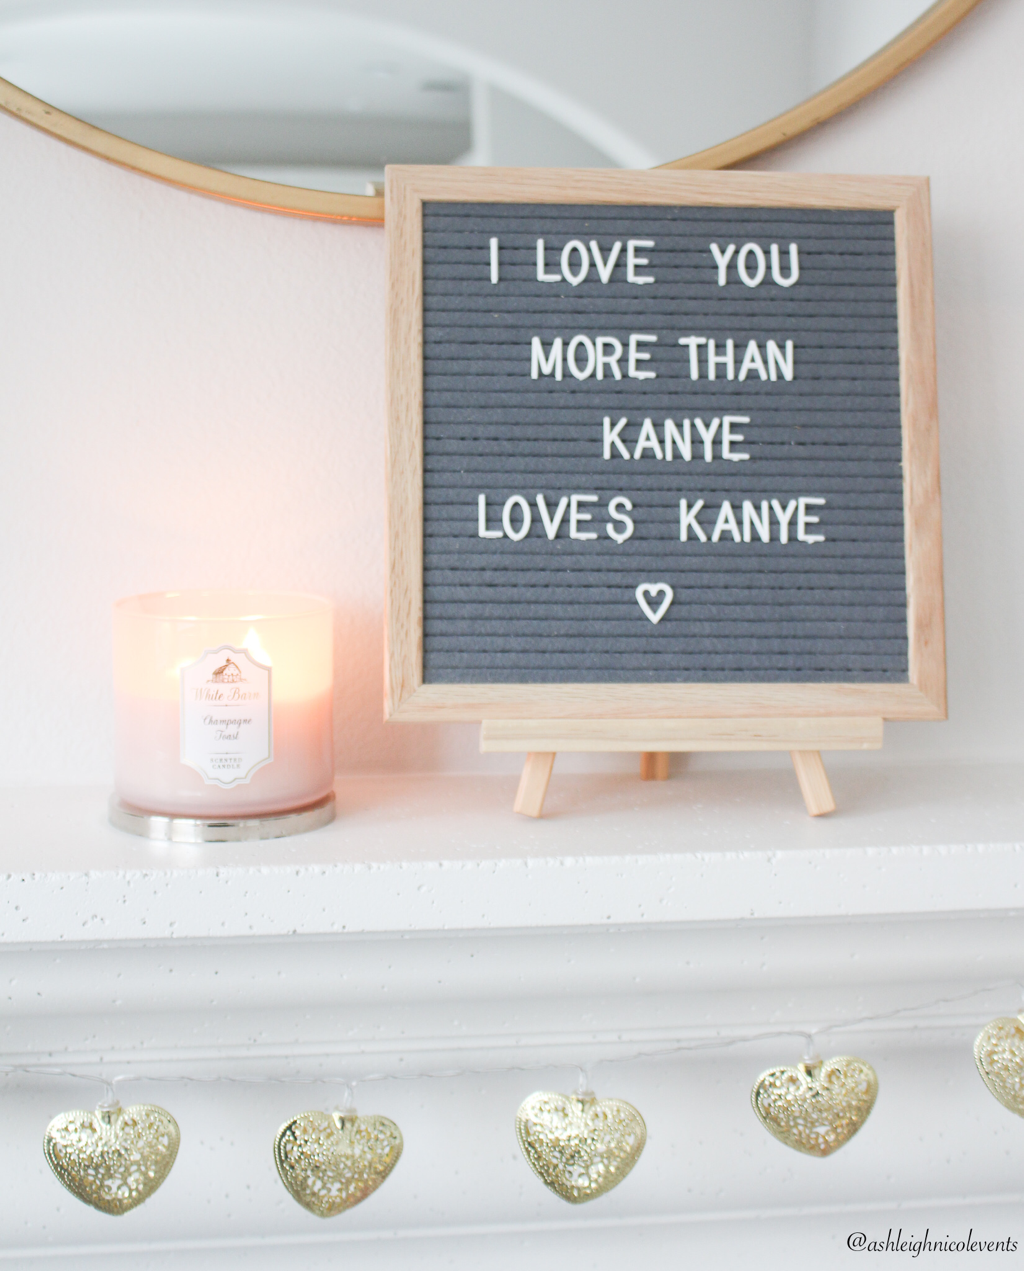
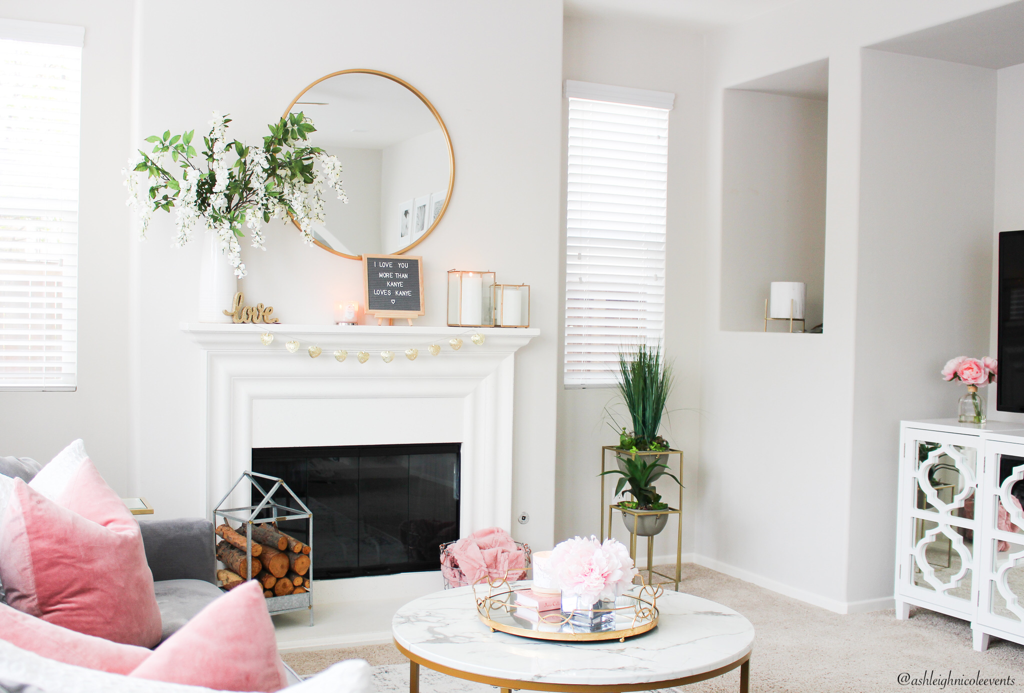
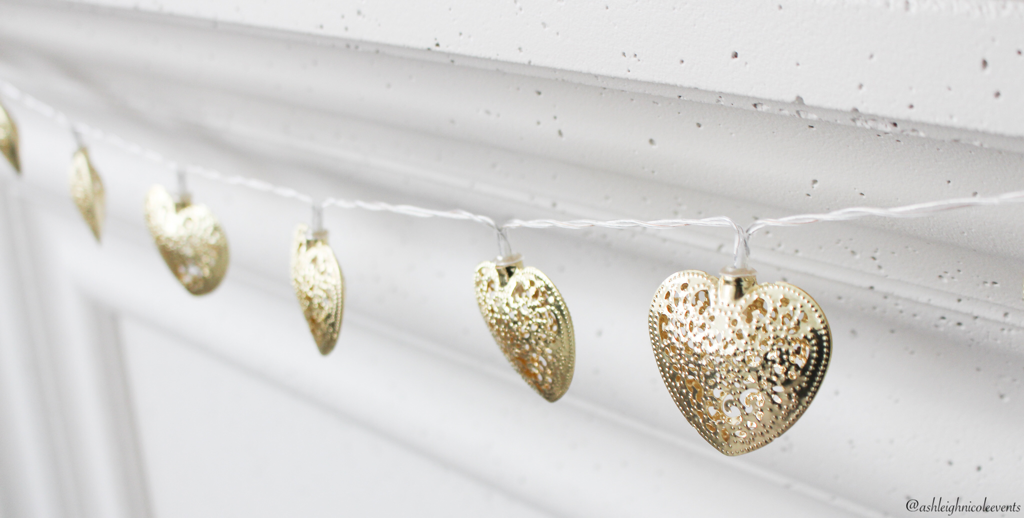
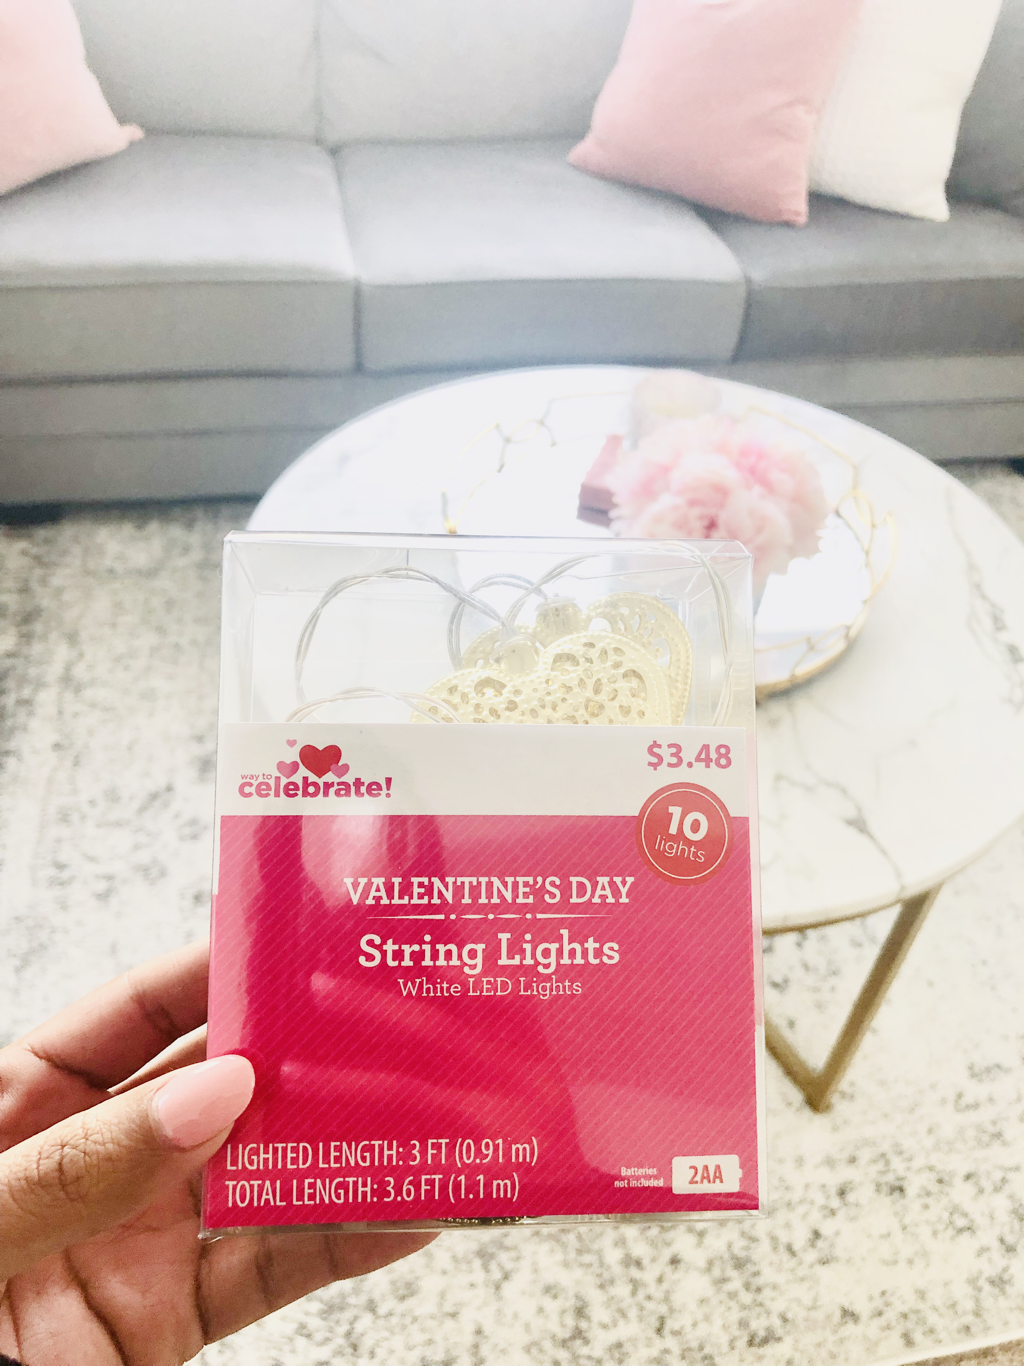
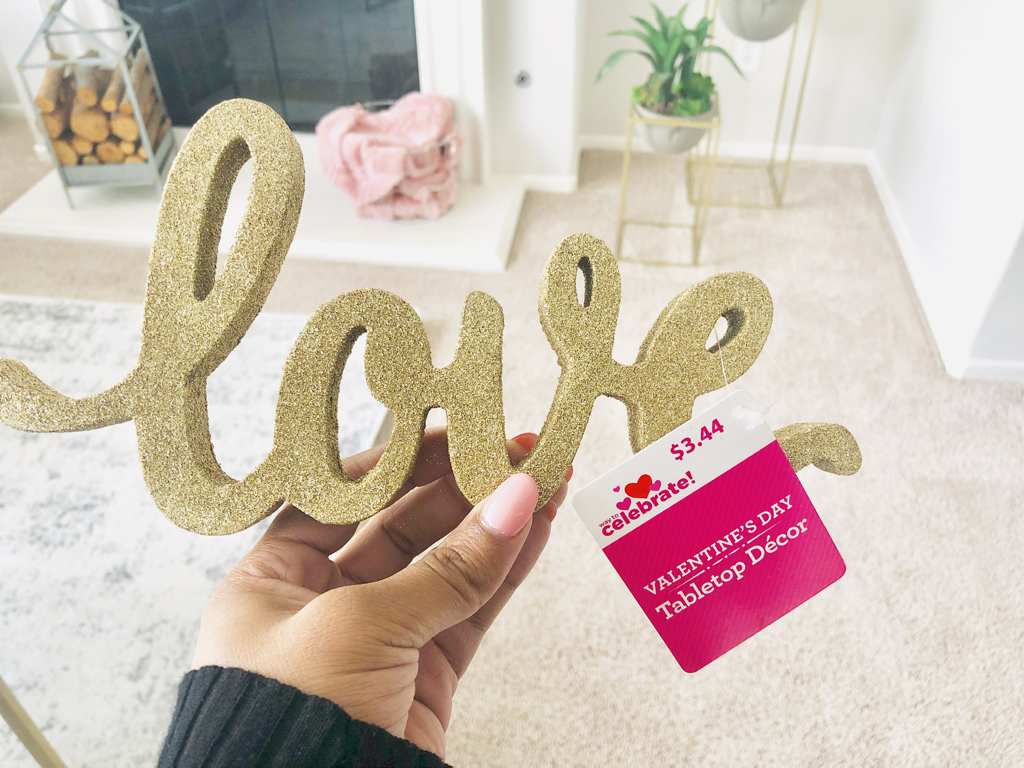
One of these days I’ll organize my refrigerator. Until then, I’ll just love on my little pantry. 😍 Valentine’s Day is officially 1 month away! I’ve NEVER decorated for this holiday. Never Ever! Not sure why especially since my birthday is the day before Valentine’s Day. Blush pink pillows and coffee table florals are purchased from Home Goods. Being the only girl in a house of 4 males, it’s nice to have a few touches of blush pink scattered throughout... even if its just temporary for the holiday. The “wood holder” is actually a plant stand. It was purchased from Target. The blush pink throw blanket, which I love, was purchased from Home Goods. I was so excited when I found this gold metal heart string lights at Walmart!!! They worked perfectly on the mantle. The gold “Love” sign was another Walmart find. The size fit great for the area on mantle. Love how the room feels ultra feminine. Our house is typically filled with grays, navy blues, video games, a crap ton of superhero toys and farts. Lots of farts.
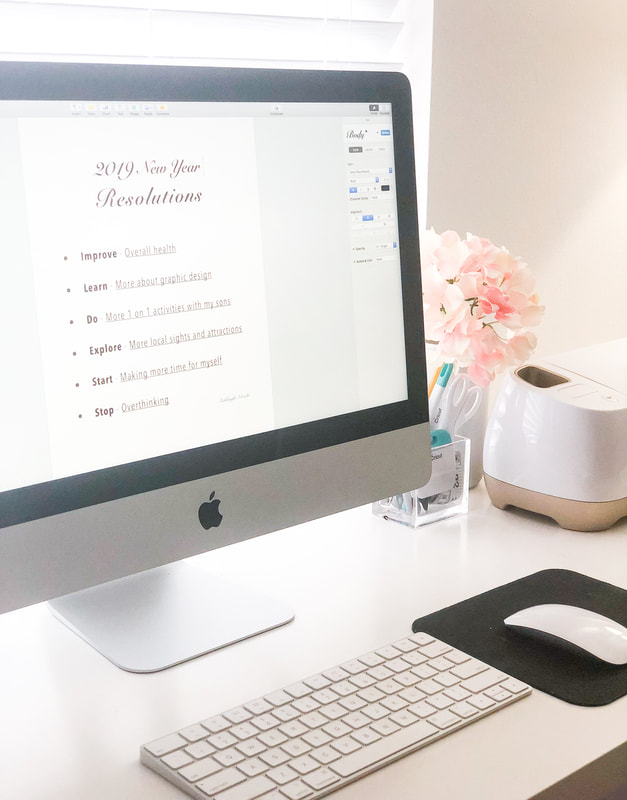
This is a good change. Welcome to 2019!!! Can you believe 2018 is now behind us?!? I am extremely optimistic about the year to come! Like many people, I like make a short New Year Resolutions list of ways to improve in the upcoming year. this year I made 6 bullet points to focus on.... Improve, Learn, Do, Explore, Start and Stop. Here is my list of New Years Resolutions for 2019. Improve - Overall health Learn - More about graphic design Do - More 1 on 1 activities with my sons Explore - More local sights and attractions Start - Making more time for myself Stop - Overthinking I've created a FREE downloadable file for you print for personal use. Print and fill out the list with your 2019 goals. Place your completed list in a area you pass frequently. For example the bathroom mirror or fridge door. Its nice to have friendly reminders of your goals to stay on track.
Happy 2019!!! We got this!
|
The Ashleigh Nicole Blog!
DIY - Events - Motherhood - Home Decor - Lifestyle Archives
October 2019
Categories
All
|
||||||
 RSS Feed


