|
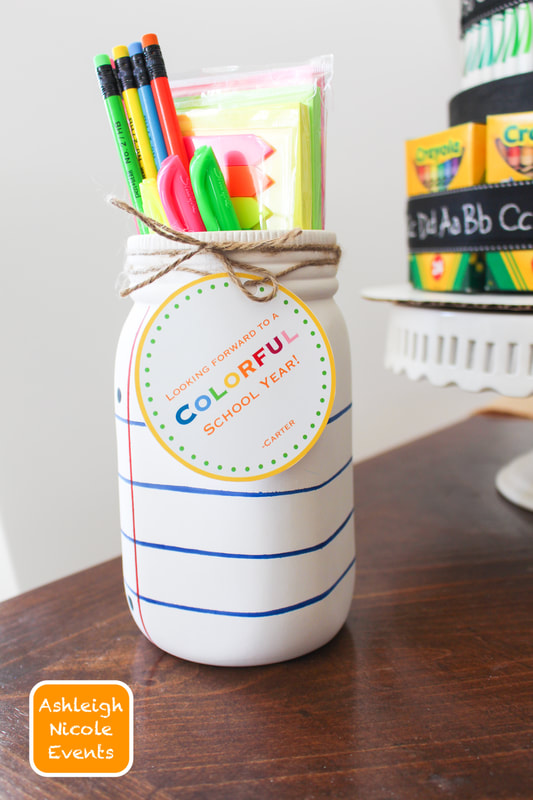
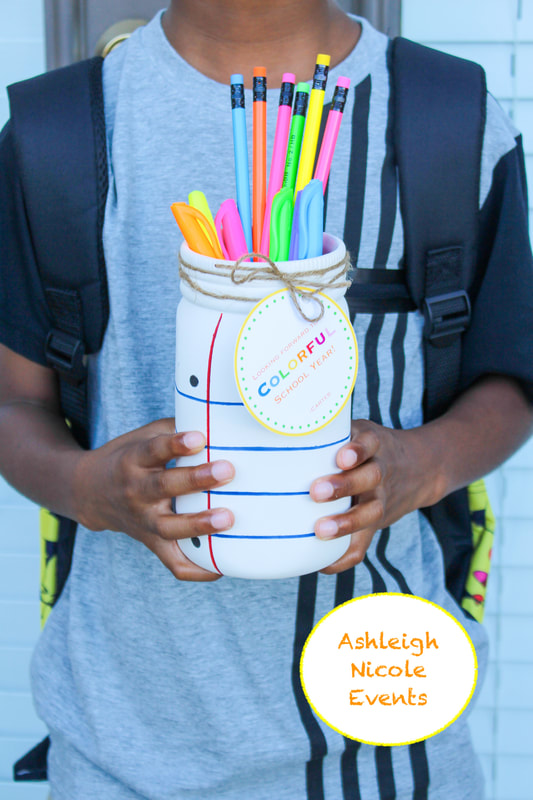
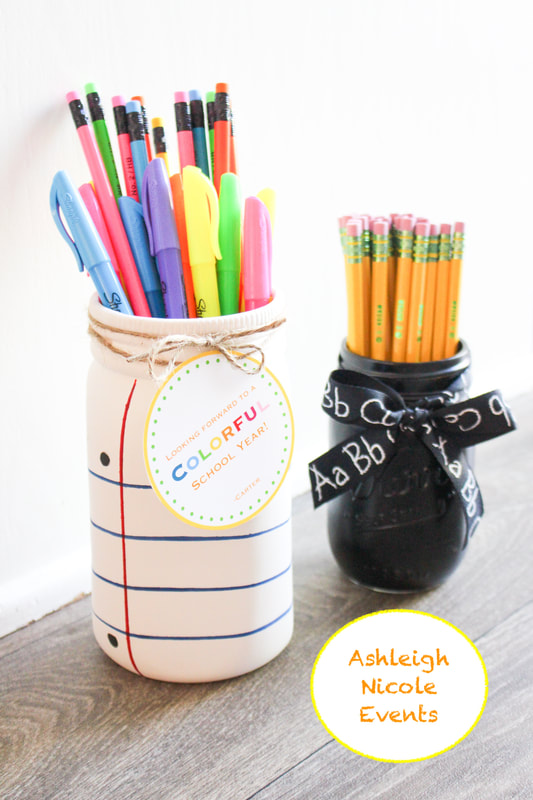
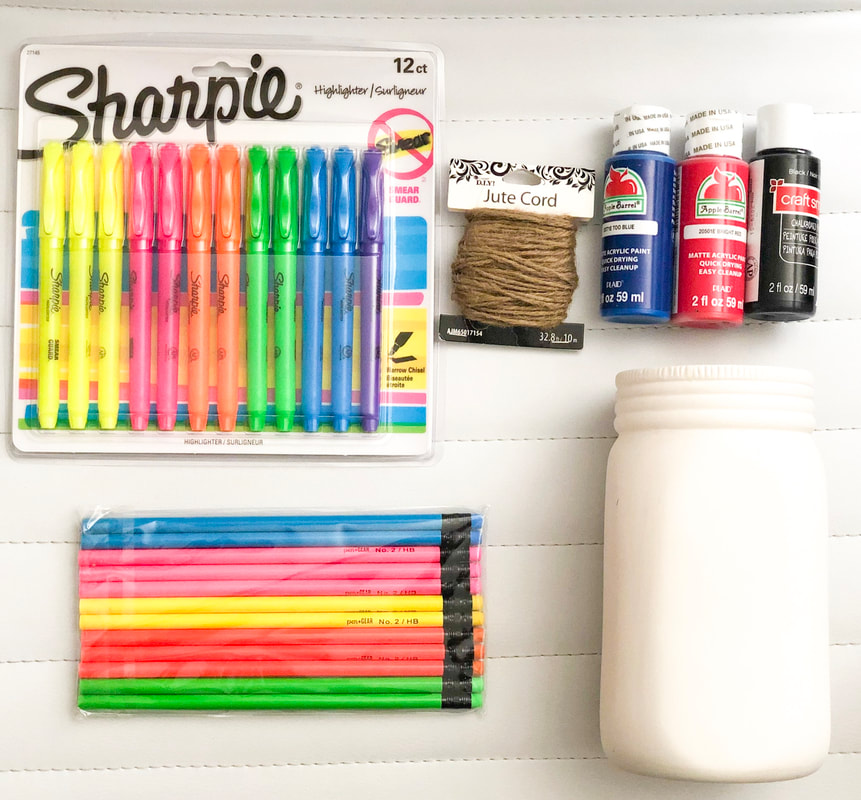
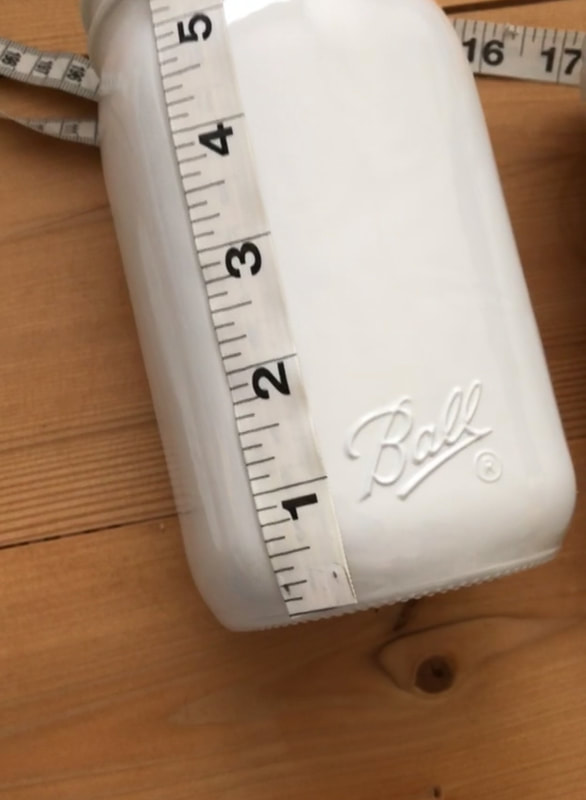
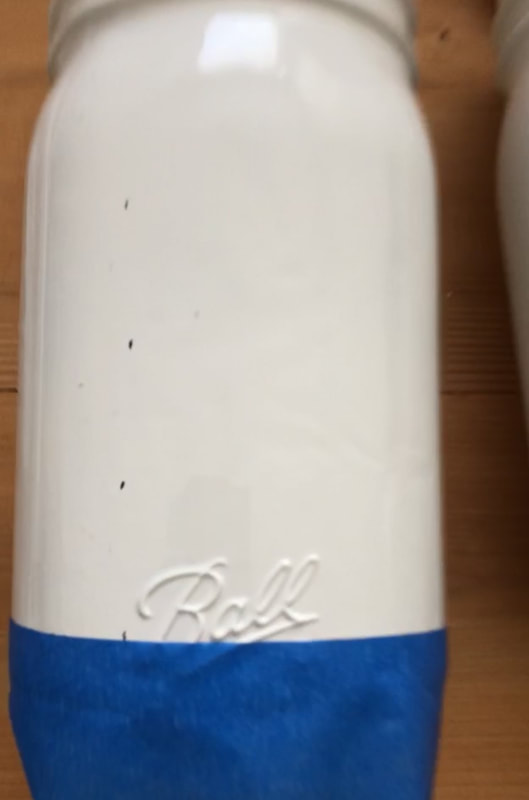
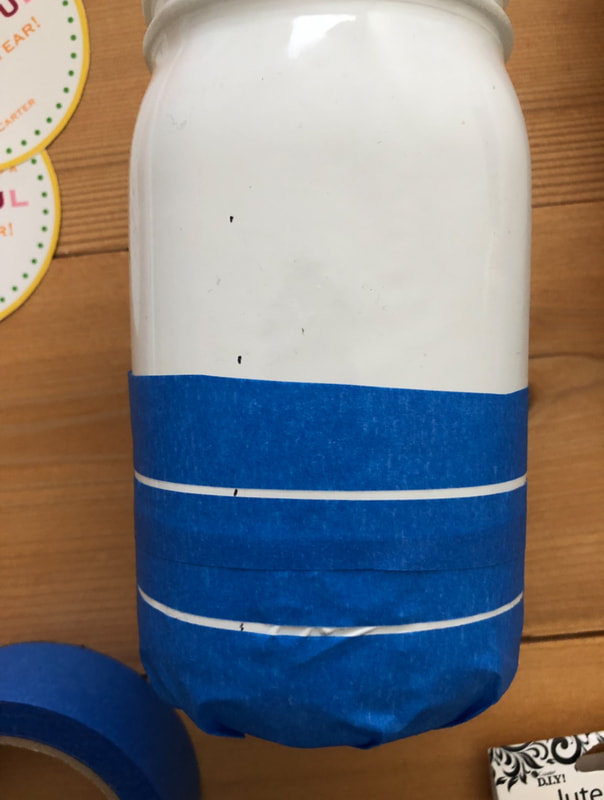
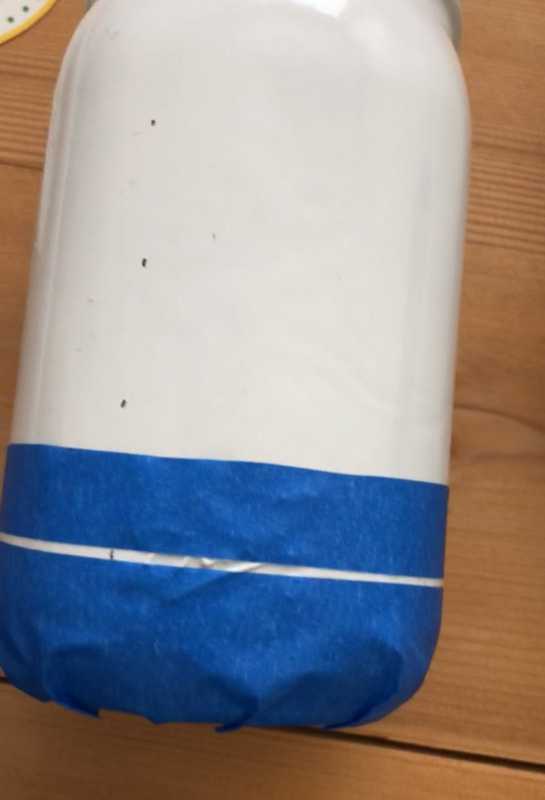
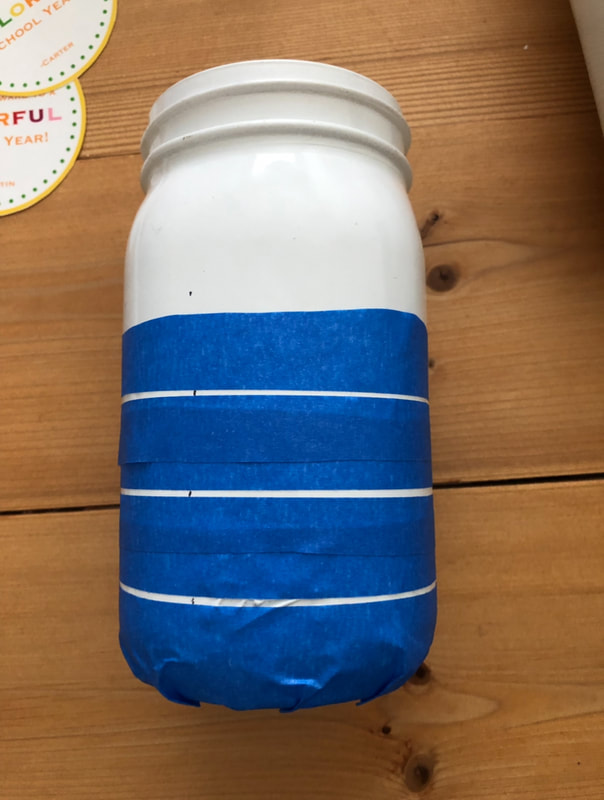
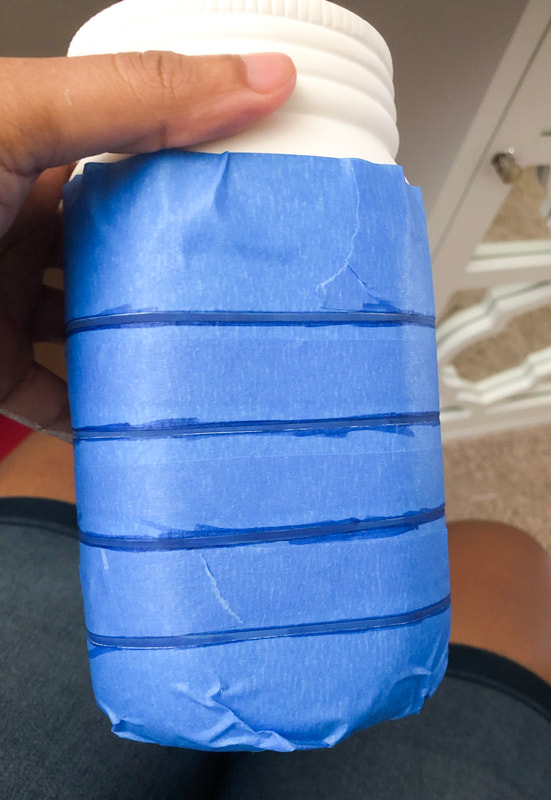
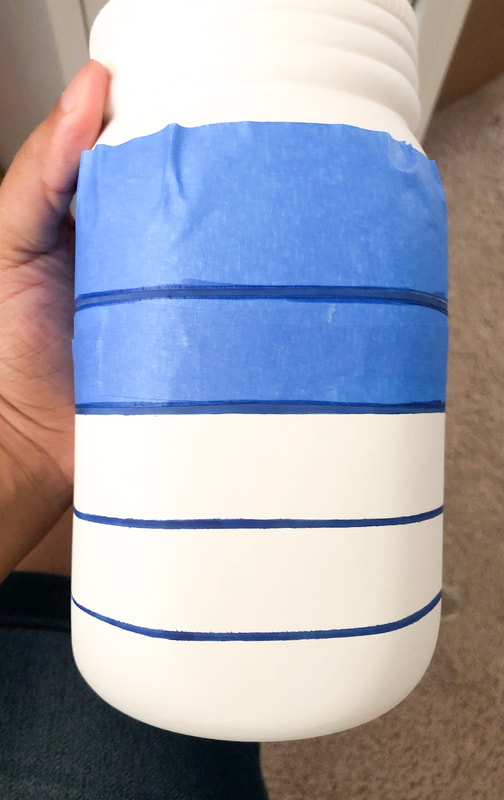
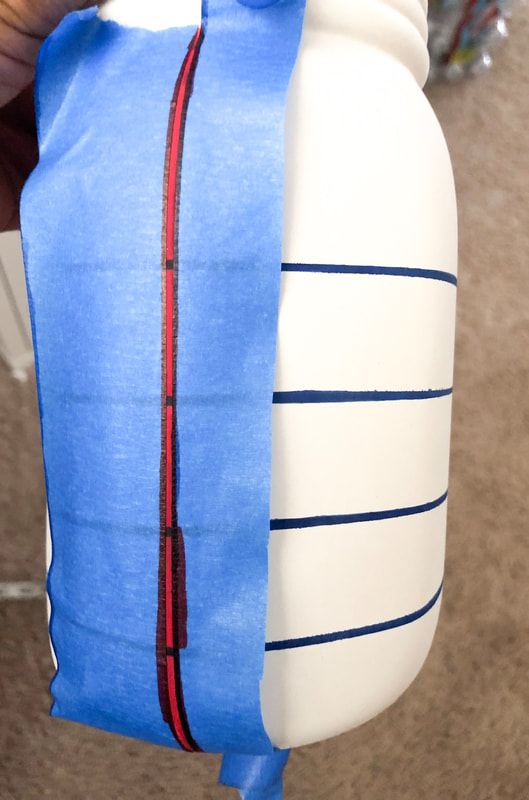
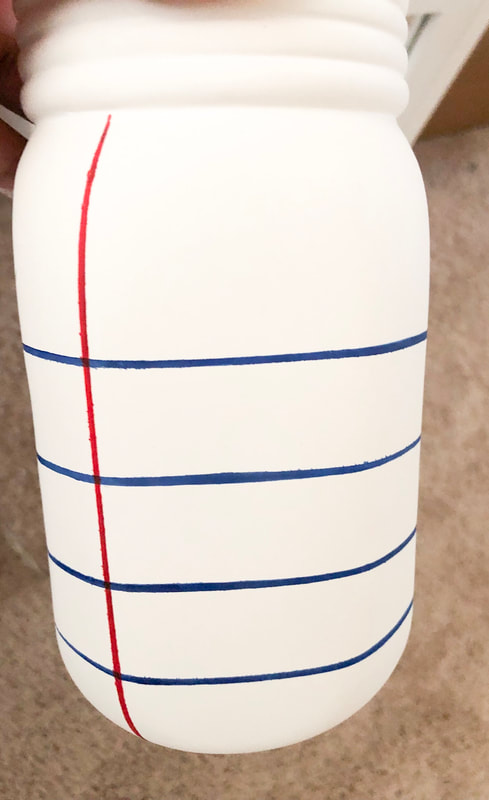
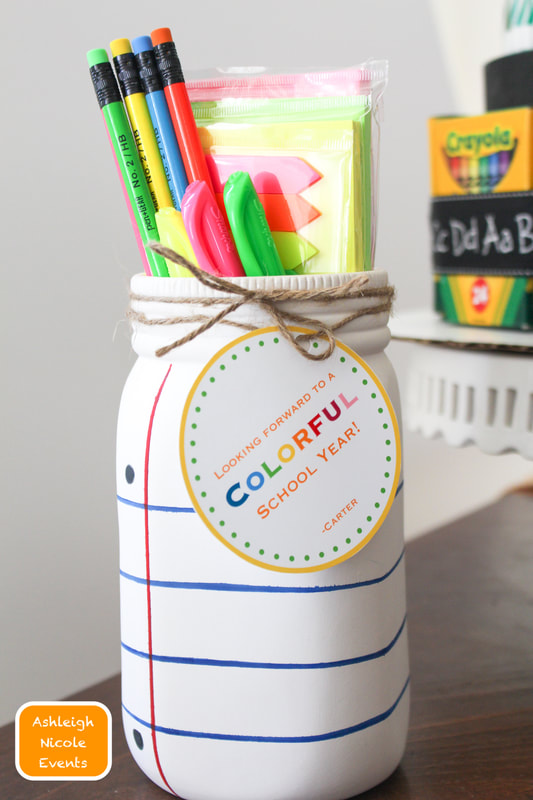
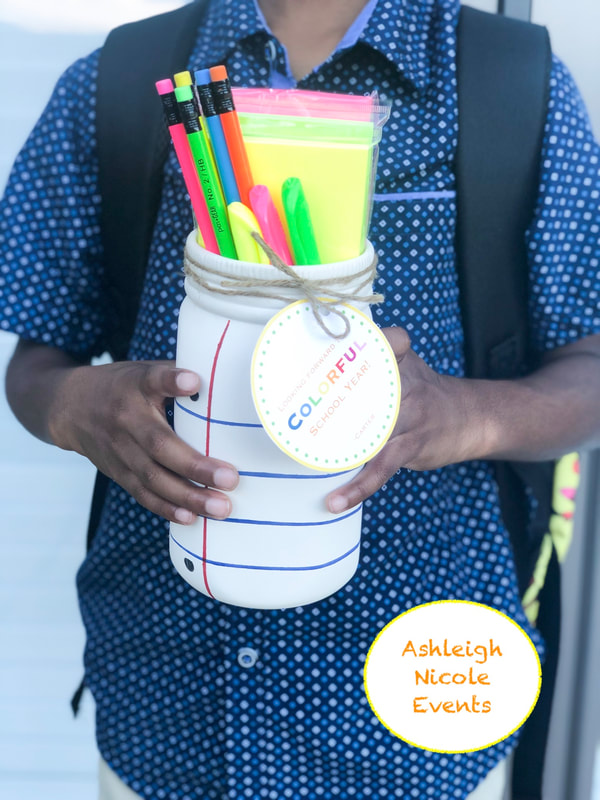
Back to School Mason Jar Isn’t it cute!?! Love how this mason jar gift turned out! I started with this clay mason jar that I randomly found in the craft section at Walmart. It was already white. You can also achieve this look by painting a regular glass mason jar with white chalk paint. *DO NOT use spray paint! Trust me, I tried. I failed horribly. The paint pealed when I removed the painters paint and the blue paint bled. Horrible. Step 1 Purchase a white clay mason jar OR paint a standard clear mason jar white using chalk paint. Let dry. Step 2 Measure and mark with a pencil every inch. Tape horizontally around the mason jar at every inch mark. Leaving around 1cm of space at each mark. Step 3 Using blue paint, fill in the 1cm lines. This will create the paper line design. Let dry. Next place two strips of painters tape vertically down the left sign of the mason jar. Again, leaving a 1cm space in-between each strip. Fill in space with red paint. Let dry. Last add two black circles to the left side of the mason jar to resemble paper holes. (top and bottom) Step 4 Fill the mason jar with colorful post-it note pads, sharpies, flag tabs and colorful pencils! Add a cute little tag with twine and you’re done!!! Tag wording ideas... •Looking forward to a BRIGHT school year. •Looking forward to a COLORFUL school year •Thanks for marking me BRIGHTER •MARK my words, it’s going to be a great school year. •You’re one SHARP teacher Wishing everyone an awesome school year!!!
0 Comments
Leave a Reply. |
The Ashleigh Nicole Blog!
DIY - Events - Motherhood - Home Decor - Lifestyle Archives
October 2019
Categories
All
|
 RSS Feed


