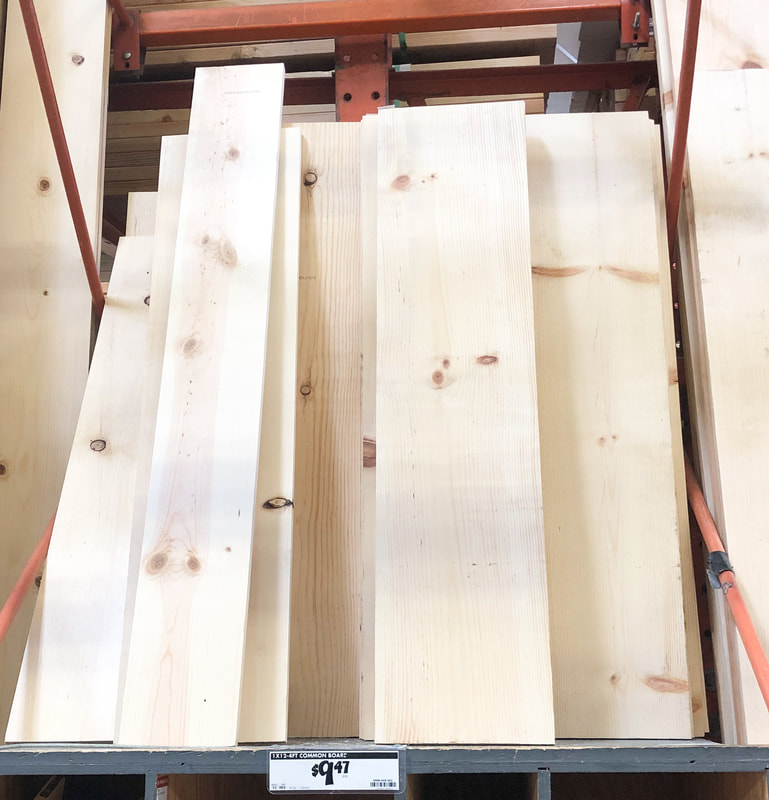
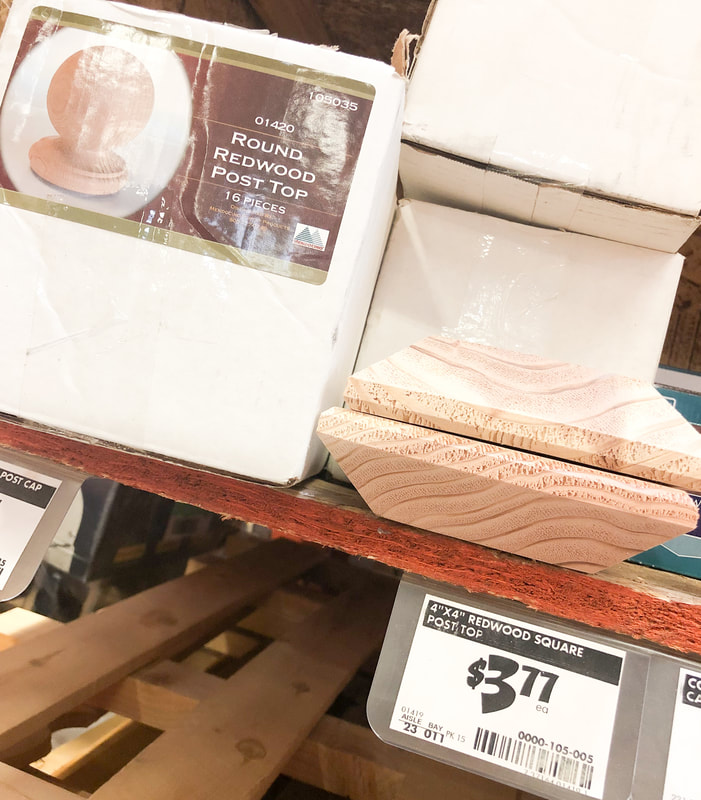
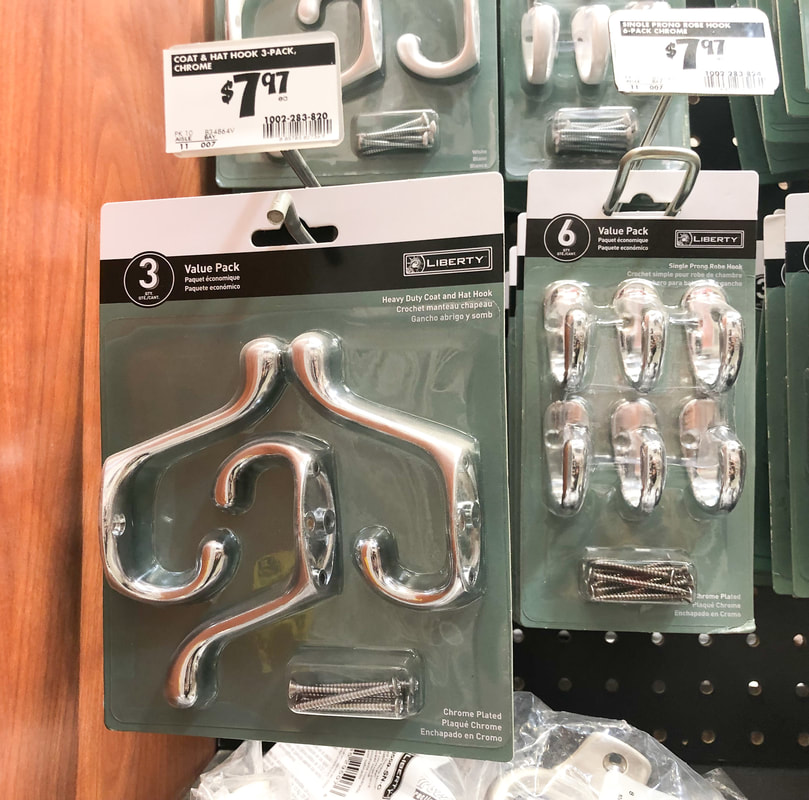
Guys, look at this stocking post! Just look.... Nice right?! My husband made one for our sons playroom but forgot to take pictures of the steps. 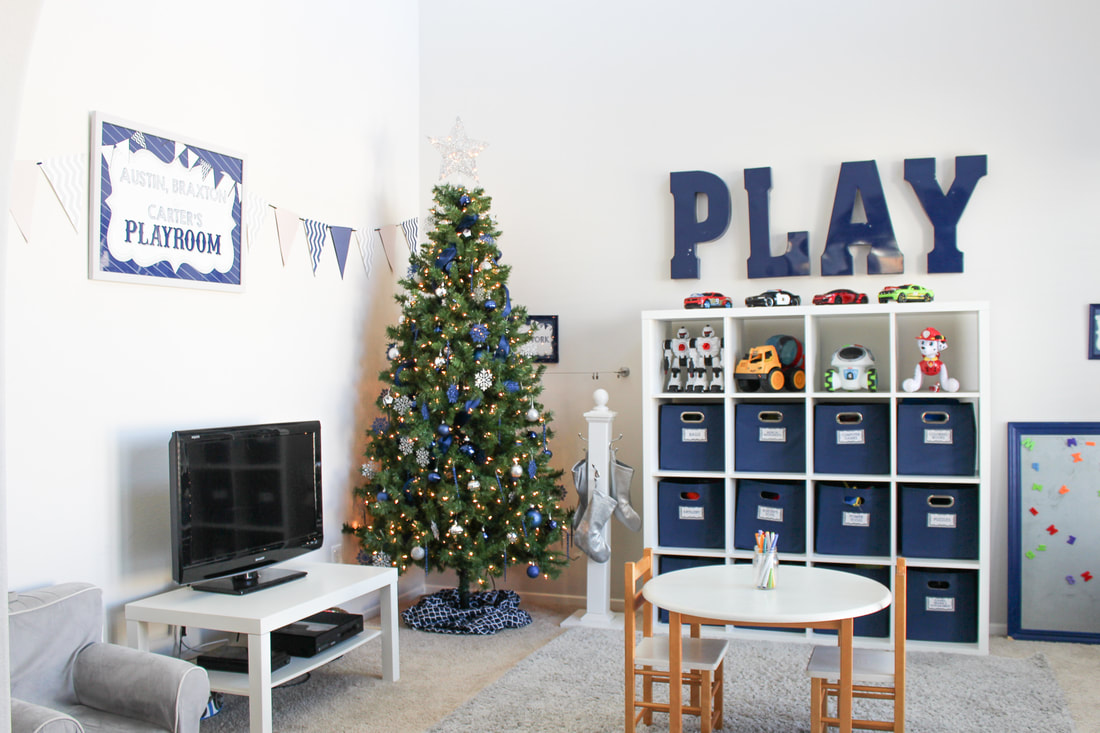 Rest assured, I got your back. We had enough lumber to make another one! All I needed to get was another post cap. Easy peasy. This time I’m going to make it by myself with my husband only giving me verbal help.... if needed 😉 #girlpower Here we go..... 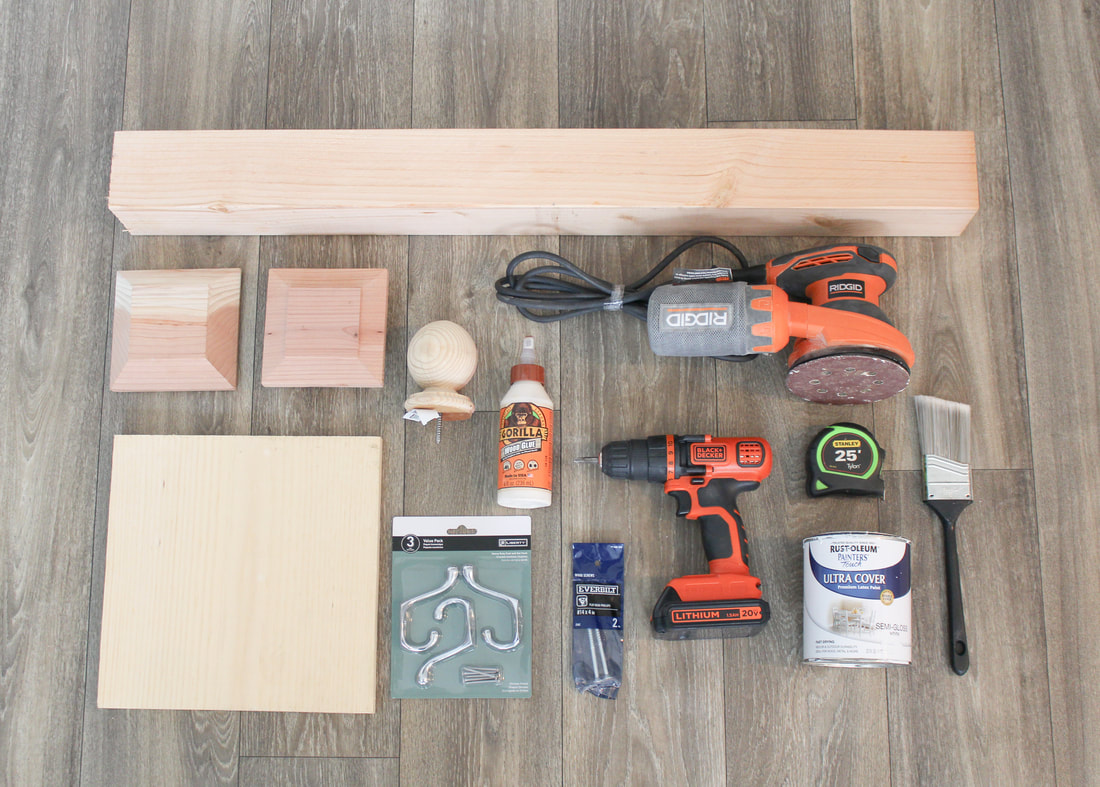 Materials 4x4x8 post 1x12x4 Common board Top Post cap (with indentation) Bottom Post cap (without indentation) Round post top 2- 4” Wood Nails Wood glue Hooks Paint/Stain of your choice Paint brush Tools Sander Drill Drill bit Measuring tape
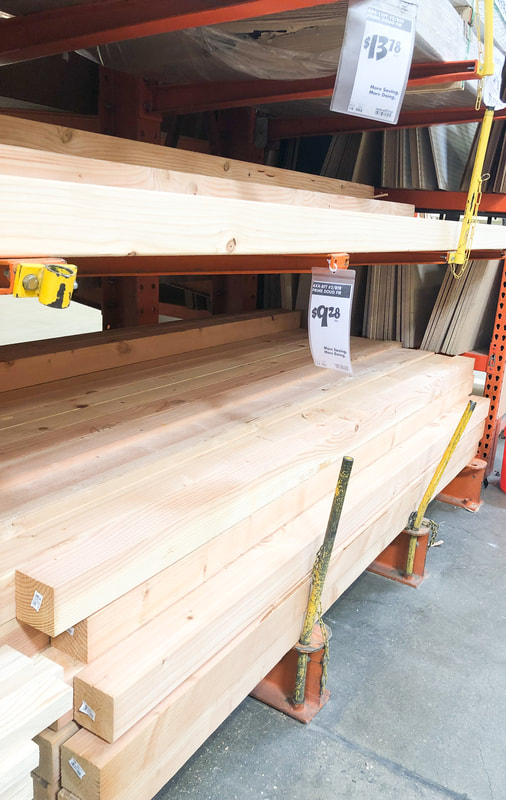
Cut List (Home Depot will gladly cut your wood for you) 4x4x8- Cut at 4ft. 1x12x4 common board- Cut at 12x12 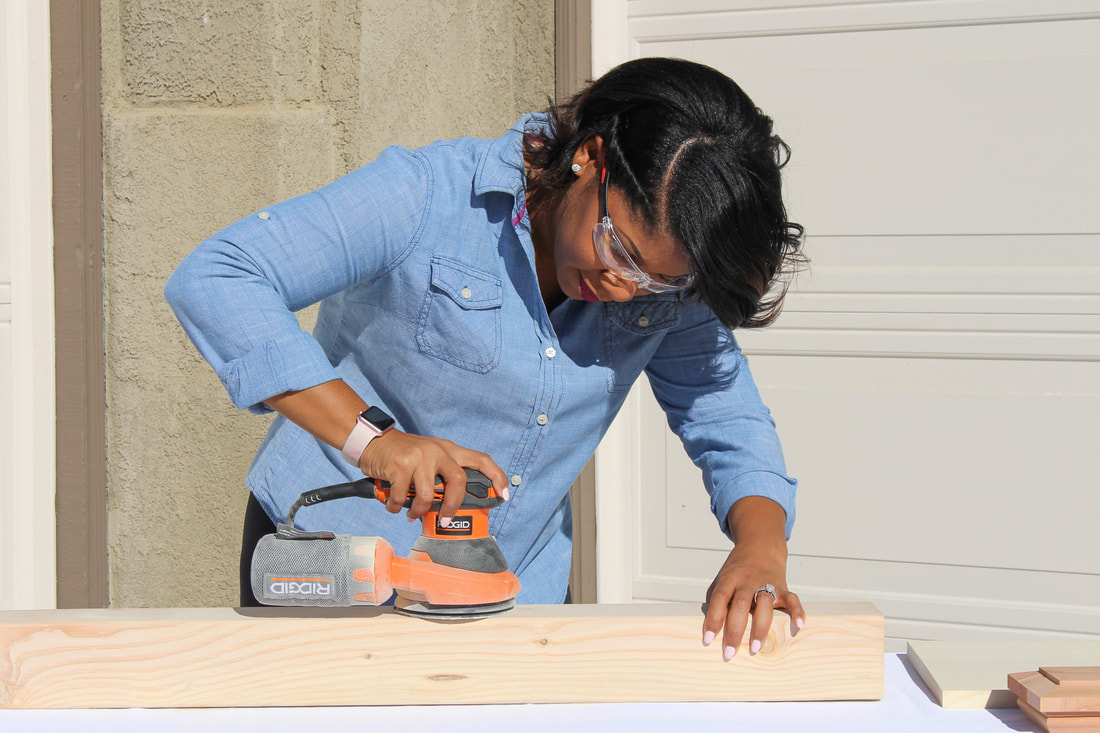
Steps
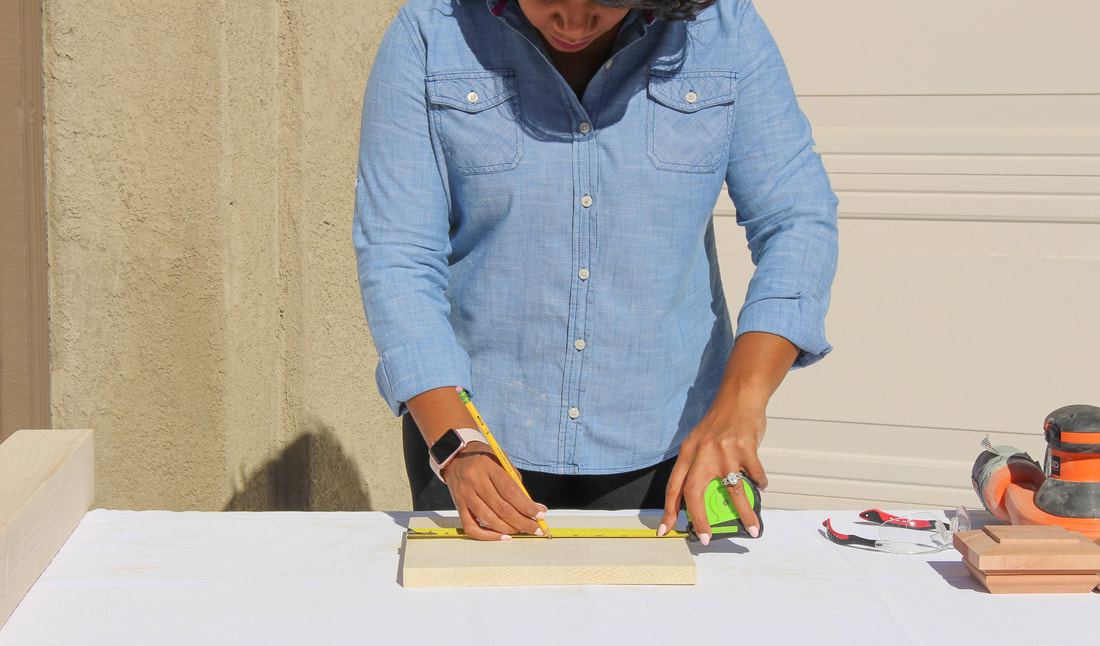
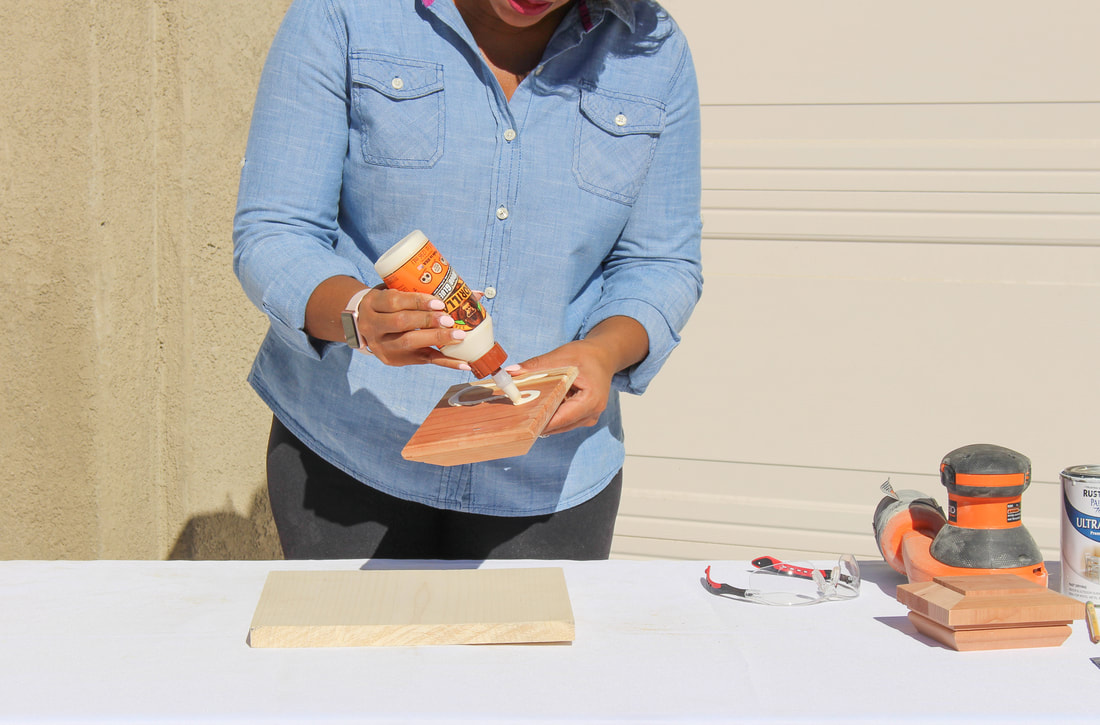
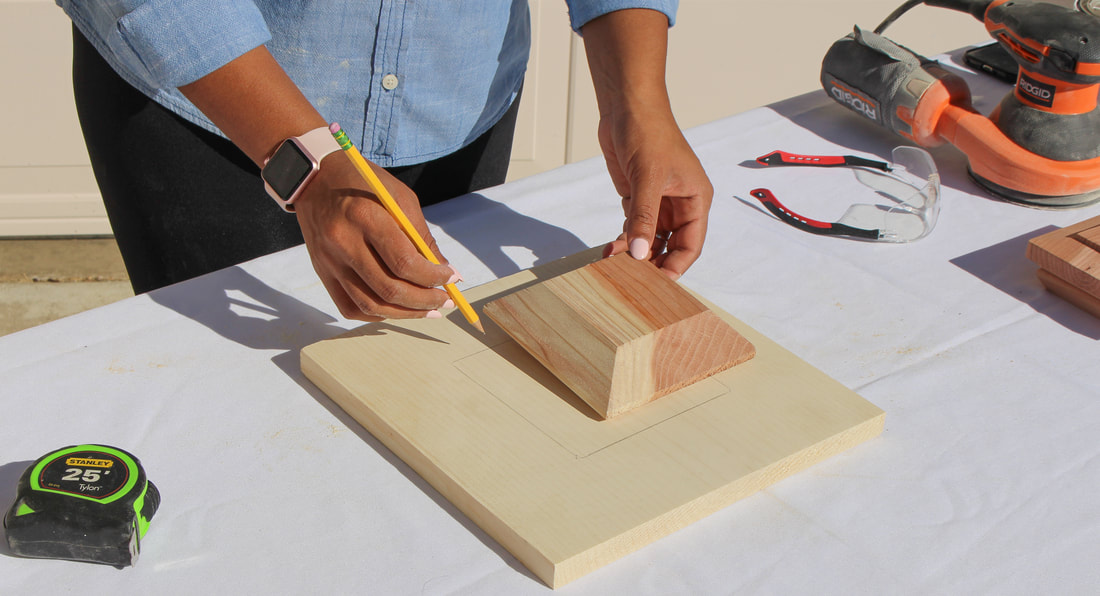
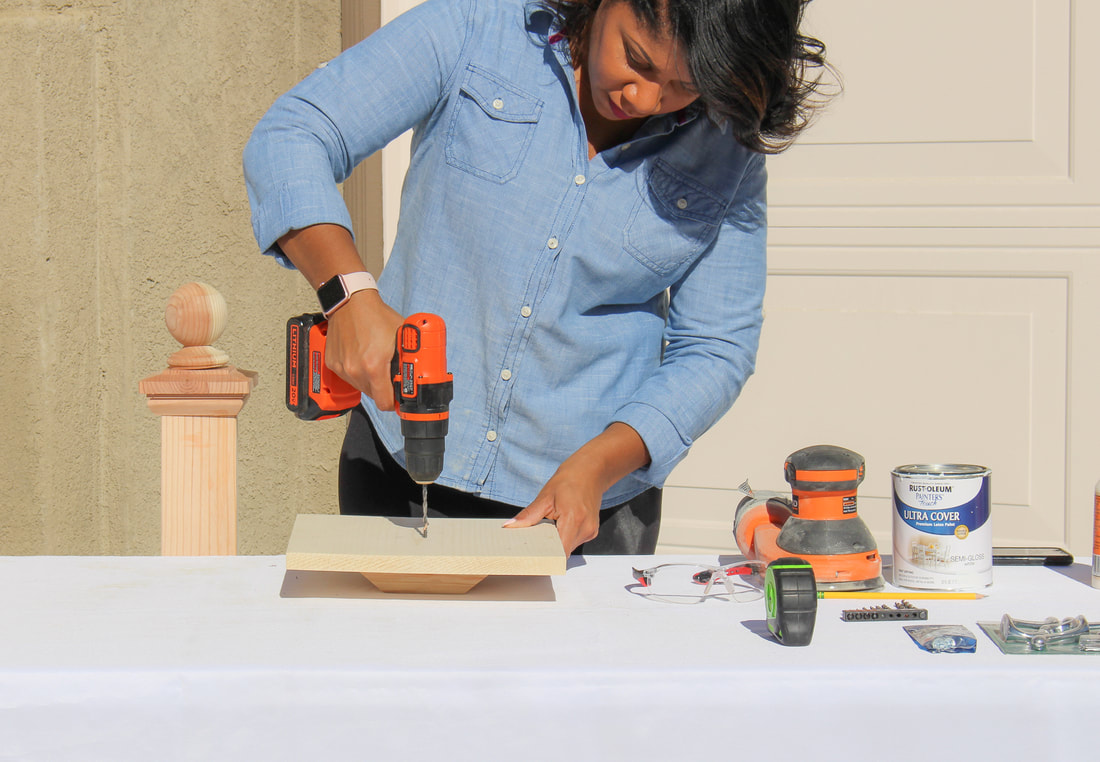
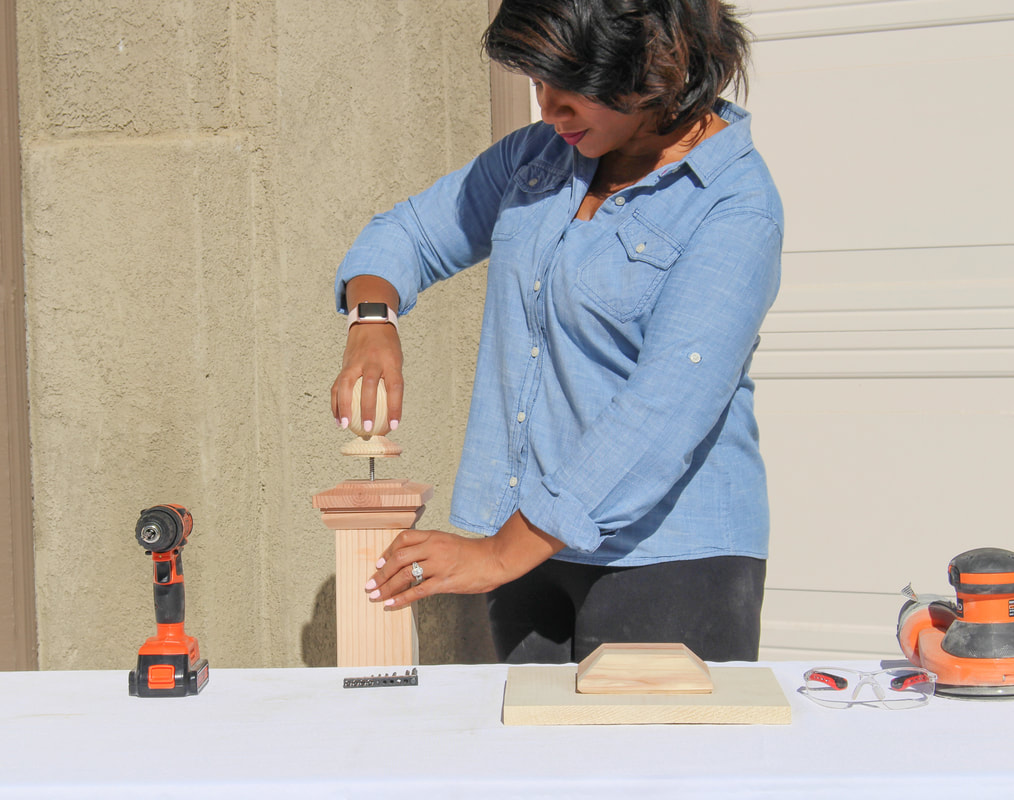
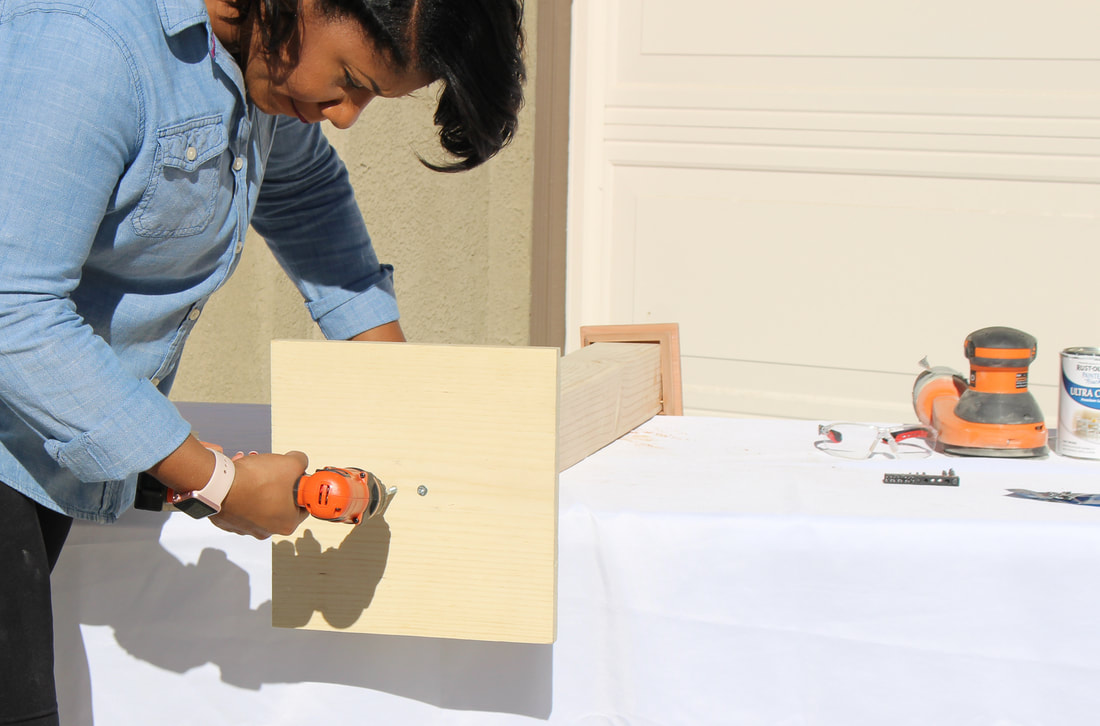
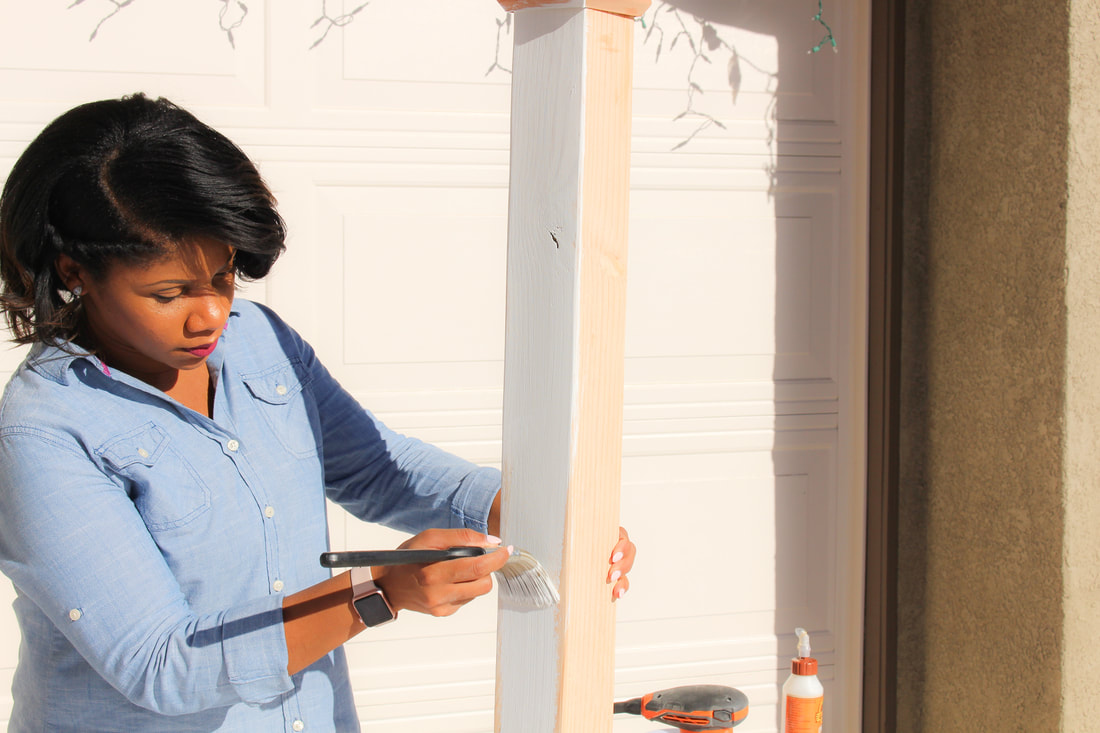
Sand 4x4 post and 12x12 board until smooth. Measure and mark the drill spots on the 12x12 base, bottom post cap. Tip- Once measured, draw a box in the center to show exactly where to glue bottom post cap. Pre-drill to avoid splitting any wood. Now add wood glue to the bottom post cap and place in the pre-measured area on the 12x12 base. Adhere top post cap with wood glue. Allow to dry. Stand up the 4x4 post vertically and position base pieces on pre-measurements area. Make sure your pre-drill holes line up. Drill the two 4” nails through the bottom of the 12x12 base and bottom post cap, all the way through to the post. Tip- if drill bit isn’t long enough to pre drill through the base and 4x4, create a small indent using the holes through the bottom post cap and pre-drill directly into post. We’re nearing the finish line! On top of the top post cap, make another pre-drill hole. This is where the round post top will go. The round post topper already came with screw so just twist it into your pre-drilled hole. Tip- Make sure you test you drill bit sizes on a spare piece of wood to ensure the the perfect fit. Dust off any sawdust and choose a paint or stain of your liking. I chose white to coordinate with our Playroom furniture colors. Last, add your hooks! I used 3 hooks total. I hope your enjoyed this tutorial! Please don’t hesitate to ask any questions!!!
1 Comment
|
The Ashleigh Nicole Blog!
DIY - Events - Motherhood - Home Decor - Lifestyle Archives
October 2019
Categories
All
 
  
|

 RSS Feed