|
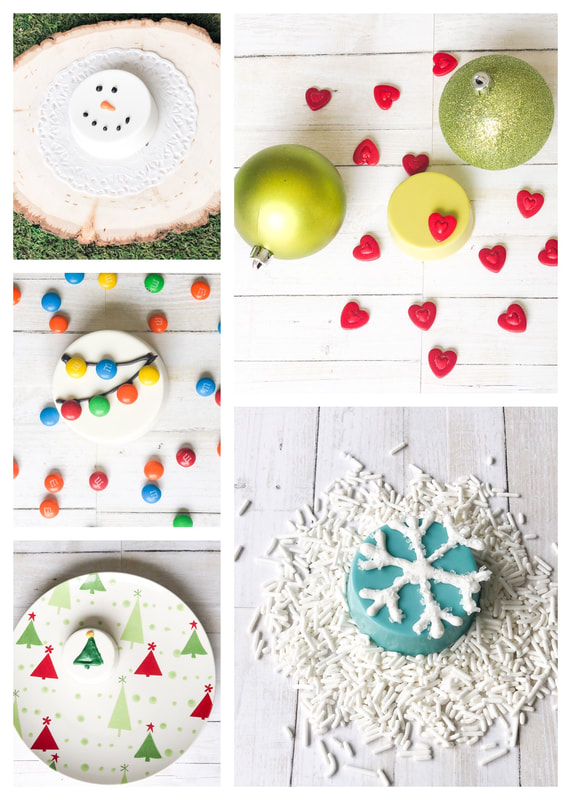
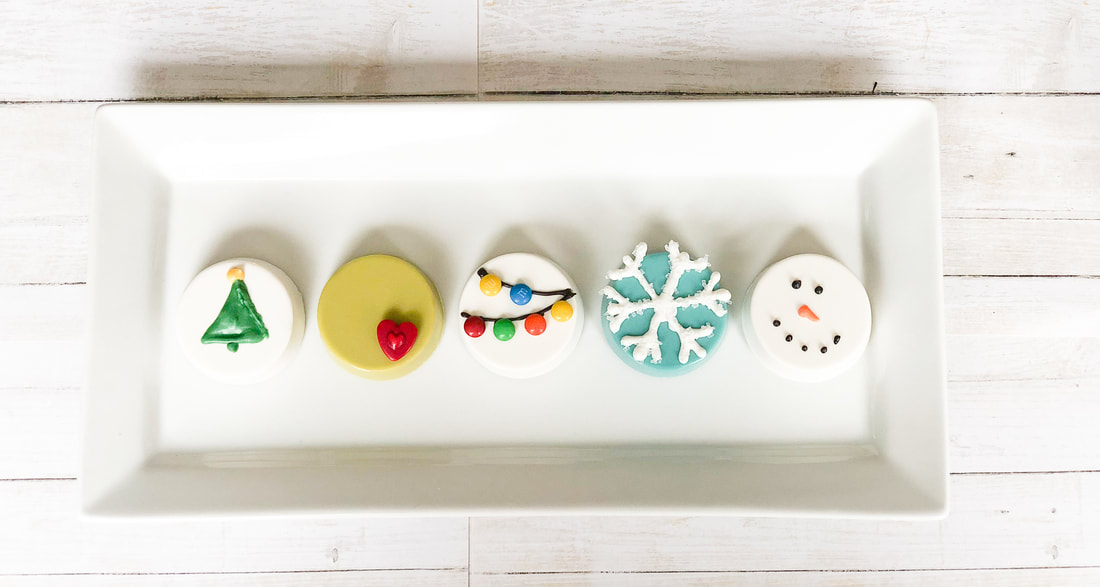
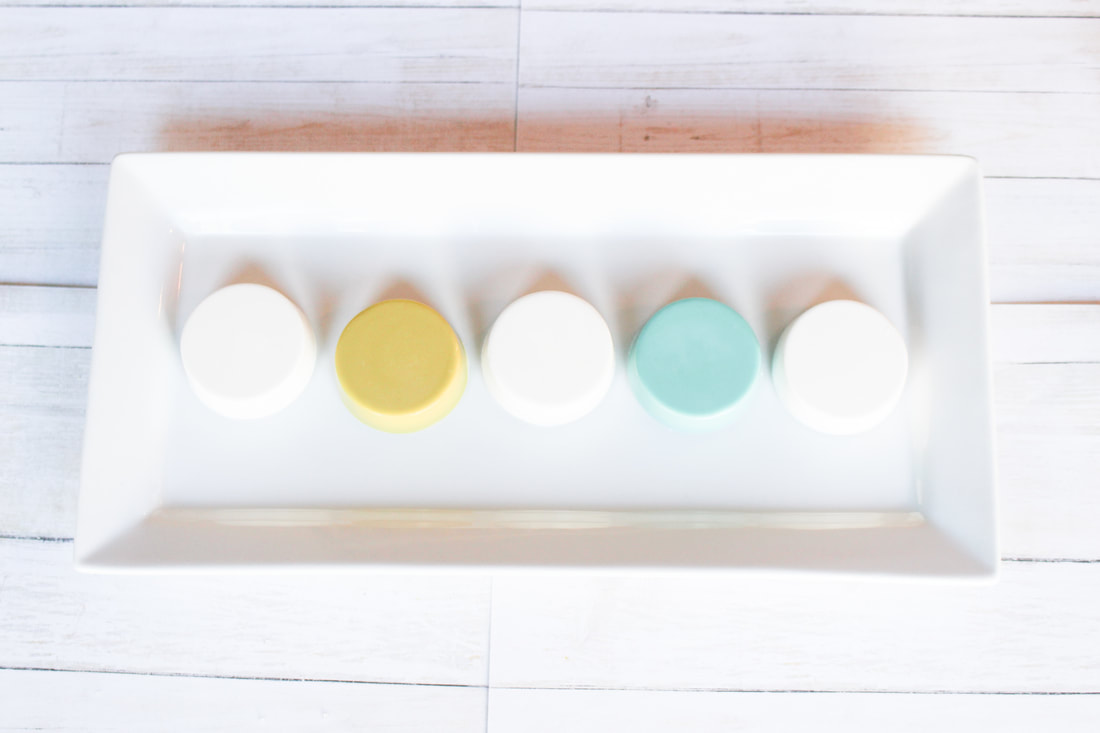
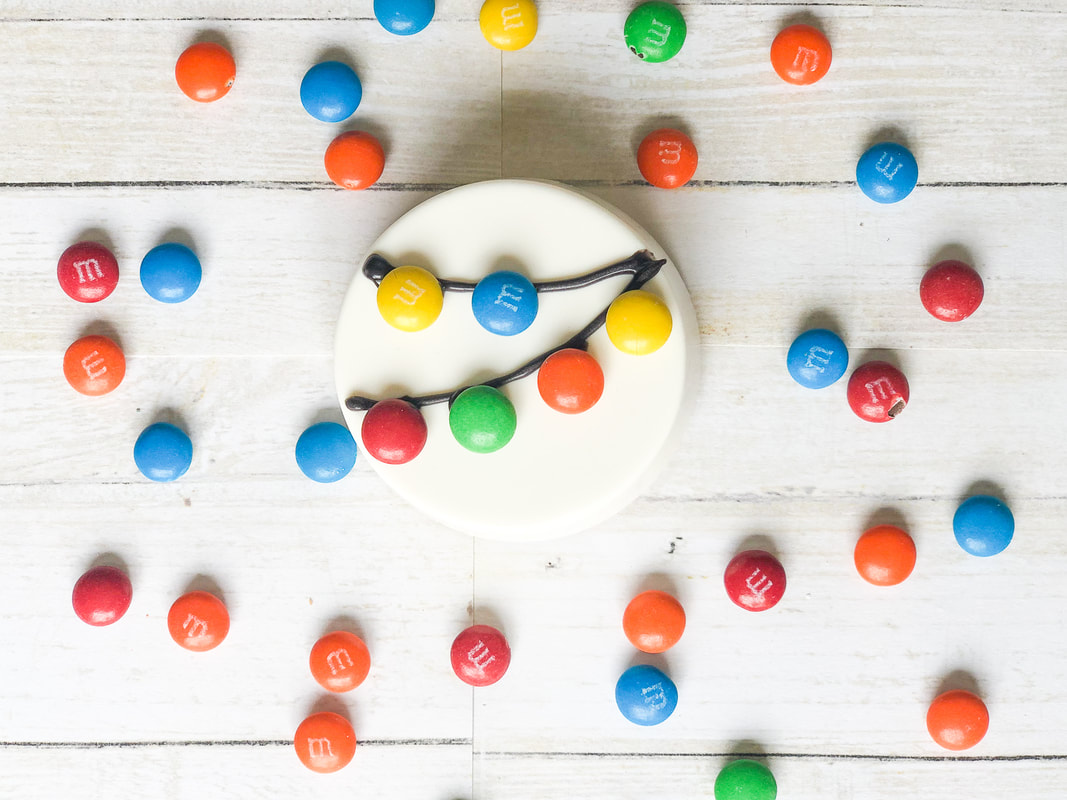
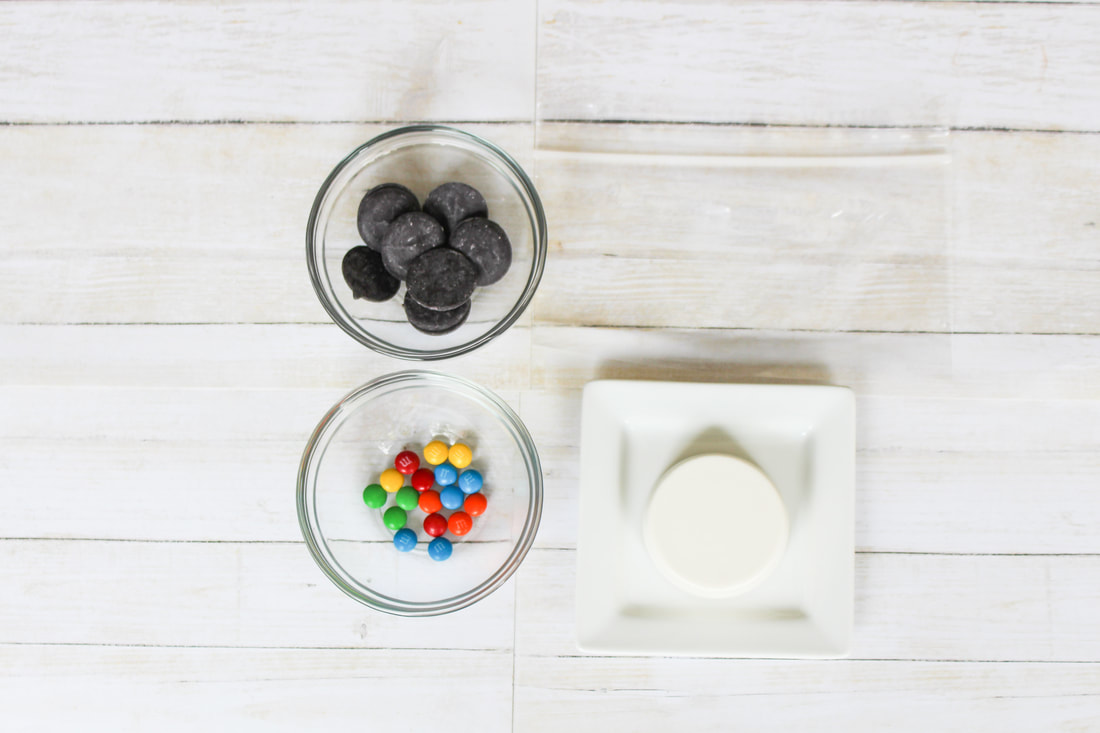
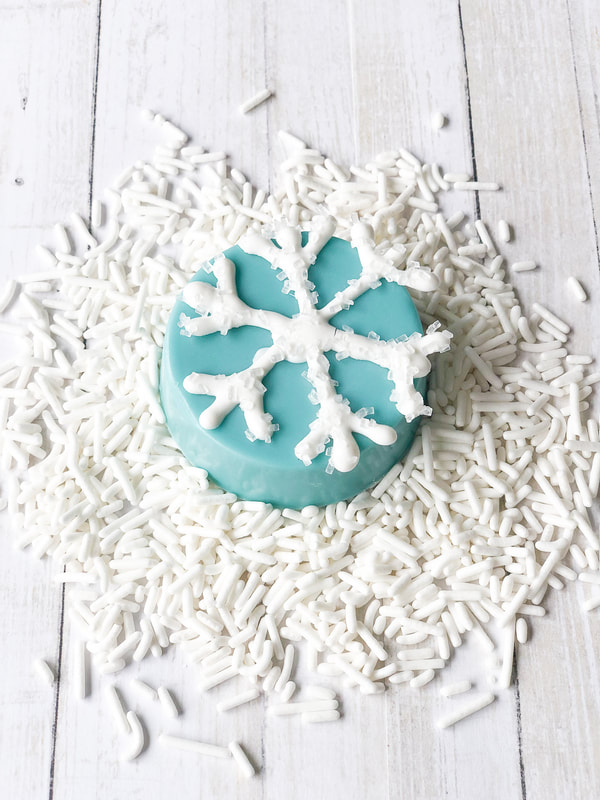
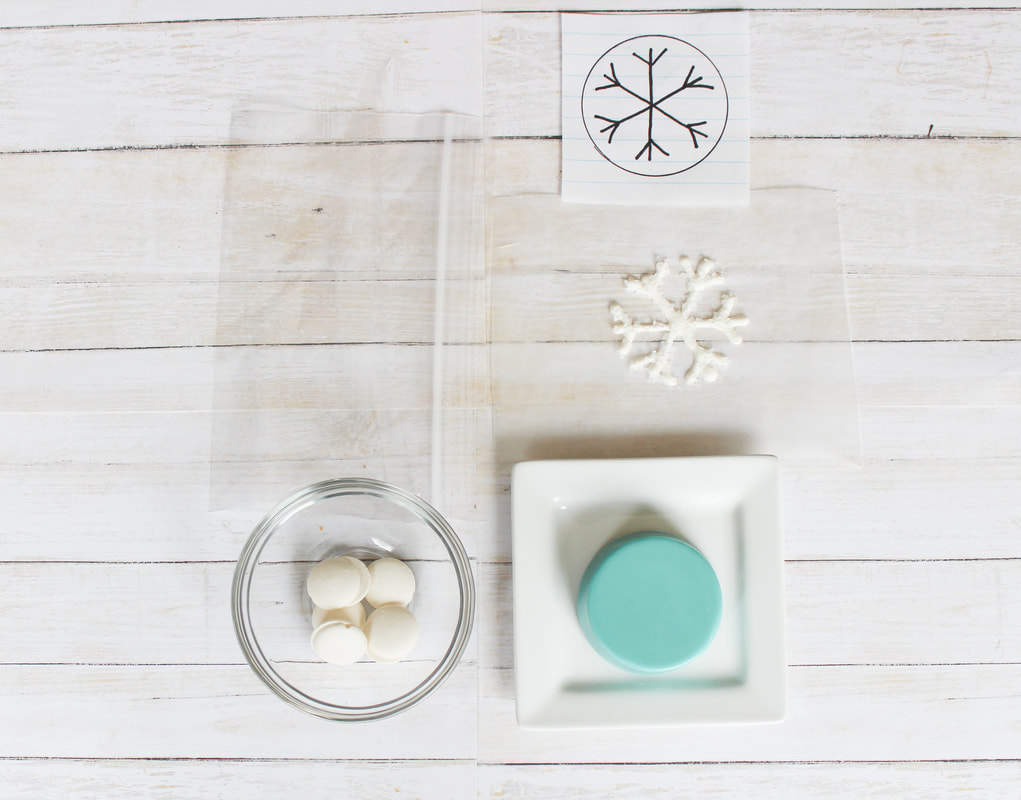
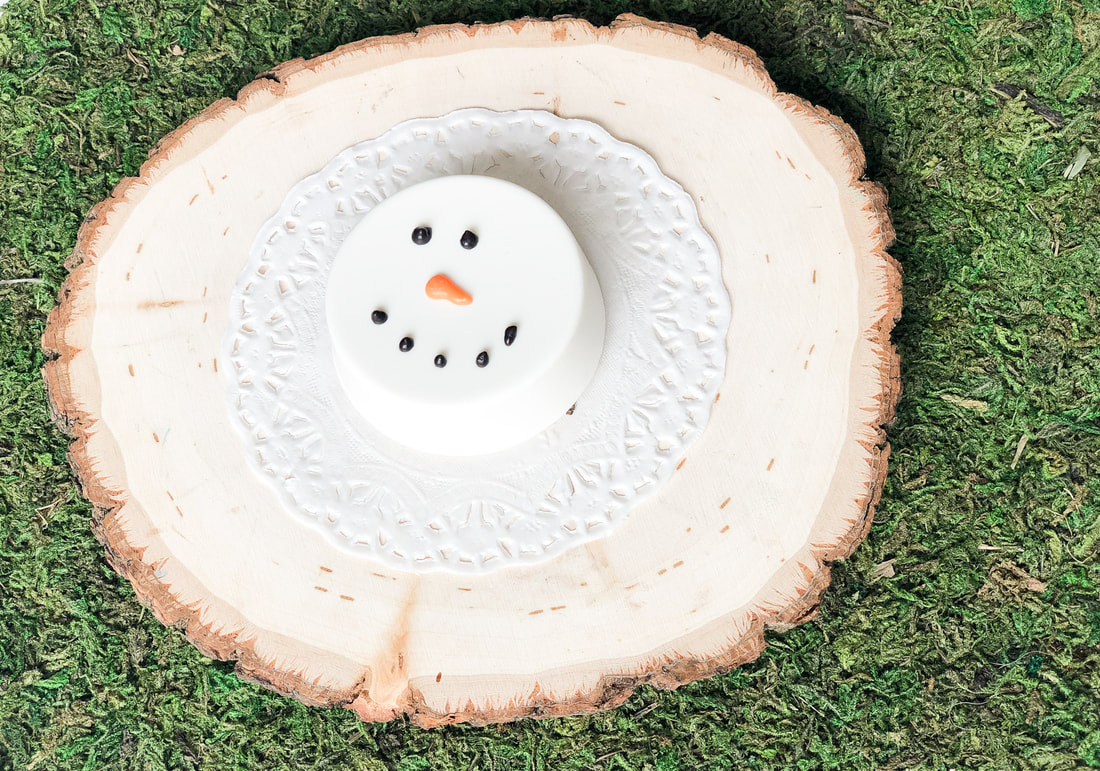
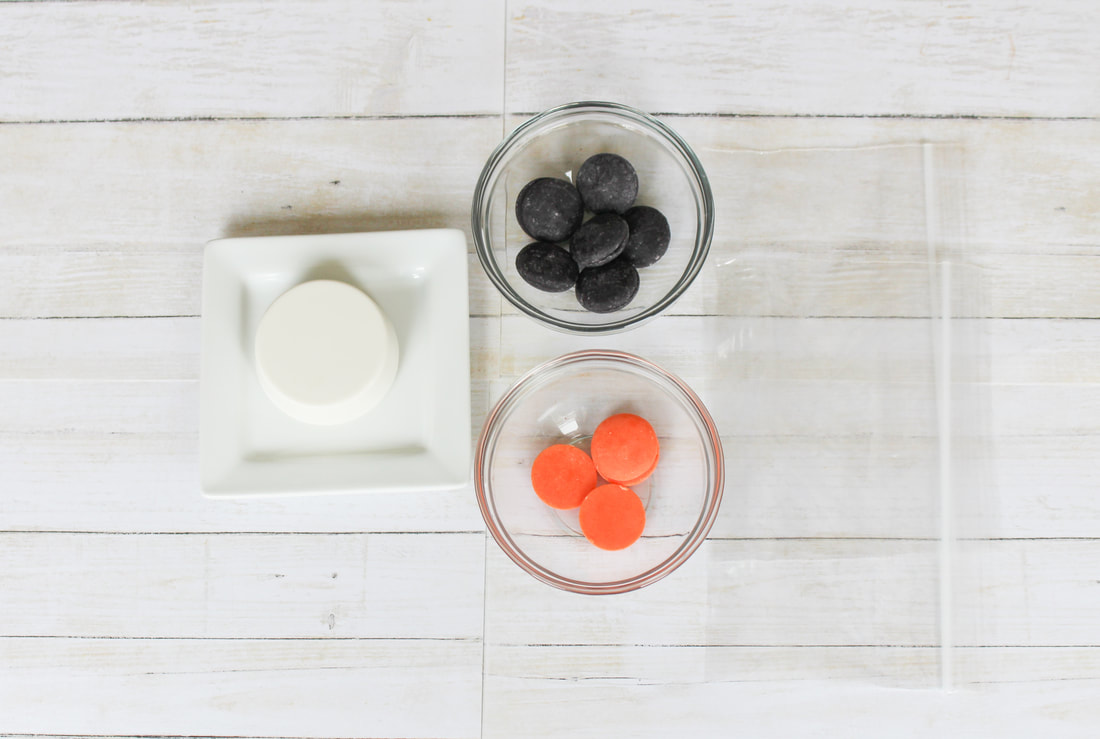
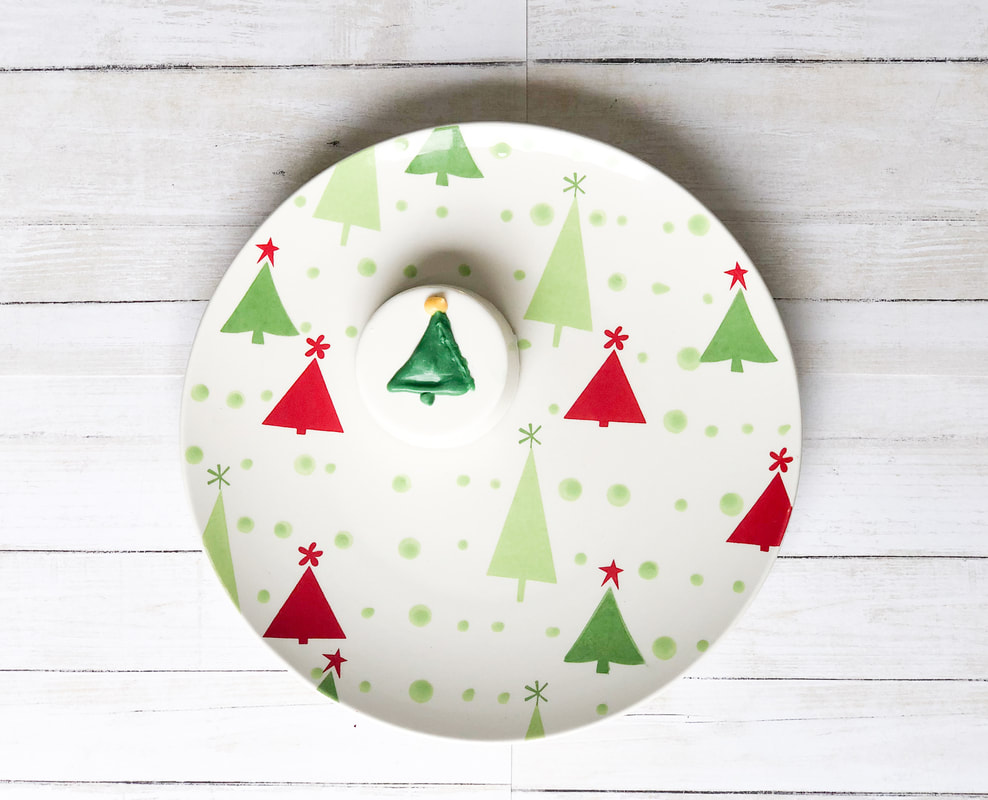
Lets starts with the base. I made a video tutorial on how to make the perfect Chocolate Covered Oreos. Check out the YouTube link below. Now let’s get to the fun part. Decorating! I started with the Grinch themed chocolate covered oreos. I used bright green Wilton candy melts and Celebrate It! brand red tart candy hearts. Both purchased from Michaels. I used a dab of leftover green candy melts to adhere the heart. This one is probably my favorite...simply because it was the easiest. How fun is this Christmas light design?! I used Mini M&Ms for the lights and black Wilton candy melts for the wire. Super cute! Up next this the Snowflake design! I have the WORST penmanship and equally bad line piping skills. Soooo I drew out a snowflake design on notebook paper, cut it out and used it as a stencil to help me pipe straight. I placed a small piece of wax paper over the stencilI and used white candy melts for the snowflake. I then sprinkled white sugar crystals on top before the chocolate hardened. Sidenote- This would be awesome for a Frozen themed party! I know I said the Grinch design was easy but this Snowman is pretty close in the running. I used black and orange Wilton Candy melts for the eyes, nose and mouth. Last but not least, the Christmas tree design. I put it last for a reason. Not my best work. Looks a little sad and depressed. Say something nice to cheer this little tree up. He needs all the support he can get. I think you guys get the gist of the design. I used green and yellow Wilton candy melts for this design. If you make this set, I'd absolutely LOVE to see it! Tag me or use #AshleighNicoleEvents
Until next time!
1 Comment
10/28/2023 03:35:20 pm
Great post, much appreciate the time you took to write this
Reply
Leave a Reply. |
The Ashleigh Nicole Blog!
DIY - Events - Motherhood - Home Decor - Lifestyle Archives
October 2019
Categories
All
|



 RSS Feed


